If there’s one thing the South is known for, it’s good old-fashioned Southern hospitality. And while we may be known for it, it’s no secret that it’s a practice slowly fading from modern culture. Between the rise of social media and the quieting effects of social distancing, our homes aren’t as open to guests as they once were. Today I’m sharing a recipe for old-fashioned strawberry shortcake cake.
This recipe is part of my Old-Fashioned Summer Saturdays series, a weekly look at timeless summer traditions, seasonal recipes, and vintage-inspired living. This week we’re in the kitchen, adapting a tried-and-true recipe found in How to Cook Like a Southerner by Johnnie Gabriel.
If you’ve found your way here via Instagram, Pinterest, or Google, I hope you’ll explore the other articles in this series, which are linked at the end of this article.
Rediscovering the Art of Visiting
As a child, my mother often took us along when she went “visiting.” Visiting meant stopping by the home of a friend or neighbor on a Saturday or Sunday afternoon to catch up on news, share a story or two, and enjoy a little company.
It wasn’t planned. It wasn’t perfect. But it was personal.
Sometimes we stayed for an hour or two, simply catching up. Other times, the conversations were more meaningful…the kind you didn’t want little ears overhearing in the vestibule after church.
Visiting was a verb. We would say, “We’re going visiting this afternoon.” And our hosts would graciously open their doors to welcome us in.
Today, with Pinterest boards and Instagram reels showcasing elaborate charcuterie boards and styled cocktail bars, it’s easy to feel like hosting must be an event. But back then, our hosts weren’t serving sparkling lemonade in etched glasses or arranging cheese by country of origin.
If we were offered anything at all, it might have been a slice of Sara Lee pound cake from the freezer or some saltine crackers with cheddar. And it was more than enough.
With a little preparation and the right mindset, hospitality can still be simple, meaningful, and joyful. You don’t need a Pinterest-worthy home to host a friend or two, just an open heart and a bit of forethought.

Create a Signature Summer Dish
One easy way to take the stress out of hosting? Choose a signature dish.
When you’re known for something, it becomes your calling card. With this recipe, guests will know that if they stop by your house during the summer, they’re likely to enjoy Strawberry Shortcake Cake.
“It’s what she’s known for.”
Near our home in North Georgia, we’re fortunate to have dozens of small, family-owned farms that offer strawberry picking each spring. These are the reddest, juiciest berries I’ve ever tasted.
Since my children were in strollers, we’ve made it a tradition to pick them by the bucketful, enough to enjoy fresh and still have plenty to freeze for later. Keeping berries in the freezer means I can recreate this dessert any time a guest drops by.
Why This Version Works
You’ll love this twist on a Southern classic for its slightly sweet, cake-like texture that offers the nostalgia of strawberry shortcake without the fuss of difficult biscuits. After years of experimenting, this recipe is my favorite. It’s simple, consistent, and always delicious.

Host with Less Stress: Make-Ahead Tips
The easiest way to simplify hosting is by being prepared.
Here are two simple ways to do that:
- Keep pantry staples on hand—flour, sugar, baking soda, and vanilla extract, plus frozen strawberries and whipped topping or cream in the fridge.
- Make the cake ahead of time. After baking and cooling, wrap it well and freeze. When you need it, just thaw, warm, and serve with strawberries and cream. (Full instructions included in the recipe notes.)

The Power of a Personal Tradition
By creating a signature dish that’s always ready, you’re doing more than preparing a dessert. You’re establishing a tradition, one your guests will remember fondly.
Years from now, they’ll say, “Remember how she always served her homemade Strawberry Shortcake Cake every summer?”

Recipe (keep reading for more details)

Strawberry Shortcake Cake
Ingredients
Equipment
Method
- Six to eight hours before serving, place strawberries in a large bowl and sprinkle with sugar. Cover and refrigerate until syrupy.
- Preheat oven to 350 °F. Grease and flour an 8 x 8-ince baking pan.
- Heat milk and butter in a small saucepan over medium-low heat until butter melts
- Beat eggs in a stand mixer with paddle attachment until thickened. Add sugar and vanilla; beat well.
- In a small bowl, stir together flour, baking powder, and salt. Add to egg mixture and mix on low speed.
- With mixer running on low, slowly add warm milk mixture. Mix just until combined.
- Pour batter into prepared pan and bake 25 to 30 minutes, until a tester inserted in the center comes out clean.
- Cool in a pan 10 minutes, then turn out onto a wire rack to cool completely.
- Whip cream in a chilled bowl, gradually adding powdered sugar if desired, until soft peaks form.
- Cut cake into 9 equal pieces. Slice each horizontally. Assemble with strawberries, syrup, and whipped cream. Garnish with a strawberry slice if desired.
Notes

Vintage Finds for a Strawberry Summer
Strawberries have long symbolized the sweetness of summer. Over the years, I’ve collected countless vintage and antique pieces featuring strawberry motifs, many of which have found their way into my kitchen.
I’ve rounded up a curated collection of vintage and new strawberry-themed items in my LTK shop for you to browse. From berry bowls and tea towels to charming serving pieces, these finds add a bit of timeless cheer to your summer table.

A Gentle Invitation to Open Your Home
I hope this week’s article encourages you to open your home the way our mothers and grandmothers once did.
Let friends and neighbors know they’re welcome by simply saying, “Please stop by anytime. I’d love for you to try my Strawberry Shortcake Cake this summer.”
Southern hospitality doesn’t have to be old-fashioned if we choose to make it part of our everyday lives.
Friends, may your summer days be sweet, and your doors always open to good company.
Explore More from Old-Fashioned Summer Saturdays
This article is part of my Old-Fashioned Summer Saturdays series, where I share timeless inspiration for warm-weather living. Be sure to check out these reader favorites:
– Timeless Red, White, and Blue Decor Ideas for the Porch
– Heirloom Tomato Dreams
– Classic Summer Whites: Timeless Linen Dresses and Southern Style Staples
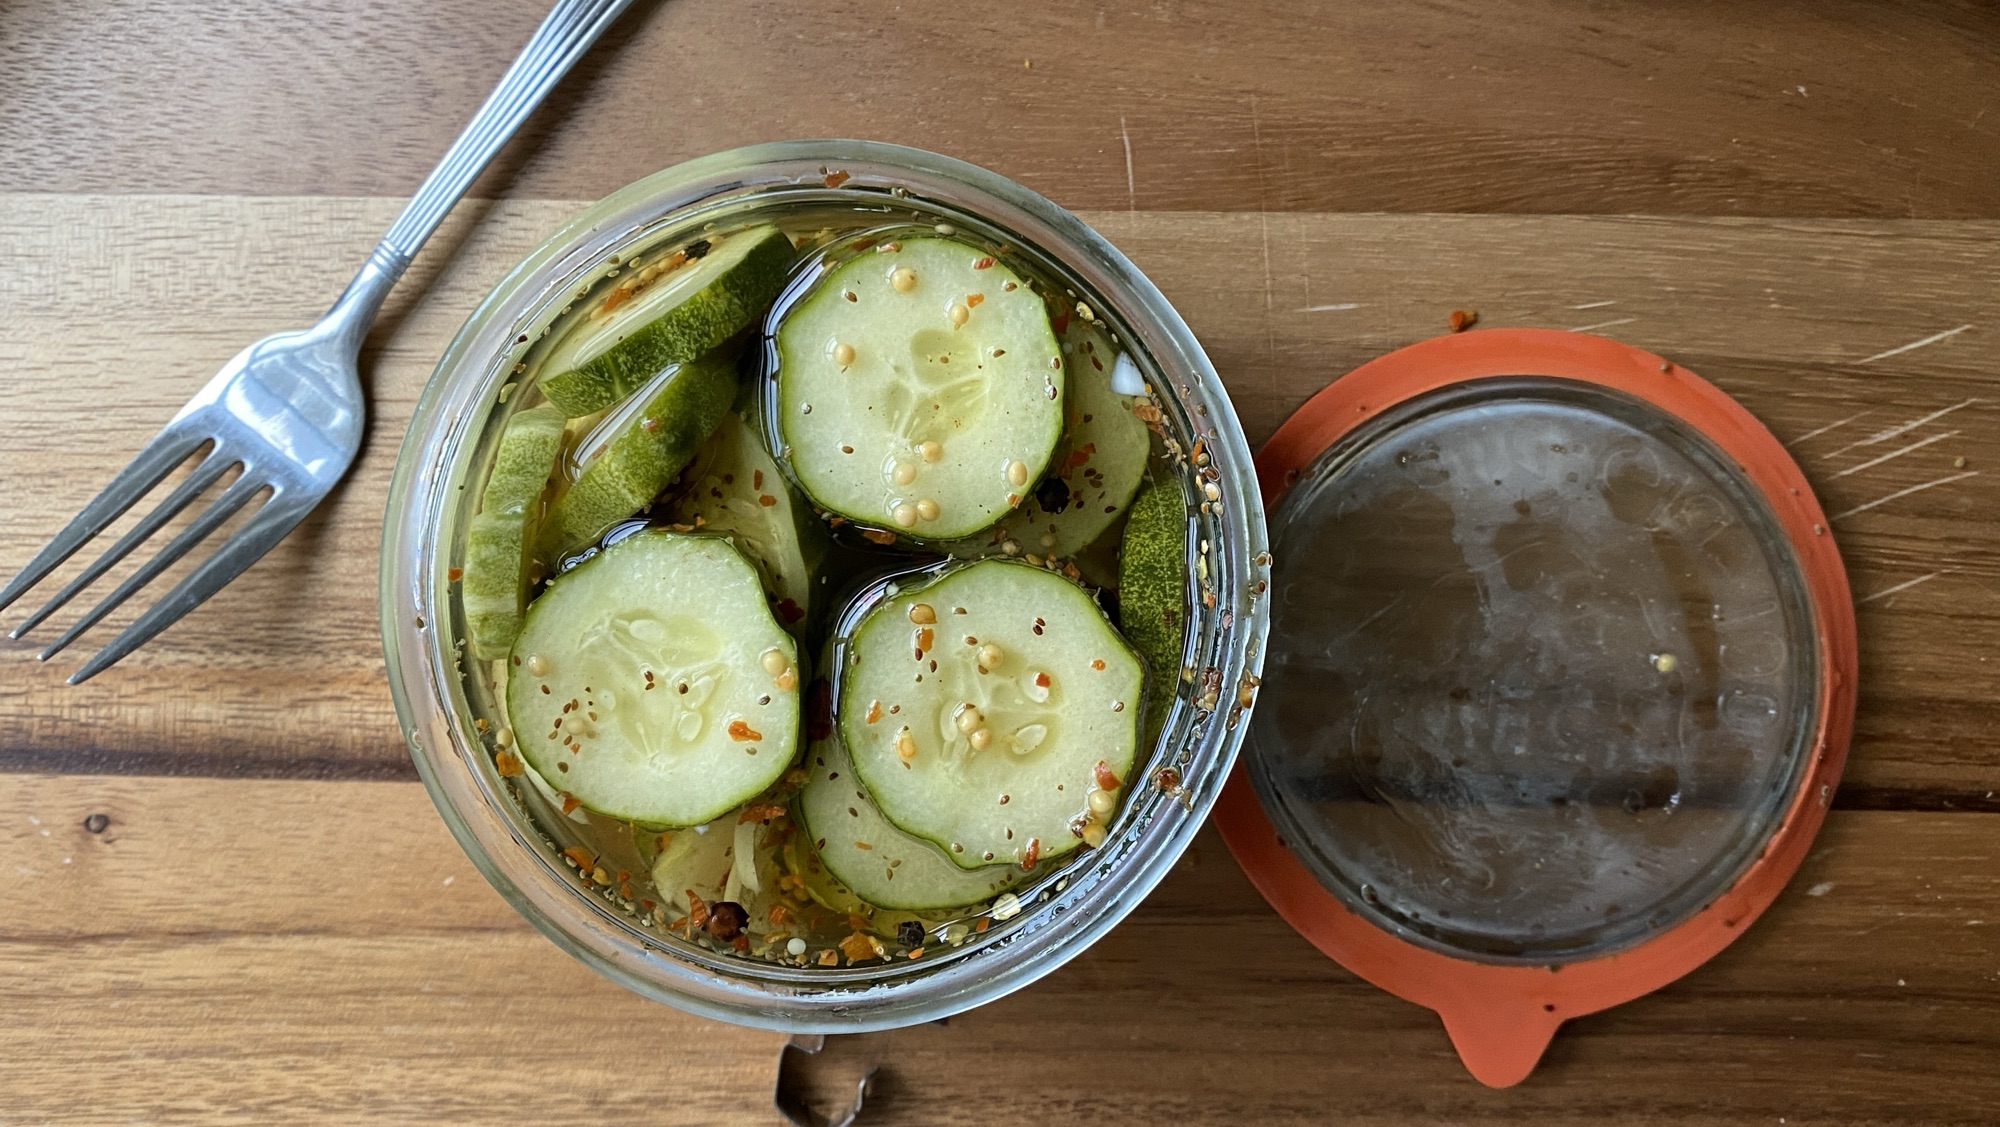
– Refrigerator Pickles—A Southern Summer Staple
– Creating a Cozy Summer Reading Spot
– Blue and White China for Summer Entertaining
– Simple Garden Joys
You can subscribe here to receive new articles, seasonal inspiration, and vintage-style favorites delivered right to your inbox.