In the decades that I’ve been collecting antiques, I’ve never forgotten the first piece of antique furniture that I fell in love with. It was a primitive pie safe with wood worn so soft from daily use that it felt like butter when I ran my hands across it.
The latch had been opened and closed so many times that the wood around the knob had grown deeper and darker. I’ve always wondered what kind of pies filled its shelves, and I think that surely a lemon chess pie was among the offerings.

I recently came across a classic chess pie recipe in a 1941 Southern cookbook I found at a local library sale. The recipe was rich, simple, and written in a way that assumed you already knew your way around a kitchen.
Encountering that recipe in the vintage cookbook brings to mind a Southern lemon chess pie recipe. Bright and satisfying, with a smooth custard filling and the tang of fresh lemon, it’s a pie that feels both simple and enduring on the table.
This article may contain affiliate links. If you choose to purchase through these links, I may earn a small commission at no additional cost to you.
What Makes a Chess Pie a Chess Pie
Chess pies are quintessentially Southern. There are varying opinions as to the origin of the name, but one of them says that it derived from “chest pie.” Chest, meaning that it could be kept in a pie safe at room temperature without spoiling.
All chess pies share a few basic ingredients to form a custard-like filling. Eggs, butter, and sugar are used in each version, and flavors like lemon, chocolate, and coconut are common because of how they cut the sweetness in this very decadent dessert.
Although all chess pies have a few basic ingredients in common, they often have many differences. Some use cornmeal, and some use flour. I’ve seen recipes that use neither. Some use buttermilk, cream, or no milk at all.
Why Lemon Chess Pie Feels Like Spring in the South
Chess pies are eaten all year long, but a chess pie made in the spring simply must be lemon. Spring brings brighter days and warmer temperatures, and a Southern lemon chess pie is the perfect dessert for this time of year.
Lemon freshens the taste buds and awakens our senses. Lemon zest and juice cut through the richness of the sugar and decadence of the butter, which bring a brightness to the dessert.
Why This Is the Lemon Pie to Start With
I know there are people out there who don’t like lemon; I just haven’t met them yet. Since most people love lemon desserts, a classic Southern lemon chess pie recipe is a good place to start.
Chess pies aren’t complicated. With a careful hand, you’ll be rewarded with a delicious pie.
Ingredients You Likely Have on Hand
Chess pies are made with ingredients you probably already have on hand.

- Eggs – allow them to come to room temperature first
- Butter
- Sugar – regular white sugar is best
- Fresh lemons are crucial to the quality of this recipe
- Cornmeal is traditionally used in many chess pies and acts as a thickening agent.
- Pie Crust – I use premade pie crust to keep this recipe simple, but you can use homemade as well.

Lemon Chess Pie Recipe
This lemon chess pie recipe keeps the ingredients simple while relying on fresh lemon, eggs, butter, and careful cooling for the proper texture.

Lemon Chess Pie
Ingredients
Equipment
Method
- Preheat oven to 375 °F
- Line the pine crust with parchment paper and fill with pie weights or dried beans
- Bake for 10-12 minutes
- Remove weights and parchment, then let the crust cool for 10-15 minutes.
- Reduce oven temperature to 325 °F
- In a mixing bowl, whisk together the sugar and melted butter until smooth
- Add the eggs one at a time, mixing well after each addition
- Stir in the lemon juice, lemon zest, cornmeal, flour, and salt until fully combined
- Let the mixture sit for 10 minutes to allow the cornmeal to hydrate
- Pour the filling into the parbaked crust
- Place the pie on the lower-middle rack of the oven
- Bake for 60-70 minutes, until the edges are set and the center has a slight jiggle
- Remove from the oven and let cool at room temperature for at least 4 hours, or overnight
- The filling will continue to set as it cools
Notes
- Use fresh lemon juice; bottled juice will not give the same flavor
- The pie is done when the center moves slightly but is not liquid
- Avoid overbaking; the filling will firm as it cools
- A parbaked crust helps prevent a soft or soggy bottom
- Fine cornmeal is recommended for the best texture


What Matters Most When Baking a Chess Pie
Classic chess pies have simple ingredients and uncomplicated directions; however, there are a few key steps that simply must not be skipped to have a successful pie.

Par-bake your crust before adding the filling. This helps prevent a soft or soggy bottom and ensures the center sets properly.
Rest the filling for ten minutes prior to baking. My traditional recipe uses cornmeal. Cornmeal is included as a thickening agent. When the filling rests for ten minutes prior to baking, the cornmeal has time to absorb liquid and begin to thicken properly.
Bake your pie in the lower 1/3 of your oven. Baking your pies in the lower portion of your oven will make sure that the crust and filling are properly cooked in the center of the pie.
For the filling to fully set, the pie must cool on the counter for a minimum of four hours but overnight is best. When you remove the pie from the oven, the center will appear slightly set, but still a little jiggly. As the pie cools, it will fully set.
Chess pies can be made with pre-made crust or a crust you make from scratch. I like chess pies because of the simplicity, so I opt to use pre-made refrigerated pie dough that is rolled. If you like to keep ingredients on hand so that you can prepare something in a pinch, pre-made pie dough can be kept in your refrigerator or freezer.
Only use fresh lemons when you’re making a Southern lemon chess pie. The quality of your pie will be noticeably better, and the lemon zest is an important ingredient that shouldn’t be skipped.
How to Serve Lemon Chess Pie
Chess pies are best served at room temperature, like pumpkin pies and pecan pies.
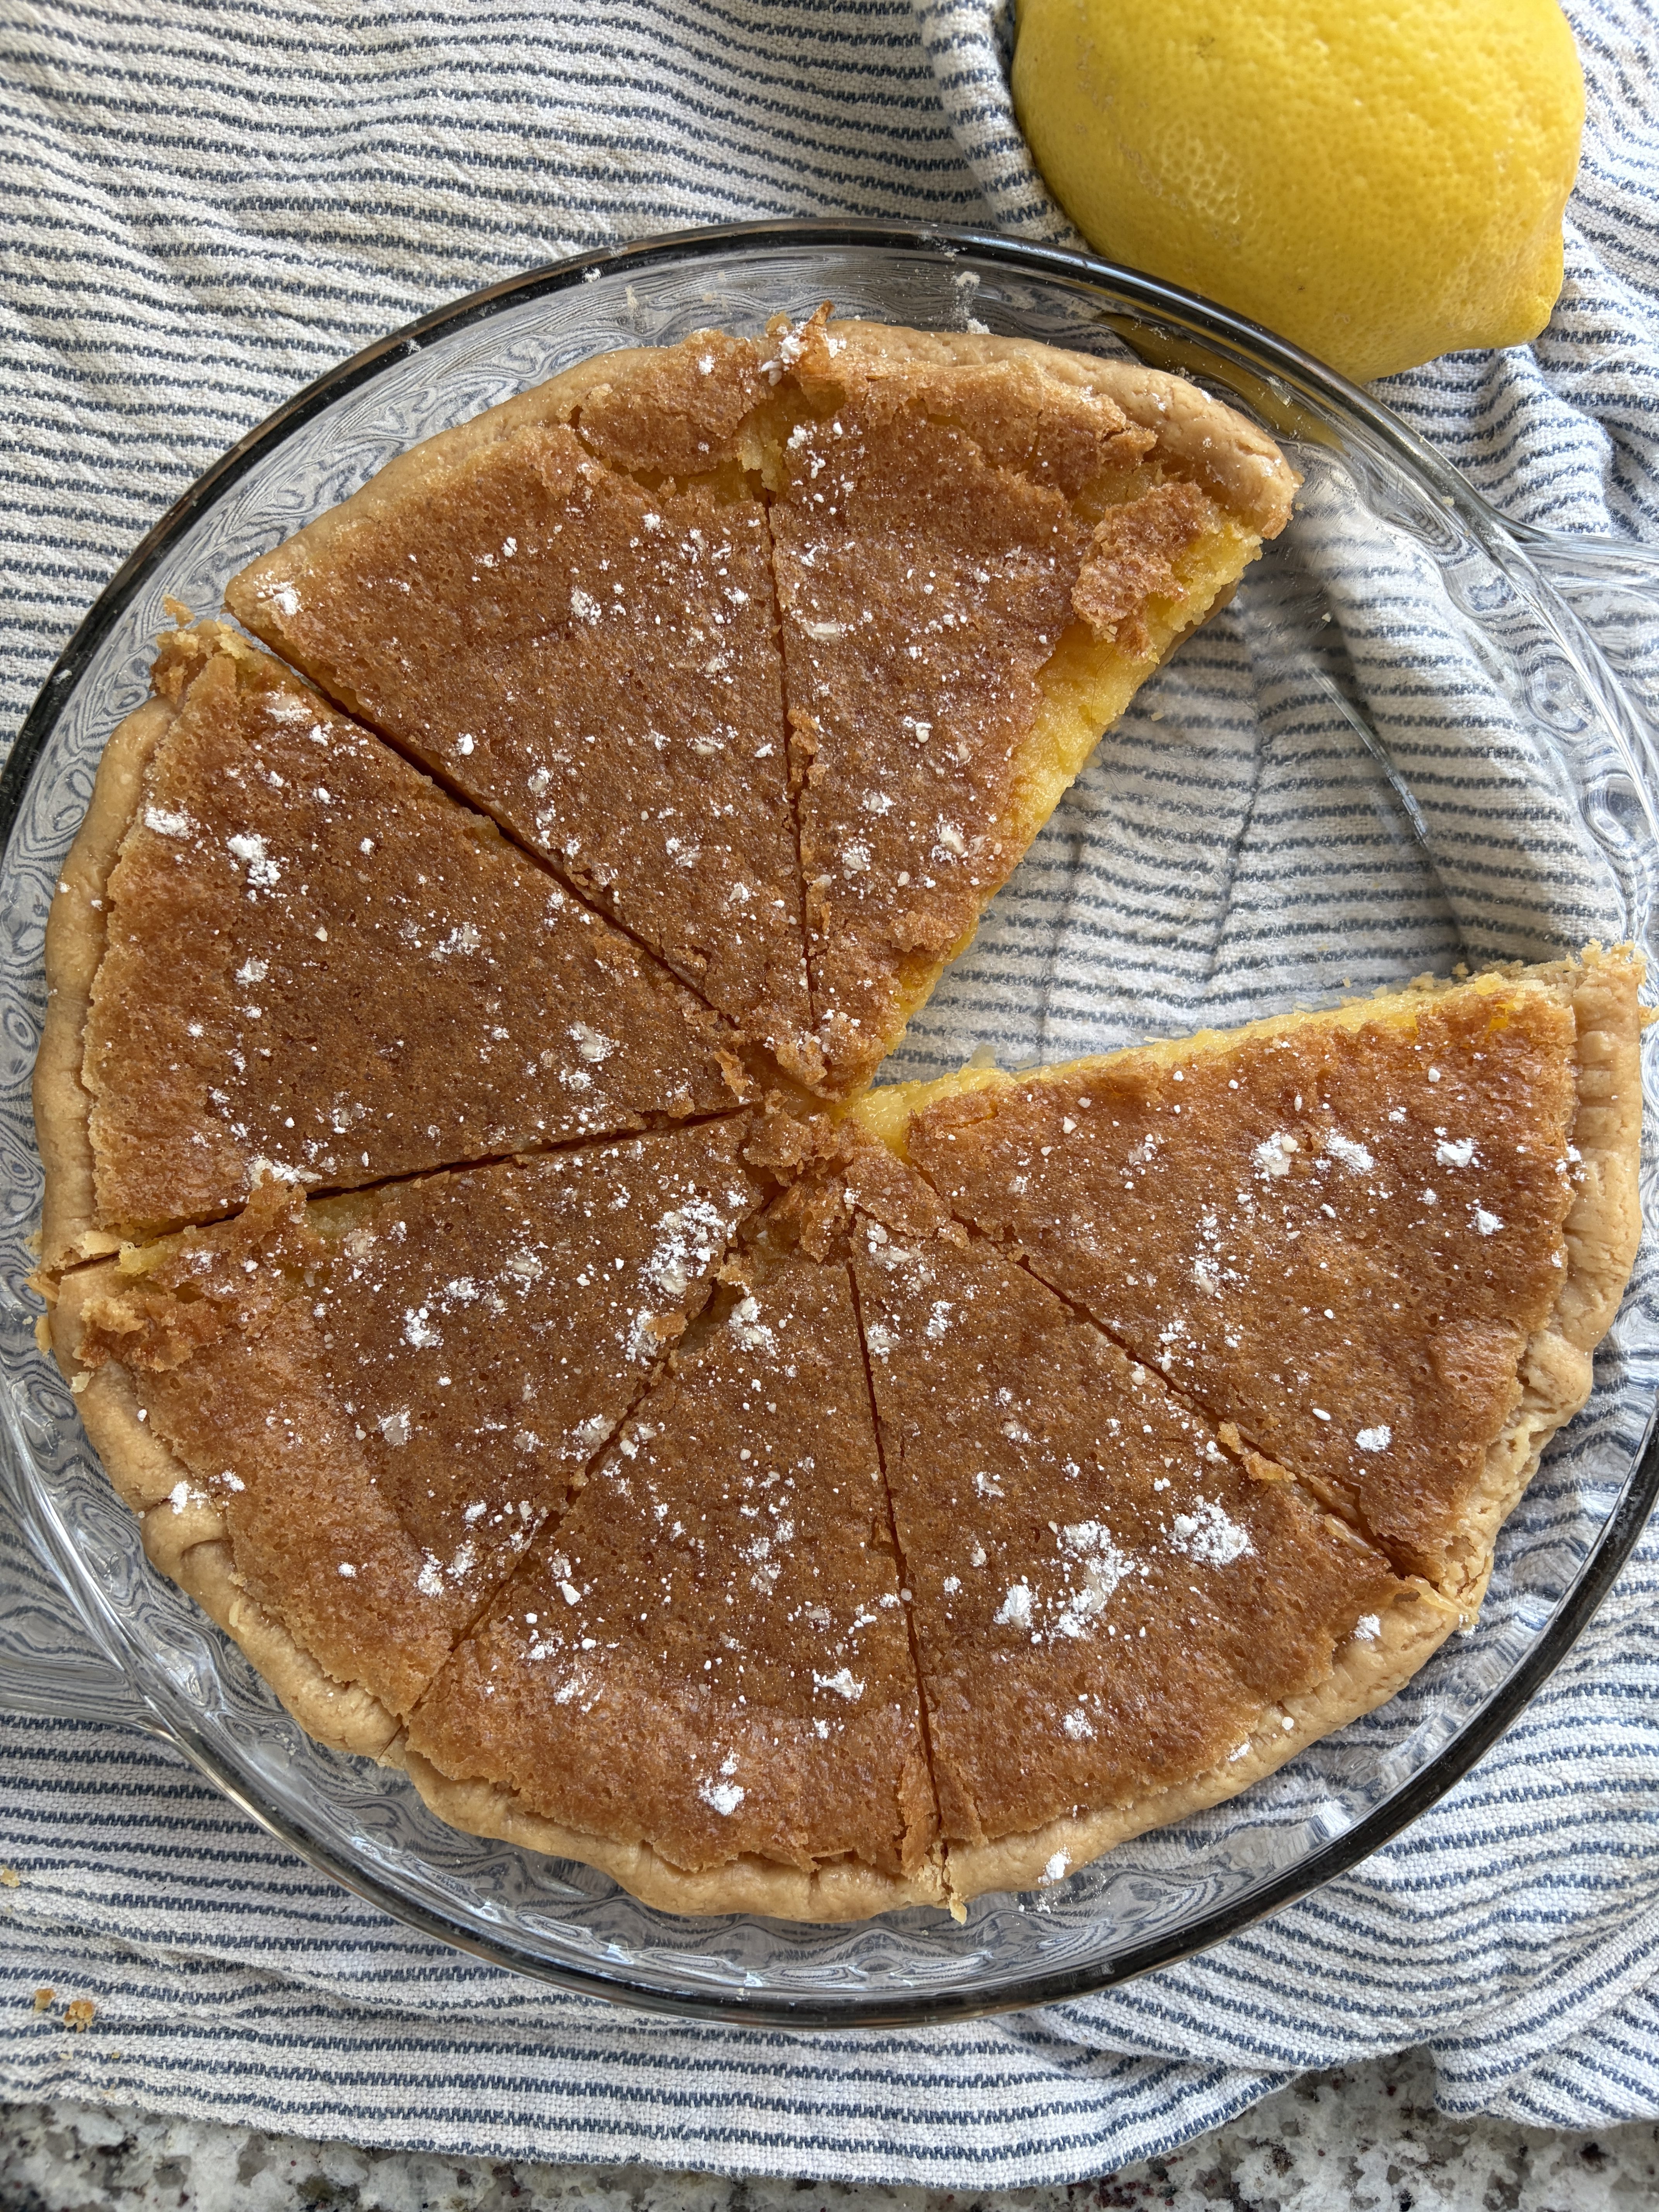
You can garnish a Southern lemon chess pie with a dusting of powdered sugar and top each slice with homemade whipped cream as you serve them.

Frequently Asked Questions About Lemon Chess Pie

Why is the top of my pie brown?
Classic chess pie recipes have a high ratio of sugar in them. The top of your pie will caramelize and often crackle, similar to what takes place with a crème brûlée.
Can I make it ahead?
Yes, and you should. Chess pies must be allowed to cool properly before slicing, or you’ll end up with a runny pie. You can make this pie up to two days ahead of time.
Why is my pie runny?
There are a few reasons why a Southern lemon chess pie could turn out runny. Make sure you rest your filling for ten minutes prior to baking, measurements are followed precisely, and you allow it to cool for the proper amount of time.
Does it need refrigeration?
Old-fashioned chess pies can safely be kept on the counter for up to three days. For the safest food conditions, refrigerate your pie after two days.
Can I freeze it?
You can freeze this lemon chess pie by taking a few steps to prevent it from drying out or getting freezer burned. First wrap your pie completely in plastic wrap and then wrap the pie completely in aluminum foil. Freeze for up to one month.
A Pie That Doesn’t Need Reinventing
I’m not a fan of changing things just for the sake of change itself. I take the expression, “If it ain’t broke, don’t fix it,” to heart. I know when I see something that’s been perfected by generations before me, and one such thing is lemon chess pie.
Just like my vintage 1941 cookbook shows, chess pies have been baked by Southerners for many years. There’s no need to reinvent the chess pie, because it’s already been perfected.
I’ve linked useful kitchen items here if you’d like to try this recipe.
If you enjoyed this recipe, be sure to check out these other reader favorites:
A Southern Sweet Potato Pie Recipe from a Vintage Southern Cookbook
Thanksgiving Breakfast Ideas: Easy and Delicious
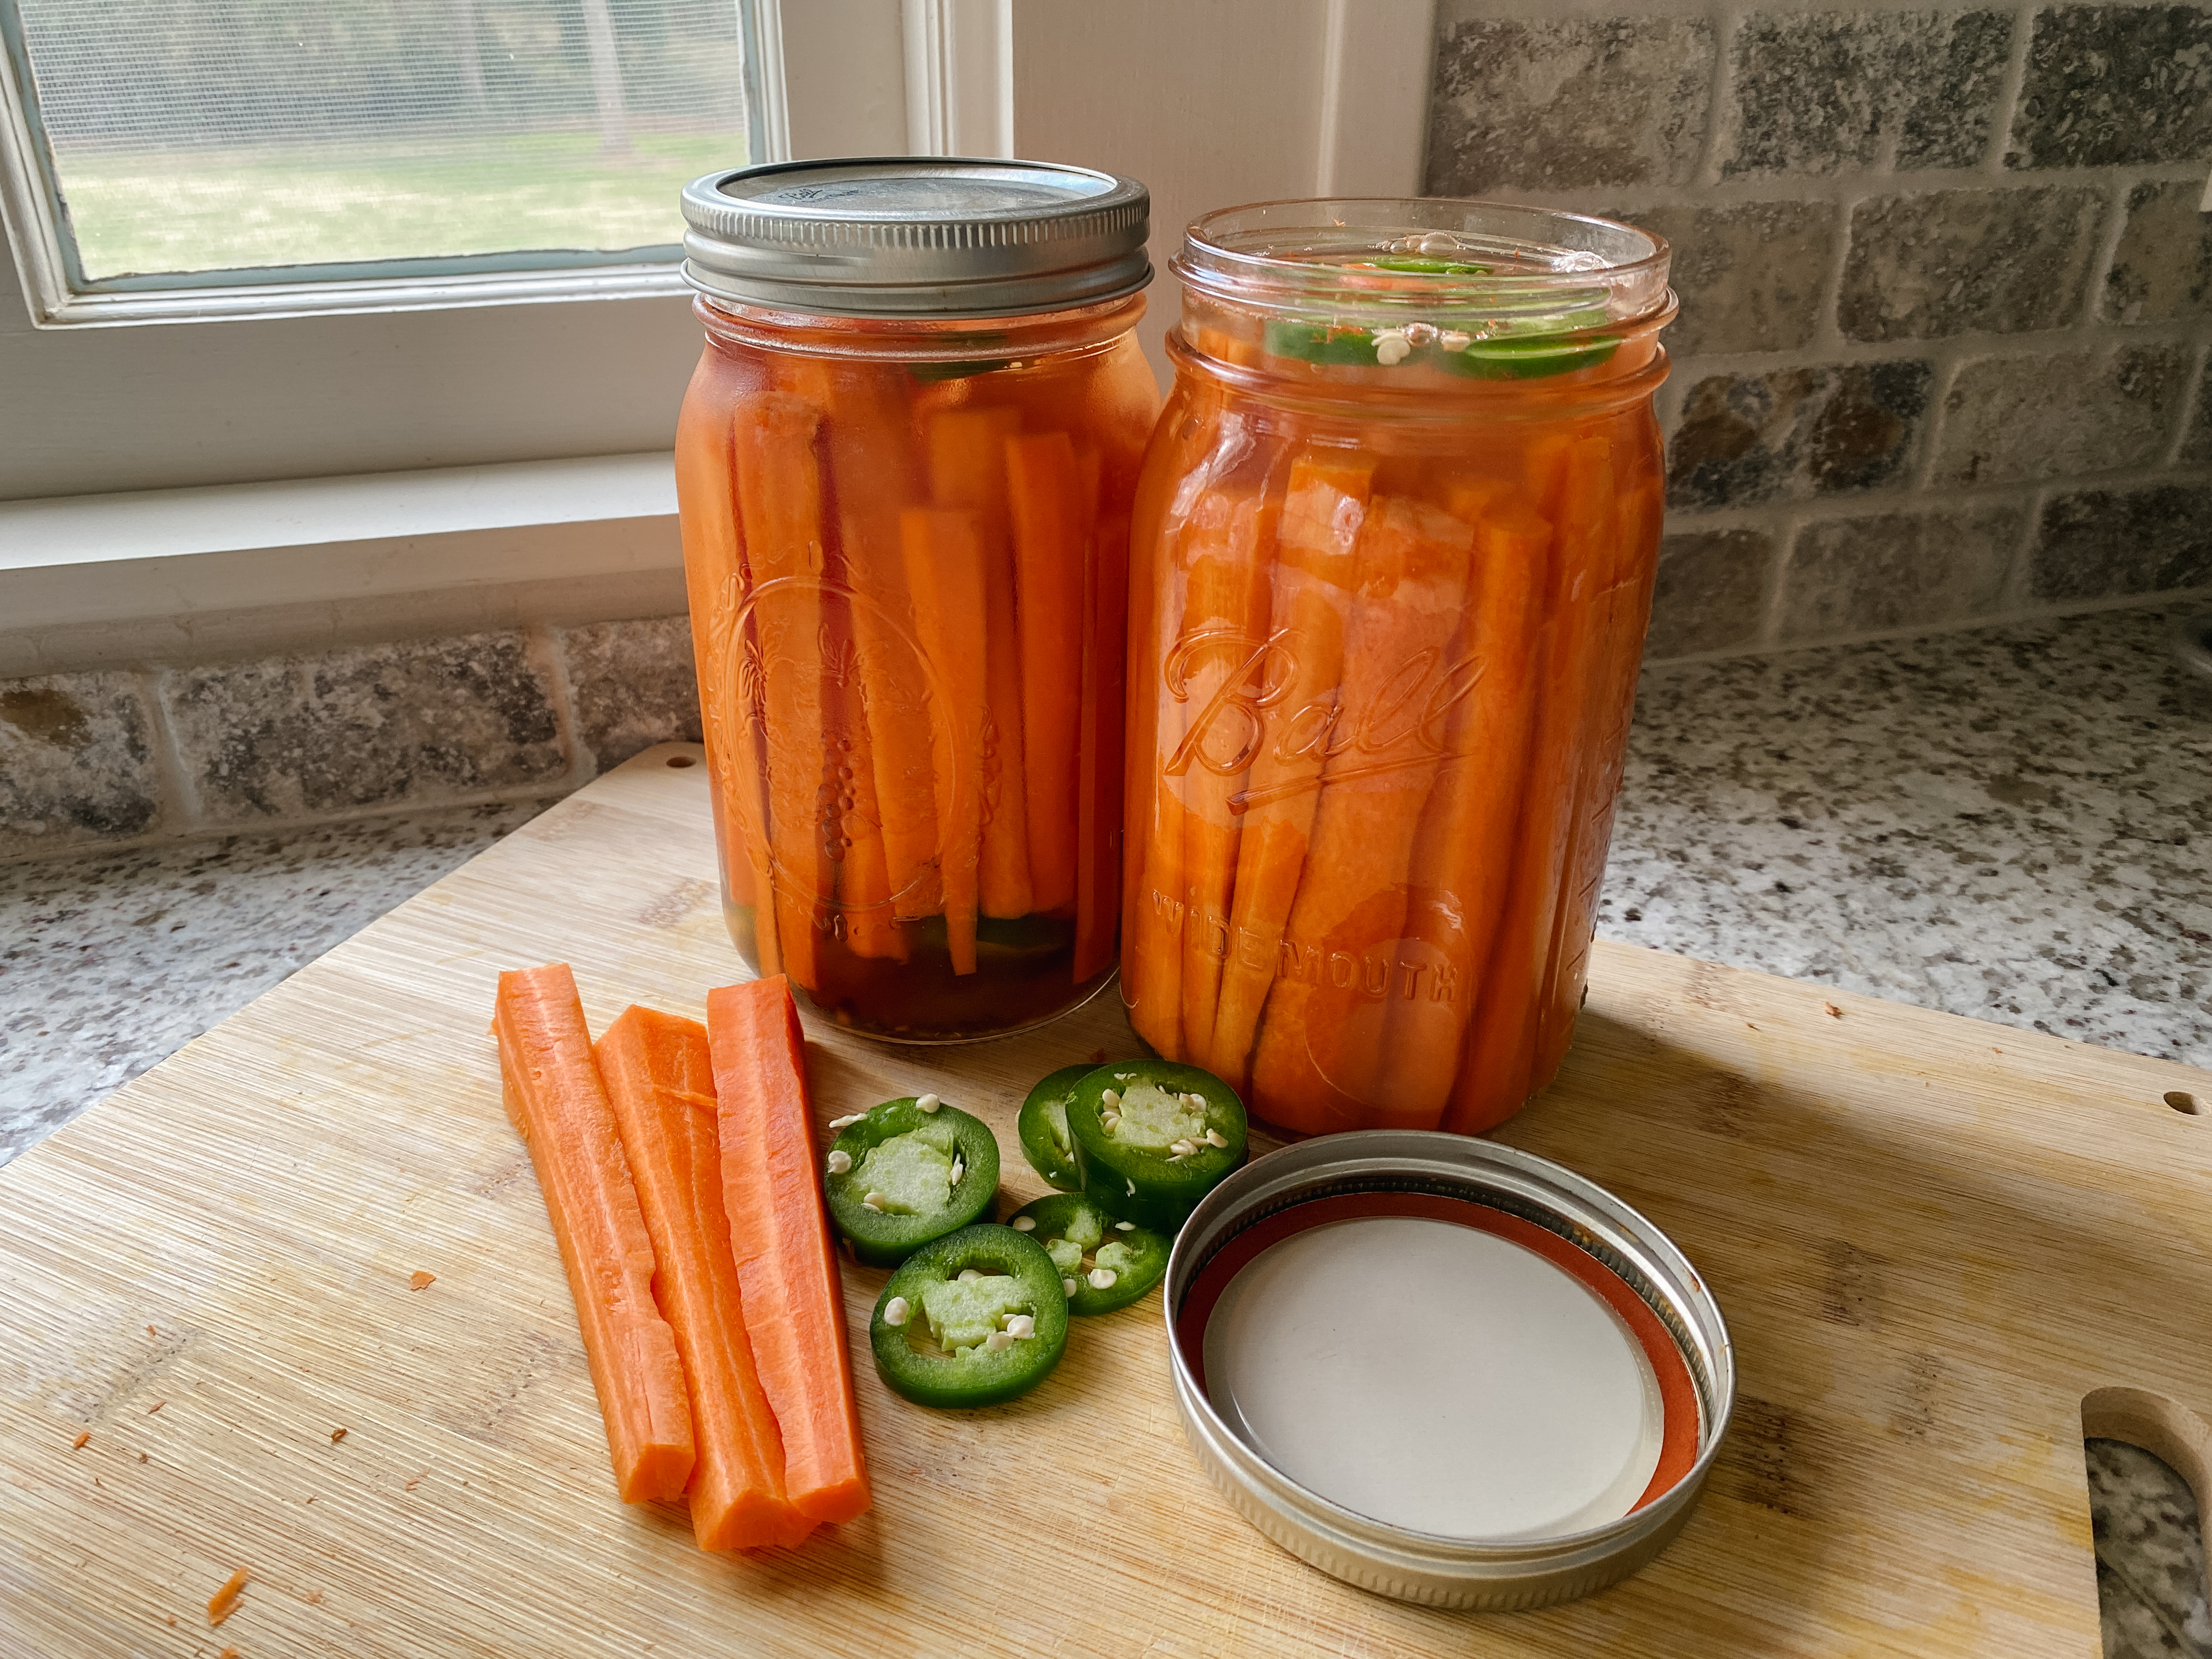
Zesty Pickled Carrots (Easy Refrigerator Pickle Recipe)