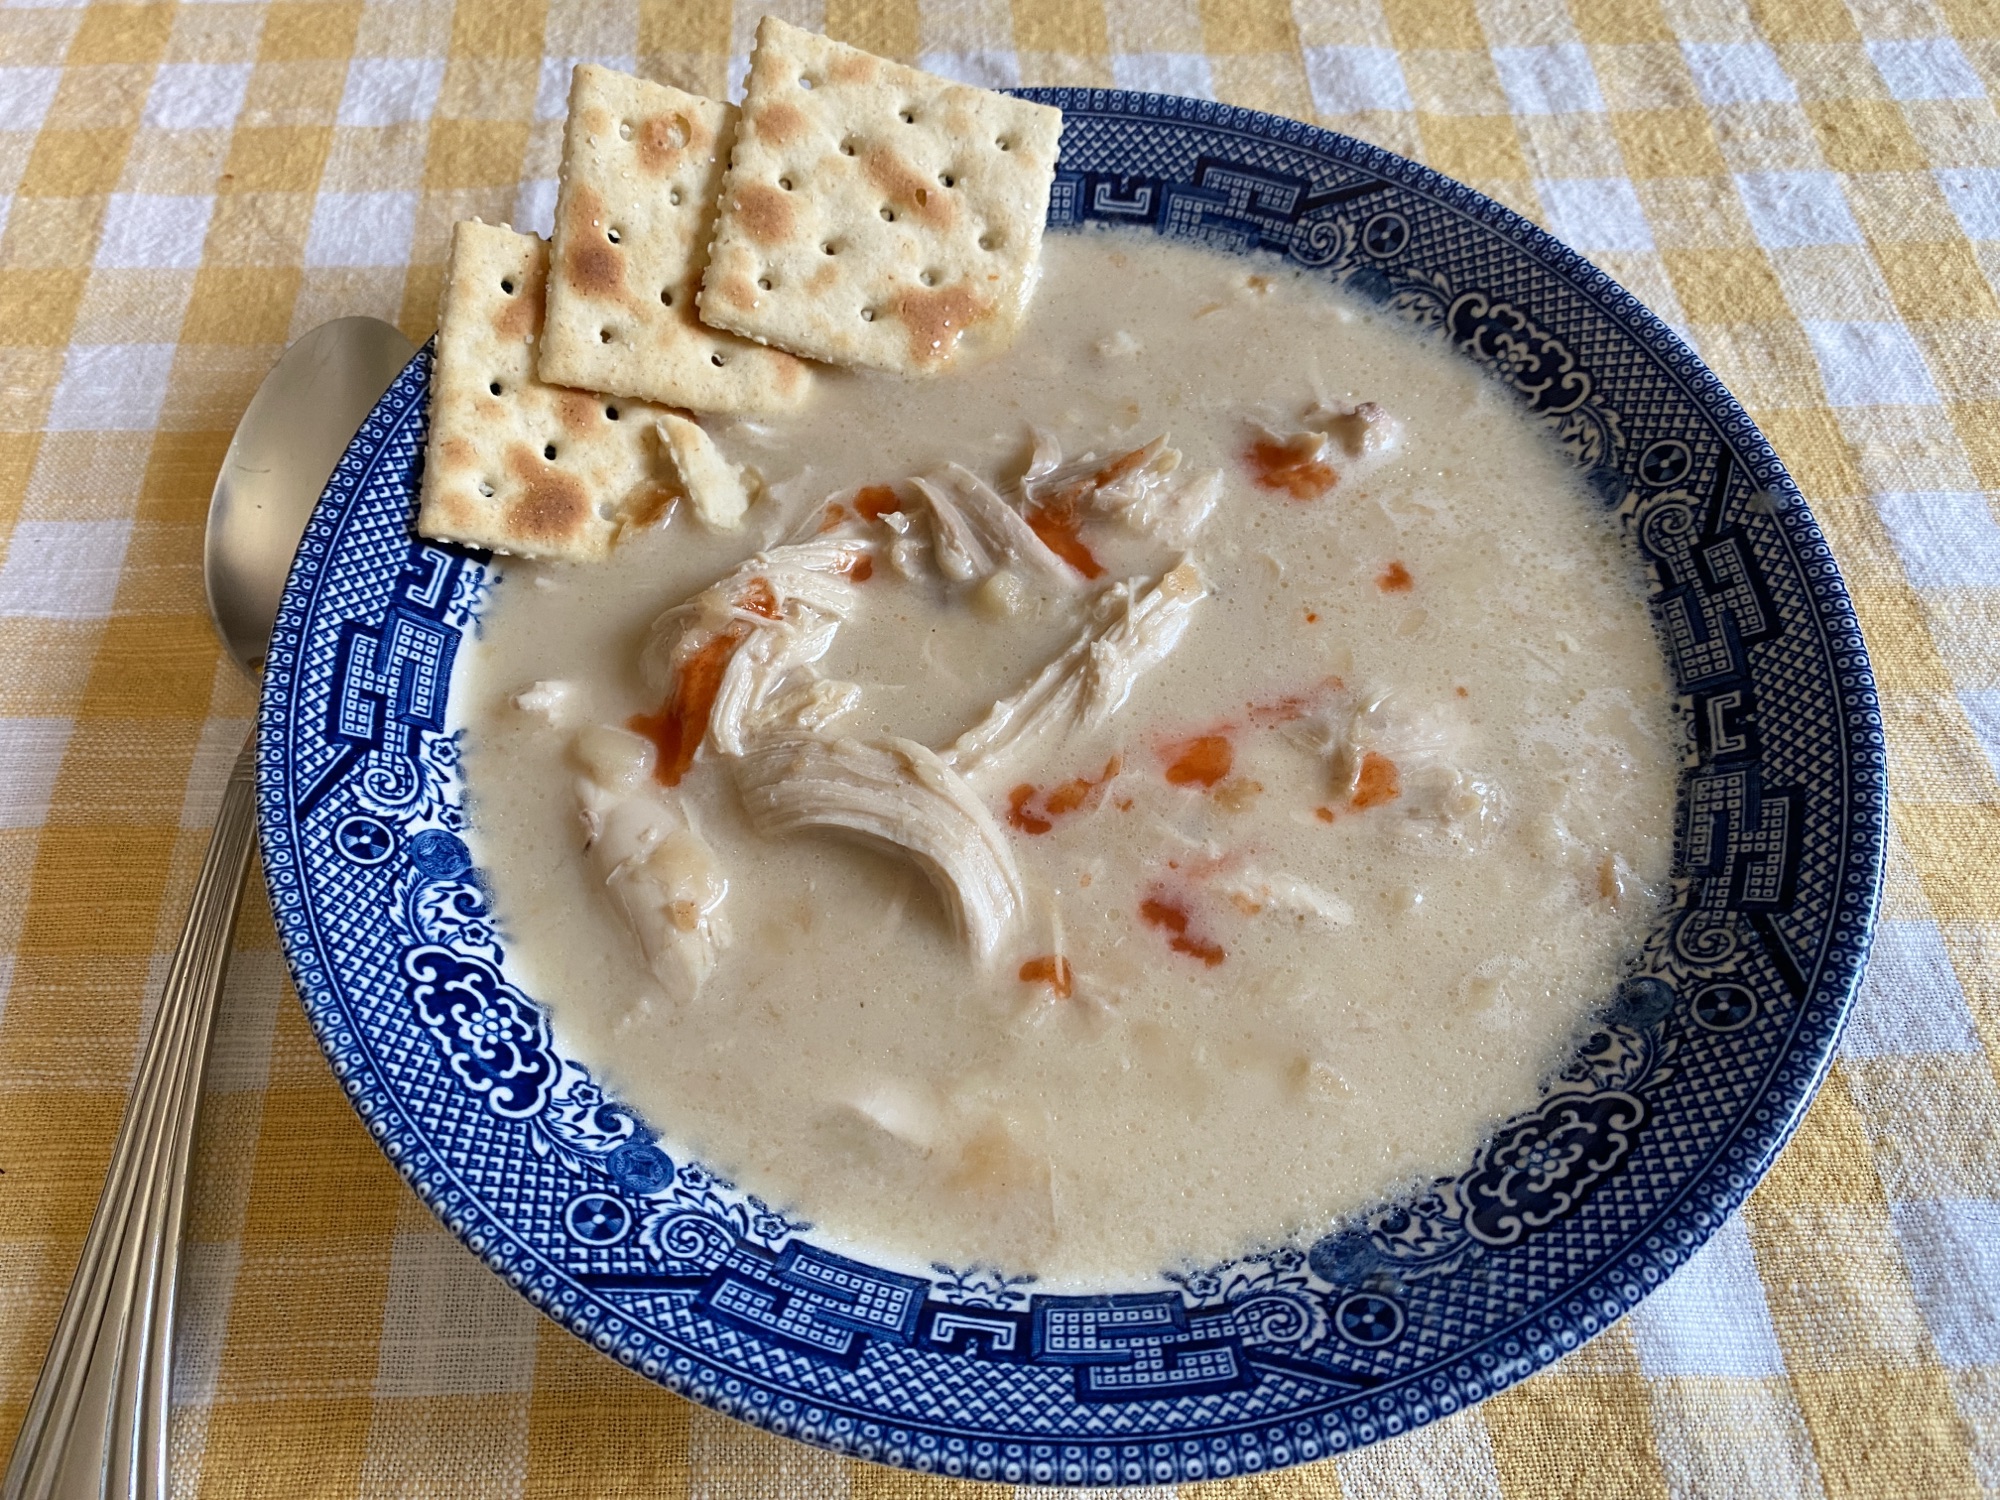
Bowl of creamy Chicken Mull served in white enamelware, garnished with cracked pepper and surrounded by saltine crackers

A Southern Classic for Fall: How to Make Chicken Mull

A Regional Recipe Worth Discovering

Welcome to the fourth installment of my fall series, Falling for Home: A Weekly Autumn Journal. Throughout this weekly Friday series, we’re embracing a slow, intentional rhythm of Southern living rooted in home, heritage, and the kind of traditions that make fall in the South unforgettable.

Today’s article is all about Chicken Mull. I encourage you to use the ingredients that you already have on hand and your favorite pot, as well as to invite friends and neighbors into your home to share it with you this fall.

What Is Chicken Mull? A Brief Southern History

Although I’ve lived in Georgia my whole life, I hadn’t heard of Chicken Mull until moving to the greater Athens, Georgia area. One chilly fall afternoon, someone mentioned that it was Chicken Mull season, and I’ve been intrigued by this creamy, comforting stew ever since.

Chicken Mull is a traditional Southern fall recipe that is usually made with only 3 ingredients: water, chicken, and saltine crackers. The ingredients may be simple, but the flavor is anything but.

Chicken Mull finds its roots in the Carolinas, as well as a very specific region of Northeast Georgia. In fact, Athens, Georgia has often claimed to have invented this Georgia Chicken Mull recipe. (Locals will warn you not to confuse it with Chicken Muddle, which is an entirely different thing.)

Historically, Chicken Mull was more than just a dish. A Chicken Mull was the name of the gathering where the Chicken Mull was eaten. This would have been a church or community event held in the fall, and the Chicken Mull would have fed a large crowd.

Ingredients You’ll Need

While the basic Chicken Mull recipe uses just three ingredients, today I am using the Southern Living version that includes some herbs, heavy whipping cream, and hot sauce. To make my version of Chicken Mull, I’m using cast iron Dutch ovens, a fine-mesh strainer, wooden utensils, and sturdy kitchen tongs. This is a fun dish to serve in vintage enamelware dishes or handled soup bowls…  something that feels as nostalgic as the recipe itself.

Chicken Mull Recipe (Stovetop)

Bowl of creamy Chicken Mull served in white enamelware, garnished with cracked pepper and surrounded by saltine crackers
Abby Smolarsky | Belle Antiquarian

Chicken Mull (A Classic Northeast Georgia Stew)

A creamy, comforting Southern classic, Chicken Mull is a beloved fall tradition in Northeast Georgia. Made with slow-simmered chicken, rich broth, crushed saltines, and a splash of cream, this humble stew is a must-try recipe for chilly evenings. Serve with extra crackers and hot sauce for a taste of Athens heritage in every spoonful.
Prep Time 15 minutes
Cook Time 1 hour 45 minutes
Total Time 2 hours
Servings: 6 people
Course: Main Course
Cuisine: Southern
Calories: 420

Ingredients
  

  • 1 3-4 lb whole chicken
  • 2 large yellow onions unpeeled and quartered
  • 4 celery stalks roughly chopped, about 2 cups
  • 5 cups water
  • 4 cups chicken broth
  • 1 Tbsp kosher salt
  • 1 Tbsp whole black peppercorns
  • 5 fresh thyme sprigs
  • 5 garlic cloves
  • 2 dried bay leaves
  • 1 sleeve saltine crackers crushed, plus more for serving
  • 1 cup heavy whipping cream

Equipment

  • 5.5-quart Dutch oven or large stockpot
  • Fine-mesh strainer
  • Tongs
  • Blender
  • Large wooden spoon
  • Ladle
  • Cutting board

Method
 

  1. In a 5 ½-quart Dutch oven, add the chicken, onions, celery, water, broth, salt, peppercorns, thyme, garlic, and bay leaves.
  2. Bring to a simmer over medium-high heat, then reduce to medium-low and cover. Simmer for about 1 hour, or until the chicken is cooked through and brother is flavorful. Skim fat as needed.
  3. Remove the chicken and let cool slightly. Shred the meat, discarding skin and bones.
  4. Strain the broth through a fine-mesh strainer into a clean Dutch oven. Discard solids.
  5. Bring the strained broth to a simmer over medium-low heat. Stir in crushed cracker and cook for 3 minutes until slightly thickened.
  6. Carefully blend half the broth mixture until smooth (about 20 seconds), then return to the pot.
  7. Stir in the heavy cream and shredded chicken. Cook uncovered over medium-low, stirring occasionally, until heated through (about 10-15 minutes.)
  8. Serve hot with extra crackers and optional hot sauce.

Notes

Don’t Skip the Strain: Straining the broth may seem like an extra step, but it creates the signature smooth base that sets this version apart from other chicken stews. Make-Ahead Friendly: Chicken Mull reheats beautifully the next day. Some even say it’s better after the flavors have had time to meld. Store in an airtight container in the fridge for up to 3 days.

A Dish That Feels Like Home

I live in an area of the South that has changed rapidly over the last 40 years. Folks from all over the world moved here to call this place home. While we welcome new cultures and diversity, I noticed a while ago that many of our beloved Southern traditions were fading like steam rising from a warm bowl, slowly disappearing into memory. Many researchers will tell you that our accents are disappearing. As we discussed in a previous article, our Southern hospitality that we are known for is starting to dampen. So when I discovered this recipe that neither I, nor anyone in my family had ever heard of, I was really excited to revive this regional recipe from Athens, Georgia cuisine.

Whether you’re a Southern peach or you hail from some other wonderful place on this planet, I hope that you will remember your roots and keep your culture alive for future generations.

So many of you messaged me on Instagram that you loved our summer recipes that we shared. I invite you to make this recipe for Chicken Mull, or to share your version with me! Tag me on Instagram so we can share a virtual bowl of stew together.


Whether you’re styling your kitchen or hosting your own mull supper, these pieces bring the coziness of fall to life.


Explore More from Falling for Home: A Weekly Autumn Journal

This article is part of my Falling for Home series. Be sure to check out these reader favorites:


You can subscribe here to receive new articles, seasonal inspiration
How to Style Vintage Blue and White China for Summer Entertaining

A Season of Graceful Gatherings

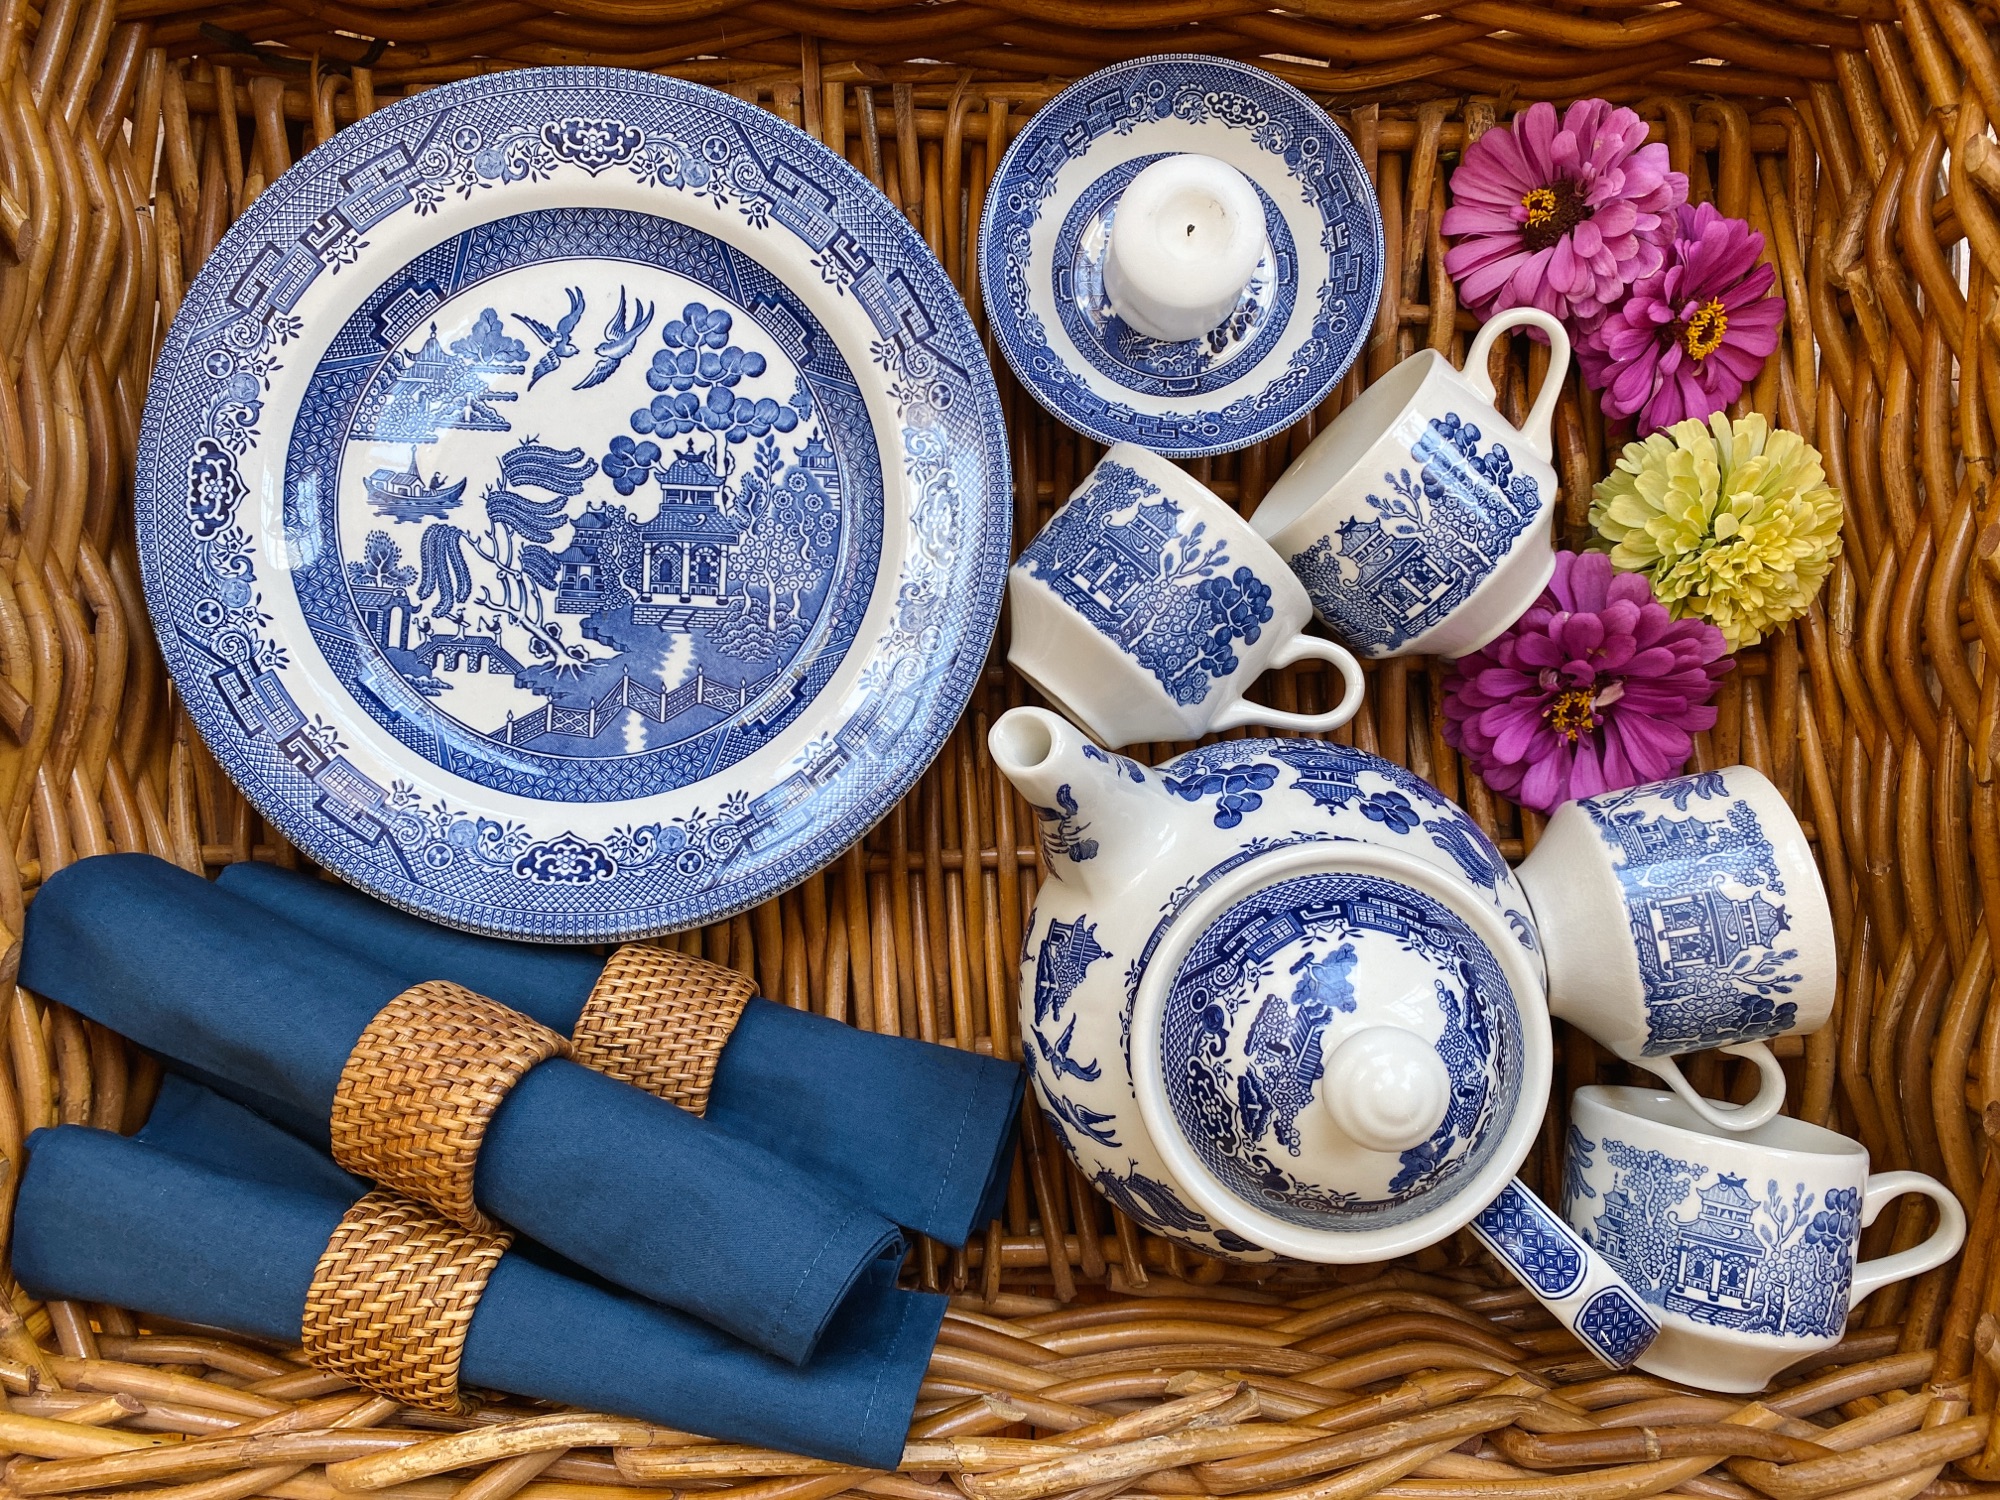
As I stand at the kitchen sink washing dishes after dinner, I notice that the light is fading just a few minutes earlier each day. The hands of autumn are stretching to steal the daylight hours as we creep closer to the start of a new season. I look down at the dish in my hands, a blue willow dinner plate, and I’m reminded that while our time this summer is slipping away, some things remain ageless, like my favorite blue and white dishes… always in style, always familiar.

Today is the final installment of the Old-Fashioned Summer Saturdays series. Over the past few weeks, we have touched on timeless summer traditions, seasonal recipes, and vintage-inspired living. I hope that I have inspired you to seek your roots and remember traditions. Although we live in a world moving at warp speed with innovations, we can enrich our lives in traditional ways to improve the quality of our daily living.

If you’ve found your way here via Pinterest, Google, or Instagram… welcome! I invite you to check out the other segments in this series, which can be found linked at the bottom of this article.

Why Blue and White Never Goes Out of Style

My soon-to-be-21-year-old daughter moved into a new apartment at school this fall, and I sent her off with a set of six blue willow dinner plates. Something that I love about Gen Z is their enthusiasm for thrifting and appreciation for vintage. Sam spent weeks browsing thrift and antique stores to furnish her home in her personal, unique style. She has the capability to go online and buy many of these things new, but she prefers to find pieces with a story, better quality materials, and (usually) a better price point. She took a set of blue willow dishes made by English Ironstone Transferware because of their weight and durability. We didn’t find anything modern that compared to the style and quality of these vintage plates.

If you’ve followed me on Instagram for a while, you’ve seen me use my Churchill Blue Willow plates time and time again. I have featured them at holidays like Christmas, Easter, Independence Day, and Thanksgiving. Today I want to show them to you in a different light, as they were meant to be: the quintessential everyday dinnerware. While I do love how beautiful my blue willow plates look in the china cabinet, they are everyday elegance that I encourage you to take out and use.

Summer Styling Tips with a Twist

If you love blue and white transferware, but you don’t know how to get started using it or how to integrate it into your everyday dinner service, I have several simple styling tips for you.

  • Any pattern of blue and white transferware pairs beautifully with natural textures like seagrass, rattan, and wicker. I like using my seagrass chargers and rattan napkin rings to help transform these dishes from feeling too precious to use, to becoming a part of your everyday elegance.
  • Something fun about blue and white transferware is that different patterns are often combined to create a full set. For example, Churchill Blue Willow and Myott Finlandia are two patterns that complement each other well. In addition, Staffordshire Liberty Blue and Meakin Blue Nordic make a nice combination. Pick up a plate here and there while you’re on your thrifting and antiquing adventures. It won’t be long before you have a complete set of blue and white dinnerware, and you’ll have a unique story for each piece.
  • Another way I like to incorporate pieces from my blue and white transferware collection is to use the larger serving bowls on my kitchen counter as fruit bowls. This way, they aren’t hidden away, and I get to enjoy them every day.

Invest Once, Use for a Lifetime

My first stop at any estate sale is the kitchen or dining room sideboard. I love to hunt for blue and white transferware to add to my collection, and maybe add a few to Sam’s collection too! Buying second hand is an approachable and affordable way to get started.

If I could go back and give myself some advice when I was just starting out, I would say to invest at the very beginning with dishes that are timeless and well made. Instead of following trends that try to convince you to switch patterns every few years, I want to encourage you to go with something everlasting.

Whether you’re collecting family pieces or starting your own legacy, here are a few timeless sets worth exploring:

From Summer to Fall: The Beauty of Longevity

Today I’ve shared with you how I incorporate my Blue Willow dishes into everyday casual dining for summer. As we begin to transition into fall, I’ll add touches of amber glass vases, dried florals, and maybe some velvet ribbon as a napkin ring.

Today concludes the Old-Fashioned Summer Saturdays Series. I hope you’ll find your way back here next week as I start a new series called Falling for Home. In the meantime, remember that Summer is fleeting, but style like this… it lingers, season after season.

Explore More from Old-Fashioned Summer Saturdays

This article is part of my Old-Fashioned Summer Saturdays series, where I share timeless inspiration for warm-weather living. Be sure to check out these reader favorites:

– Timeless Red, White, and Blue Decor Ideas for the Porch
– Heirloom Tomato Dreams
– Classic Summer Whites: Timeless Linen Dresses and Southern Style Staples
– Refrigerator Pickles—A Southern Summer Staple
– Simple Garden Joys
– Old-Fashioned Strawberry Shortcake Cake
– Creating a Cozy Summer Reading Spot
You can subscribe here to receive new articles, seasonal inspiration, and vintage-style favorites delivered right to your inbox.

I’m often asked for sources for my favorites blue and white items. I’ve rounded them up in one place in my LTK shop, which you can view and shop HERE or click the photo below.

Abby holds a plate of strawberry shortcake.

Old-Fashioned Strawberry Shortcake: A Southern Classic for Summer Gatherings

If there’s one thing the South is known for, it’s good old-fashioned Southern hospitality. And while we may be known for it, it’s no secret that it’s a practice slowly fading from modern culture. Between the rise of social media and the quieting effects of social distancing, our homes aren’t as open to guests as they once were. Today I’m sharing a recipe for old-fashioned strawberry shortcake cake.

This recipe is part of my Old-Fashioned Summer Saturdays series, a weekly look at timeless summer traditions, seasonal recipes, and vintage-inspired living. This week we’re in the kitchen, adapting a tried-and-true recipe found in How to Cook Like a Southerner by Johnnie Gabriel.

If you’ve found your way here via Instagram, Pinterest, or Google, I hope you’ll explore the other articles in this series, which are linked at the end of this article.

Rediscovering the Art of Visiting

As a child, my mother often took us along when she went “visiting.” Visiting meant stopping by the home of a friend or neighbor on a Saturday or Sunday afternoon to catch up on news, share a story or two, and enjoy a little company.

It wasn’t planned. It wasn’t perfect. But it was personal.

Sometimes we stayed for an hour or two, simply catching up. Other times, the conversations were more meaningful…the kind you didn’t want little ears overhearing in the vestibule after church.

Visiting was a verb. We would say, “We’re going visiting this afternoon.” And our hosts would graciously open their doors to welcome us in.

Today, with Pinterest boards and Instagram reels showcasing elaborate charcuterie boards and styled cocktail bars, it’s easy to feel like hosting must be an event. But back then, our hosts weren’t serving sparkling lemonade in etched glasses or arranging cheese by country of origin.

If we were offered anything at all, it might have been a slice of Sara Lee pound cake from the freezer or some saltine crackers with cheddar. And it was more than enough.

With a little preparation and the right mindset, hospitality can still be simple, meaningful, and joyful. You don’t need a Pinterest-worthy home to host a friend or two, just an open heart and a bit of forethought.

A hand holding a heart shaped strawberry in front of a blurry background of many other strawberries.
A heart-shaped strawberry, freshly picked and ready for shortcake. Sometimes the sweetest details are the smallest.

Create a Signature Summer Dish

One easy way to take the stress out of hosting? Choose a signature dish.

When you’re known for something, it becomes your calling card. With this recipe, guests will know that if they stop by your house during the summer, they’re likely to enjoy Strawberry Shortcake Cake.

“It’s what she’s known for.”

Near our home in North Georgia, we’re fortunate to have dozens of small, family-owned farms that offer strawberry picking each spring. These are the reddest, juiciest berries I’ve ever tasted.

Since my children were in strollers, we’ve made it a tradition to pick them by the bucketful, enough to enjoy fresh and still have plenty to freeze for later. Keeping berries in the freezer means I can recreate this dessert any time a guest drops by.

Why This Version Works

You’ll love this twist on a Southern classic for its slightly sweet, cake-like texture that offers the nostalgia of strawberry shortcake without the fuss of difficult biscuits. After years of experimenting, this recipe is my favorite. It’s simple, consistent, and always delicious.

an overhead view of a jadeite green bowl of sliced strawberries on a kitchen counter. The corner of a blue and white striped kitchen towel can be seen.
Sweet and simple in a vintage jadeite bowl; summer memories often start in the kitchen.

Host with Less Stress: Make-Ahead Tips

The easiest way to simplify hosting is by being prepared.

Here are two simple ways to do that:

  1. Keep pantry staples on hand—flour, sugar, baking soda, and vanilla extract, plus frozen strawberries and whipped topping or cream in the fridge.
  2. Make the cake ahead of time. After baking and cooling, wrap it well and freeze. When you need it, just thaw, warm, and serve with strawberries and cream. (Full instructions included in the recipe notes.)
an overhead view of an 8x8 square glass baking dish that is buttered and floured, along with a jadeite green batter bowl full of raw cake batter.
Preparing the cake for strawberry shortcake; a buttered dish and jadeite bowl make summer baking feel special.

The Power of a Personal Tradition

By creating a signature dish that’s always ready, you’re doing more than preparing a dessert. You’re establishing a tradition, one your guests will remember fondly.

Years from now, they’ll say, “Remember how she always served her homemade Strawberry Shortcake Cake every summer?”

A strawberry shortcake dessert on a jadeite green plate.
The finished dish, ready to share. A summer classic that tastes like tradition.

Recipe (keep reading for more details)

A slice of old-fashioned strawberry shortcake ready to serve
Abby Smolarsky | Belle Antiquarian

Strawberry Shortcake Cake

A classic Southern strawberry shortcake cake adapted from How to Cook Like a Southerner by Johnnie Gabriel. Tender cake layers, sweetened strawberries, and fresh whipped cream make this an easy, nostalgic dessert for summer gatherings. Includes make-ahead and freezer-friendly tips.
Prep Time 15 minutes
Cook Time 30 minutes
Chill/Rest Time 6 hours
Total Time 6 hours 45 minutes
Servings: 9 servings
Course: Dessert

Ingredients
  

  • 3 one-pound cartons fresh strawberries washed, hulled, and sliced (or frozen)
  • ¾ cup granulated sugar for strawberries or to taste
  • ½ cup milk
  • 1 Tbsp butter
  • 2 large eggs
  • 1 cup granulated sugar for cake
  • 1 tsp vanilla extract
  • 1 cup sifted all-purpose flour
  • 1 tsp baking powder
  • ¼ tsp salt
  • 2-3 cups heavy cream
  • ¼-⅓ cup powdered sugar optional

Equipment

  • Stand mixer with paddle attachment
  • 8 x 8-inch baking pan
  • Mixing bowls
  • Saucepan
  • Wire cooling rack

Method
 

  1. Six to eight hours before serving, place strawberries in a large bowl and sprinkle with sugar. Cover and refrigerate until syrupy.
  2. Preheat oven to 350 °F. Grease and flour an 8 x 8-ince baking pan.
  3. Heat milk and butter in a small saucepan over medium-low heat until butter melts
  4. Beat eggs in a stand mixer with paddle attachment until thickened. Add sugar and vanilla; beat well.
  5. In a small bowl, stir together flour, baking powder, and salt. Add to egg mixture and mix on low speed.
  6. With mixer running on low, slowly add warm milk mixture. Mix just until combined.
  7. Pour batter into prepared pan and bake 25 to 30 minutes, until a tester inserted in the center comes out clean.
  8. Cool in a pan 10 minutes, then turn out onto a wire rack to cool completely.
  9. Whip cream in a chilled bowl, gradually adding powdered sugar if desired, until soft peaks form.
  10. Cut cake into 9 equal pieces. Slice each horizontally. Assemble with strawberries, syrup, and whipped cream. Garnish with a strawberry slice if desired.

Notes

Using Frozen Strawberries: Thaw completely and drain excess liquid. Simmer strawberries for 10 to 15 minutes until softened and syrupy. Cool before serving.
Make-Ahead and Freezer Instructions: Wrap cooled cake tightly in plastic wrap and then foil. Freeze up to 2 months. Thaw at room temperature for 1 to 2 hours. For best texture, warm unwrapped cake in a 300* oven for 10 to 15 minutes before serving.
Abby holds a plate of strawberry shortcake.

Vintage Finds for a Strawberry Summer

Strawberries have long symbolized the sweetness of summer. Over the years, I’ve collected countless vintage and antique pieces featuring strawberry motifs, many of which have found their way into my kitchen.

I’ve rounded up a curated collection of vintage and new strawberry-themed items in my LTK shop for you to browse. From berry bowls and tea towels to charming serving pieces, these finds add a bit of timeless cheer to your summer table.

A Gentle Invitation to Open Your Home

I hope this week’s article encourages you to open your home the way our mothers and grandmothers once did.

Let friends and neighbors know they’re welcome by simply saying, “Please stop by anytime. I’d love for you to try my Strawberry Shortcake Cake this summer.”

Southern hospitality doesn’t have to be old-fashioned if we choose to make it part of our everyday lives.

Friends, may your summer days be sweet, and your doors always open to good company.

Explore More from Old-Fashioned Summer Saturdays

This article is part of my Old-Fashioned Summer Saturdays series, where I share timeless inspiration for warm-weather living. Be sure to check out these reader favorites:

– Timeless Red, White, and Blue Decor Ideas for the Porch
– Heirloom Tomato Dreams
– Classic Summer Whites: Timeless Linen Dresses and Southern Style Staples
– Refrigerator Pickles—A Southern Summer Staple
– Creating a Cozy Summer Reading Spot
– Blue and White China for Summer Entertaining
– Simple Garden Joys


You can subscribe here to receive new articles, seasonal inspiration, and vintage-style favorites delivered right to your inbox.

A woman stands in a kitchen holding a red heirloom tomato.

Heirloom Tomato Dreams: A Simple Southern Tomato Sandwich and Summer Garden Ritual

Some memories are sun-warmed and red-stained, like tomatoes still warm from the vine. In my Southern garden, heirloom tomatoes aren’t just vegetables. They’re history, flavor, and summer all wrapped in one.

There’s no mistaking the smell of a tomato vine that’s been brushed by little fingers searching for the ripe fruit on plant. I’m immediately transported back to summers when my children were small, very excited to see what we grew in our tiny backyard garden. There are certain smells that say “summer” to me, and a tomato vine will always be one of them.

A woman stands in a kitchen holding a red heirloom tomato.
It’s a Tomato Girl Summer. Click the photo to shop this look.

This post is part of Old-Fashioned Summer Saturdays, a weekly series where I share timeless Southern joys, from gardening and seasonal recipes to vintage-style living. If you found your way here from Instagram, Pinterest or Google, I hope you’ll stay a while and explore the other articles in the series.

The tomato is one of the most popular and versatile treasures in the Southern garden. While many gardeners will grow enough to can and preserve tomatoes for their pantry, the vast majority of us backyard gardeners are chasing the heirloom beauties for one major purpose: the tomato sandwich. It’s a sandwich that has graced generations of Southern tables, humble in appearance, but unforgettable in flavor.

It’s undisputed that the Southern tomato sandwich consists of two slices of Sunbeam bread dressed with Duke’s mayonnaise and filled with slices of garden-fresh tomatoes (salted and peppered, of course). However, today I would like to offer a couple of variations of the classic Southern tomato sandwich.

A southern tomato sandwich made from a heirloom tomato, Duke's mayonnaise, and sunbeam bread
An undisputed classic, the heirloom tomato sandwich.

The first variation on the classic Southern tomato sandwich is to add another Southern delicacy, pimento cheese. I love to cover one piece of Sunbeam bread in pimento cheese, instead of the Duke’s mayonnaise, and add my fresh tomato slices. From here you can go one of two ways in order to finish the sandwich: a slice of cooked bacon or some zippy refrigerator pickles. Both are equally as delicious with the fresh tomato and pimento cheese, but my favorite way is to add the refrigerator pickles. The tartness of the pickles slices right through the richness of the pimento cheese. A pickle and pimento cheese sandwich? Absolutely not. A tomato sandwich with pimento cheese and refrigerator pickles? You do not know what you’re missing out on! (Refrigerator pickle recipe HERE.)

The second variation on the original Southern tomato sandwich is to swap the Sunbeam bread for some sourdough slices. We’re making a summer tomato grilled cheese sandwich. Instead of using the Duke’s mayonnaise on the inside of the sandwich, we’re going to “butter” the outside of the bread with it. Select some cheese slices of your choosing, but I suggest some mozzarella slices for the direction we’re going in. After you salt and pepper some tomato slices, add them to your sandwich before cooking it like you would any other grilled cheese sandwich. All you need at this point is some balsamic glaze or dressing to dip your sandwich in. It’s heaven on a plate.

A vine-ripened tomato is a thing of glory. But if I have to be honest, I’m often fighting the squirrels for my ripe tomatoes. I usually pick them when they are just starting to blush, and I allow them to finish ripening in our bright kitchen windows. Our kitchen becomes dressed in the colors of our harvest, and the air becomes scented with the fruits of our labor. I found this wonderful candle scent called “tomato and vine.” It’s not the exact same thing as a fresh tomato on the windowsill, but it’s nostalgic and beautiful. I just had to share it!

two heirloom tomatoes on a kitchen counter next to a beautiful glass jar candle scented "tomato and vine"
Click to shop this “tomato and vine” scented candle.

There’s something sacred about the slowness of tending a tomato vine. It’s a ritual, a heritage, a love letter to simpler days…and one bite brings it all rushing back.

Below is a round-up of a few of my favorite tomato-related things! Click the photo to shop or find the complete list HERE. I hope you’ll come back next week for the newest installment of Old-Fashioned Summer Saturdays.

Click the photo to shop my tomato related favorites.

Explore More from Old-Fashioned Summer Saturdays

This article is part of my Old-Fashioned Summer Saturdays series, where I share timeless inspiration for warm-weather living. Be sure to check out these reader favorites:

– Simple Garden Joys
– Timeless Red, White, and Blue Decor Ideas for Summer Porch Styling
– Classic Summer Whites: Timeless Linen Dresses and Southern Style Staples
– Refrigerator Pickles—A Southern Summer Staple
– Creating a Cozy Summer Reading Spot
– Old-Fashioned Strawberry Shortcake Cake
– Blue and White China for Summer Entertaining

You can subscribe here to receive new articles, seasonal inspiration, and vintage-style favorites delivered right to your inbox.

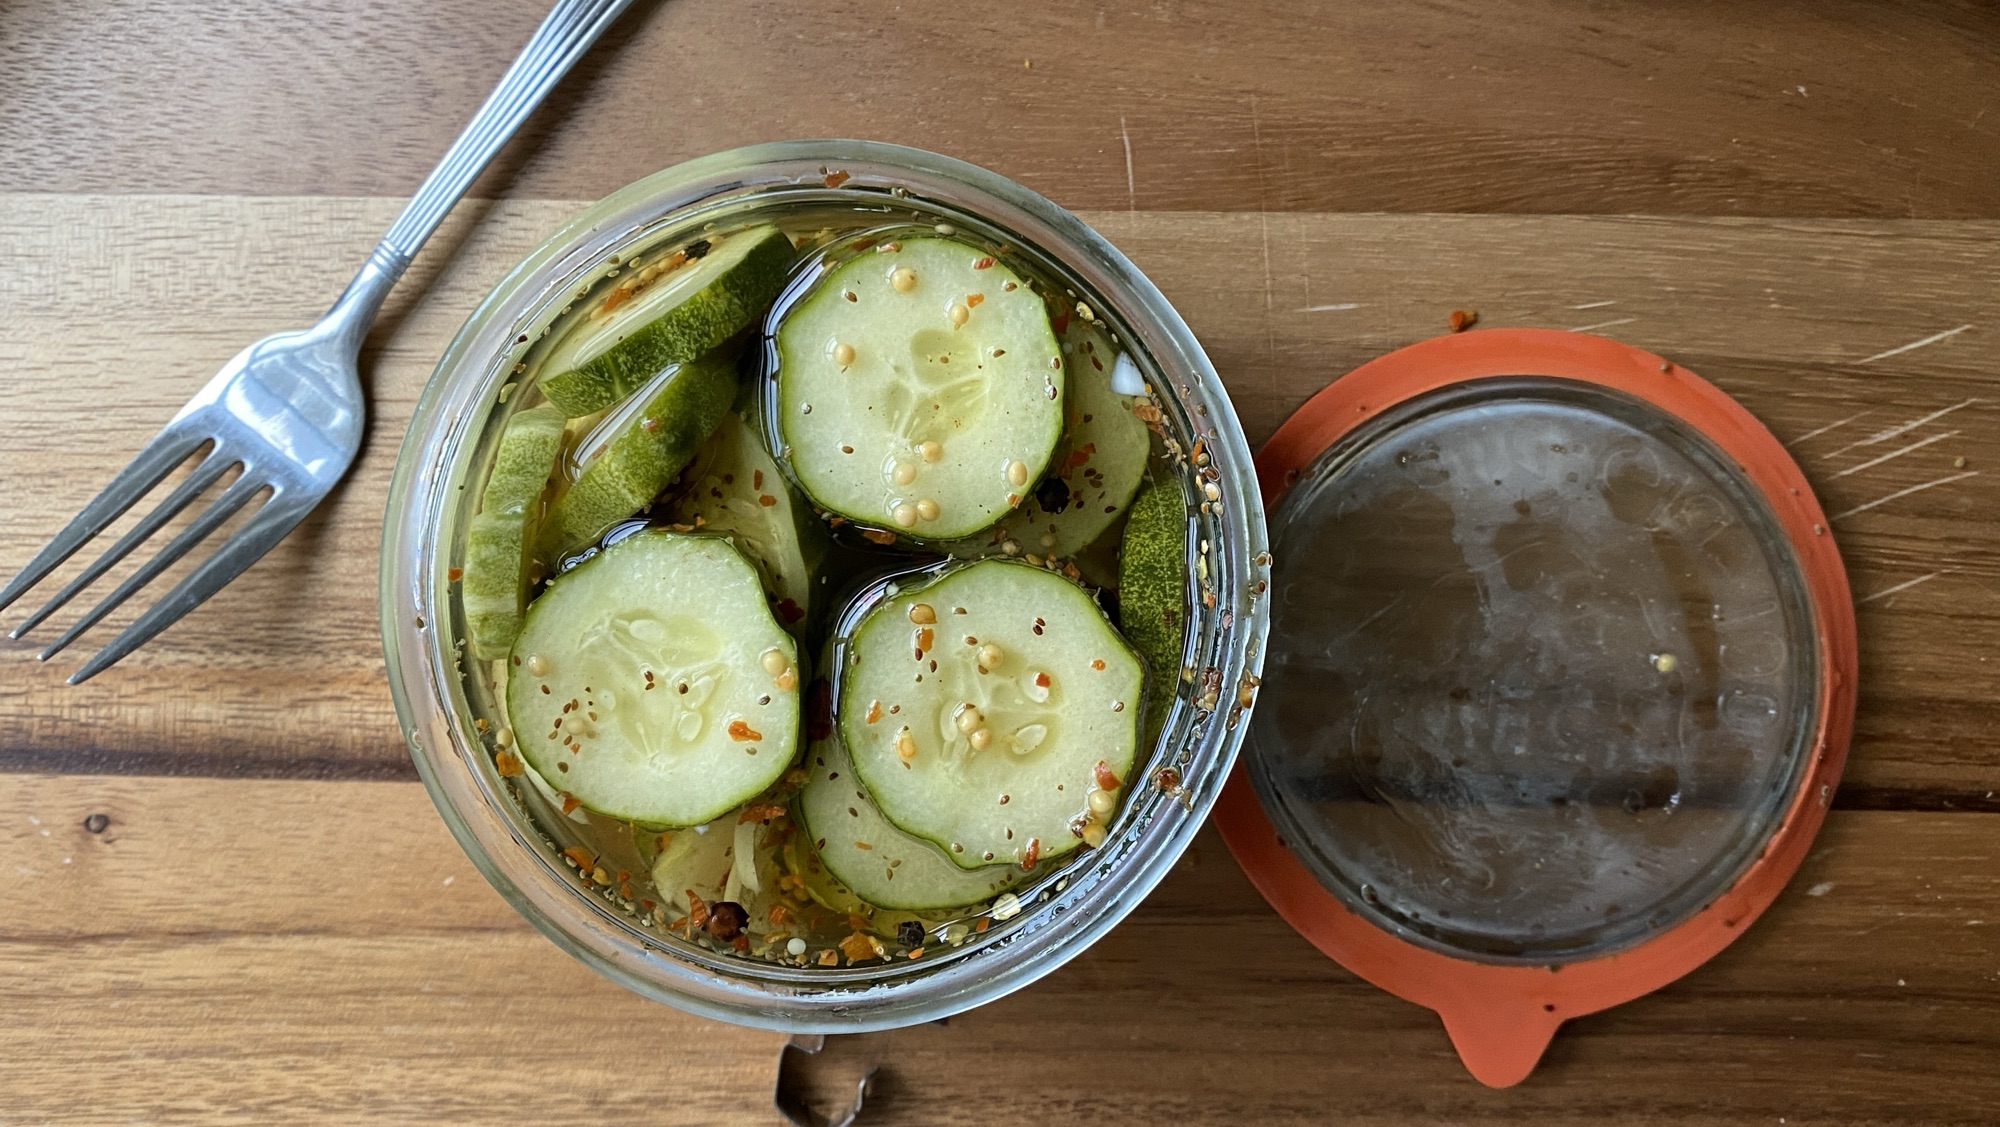
Old-fashioned refrigerator pickles made with fresh cucumbers and onions

How to Make Old-Fashioned Refrigerator Pickles in Weck Jars: A Southern Summer Staple

This recipe is part of my Old Fashioned Summer Saturdays series, a weekly look at timeless summer traditions, seasonal recipes, and vintage-inspired living. This week, we’re in the garden, putting those homegrown cucumbers to good use with a classic refrigerator pickles recipe…no canning required!

If you’ve ever grown cucumbers in your garden, you know how quickly they multiply. This easy refrigerator pickle recipe is my favorite way to preserve them without needed a canner, water bath, or any special tools. It’s fast, crisp, and full of flavor. Whether you’re a beginner or a seasoned gardener, you’ll love this vintage-inspired method.

Why I love this method:

  • No canning, no fuss. Plus it’s a great way to use homegrown produce.
  • This is a modern take on a timeless tradition.
  • There are no daunting tasks.
  • This recipe is easily adaptable and hard to mess up!

Supplies You’ll Need (affiliate links)

Recipe (keep reading for more details)

Old-fashioned refrigerator pickles made with fresh cucumbers and onions
Abby Smolarsky | Belle Antiquarian

Old-Fashioned Refrigerator Pickles

A no-canning refrigerator pickle recipe using fresh cucumbers and classic Southern flavors. Crisp, sweet-tangy, and easy to make; no special equipment required.
Prep Time 14 minutes
Additional Time 2 days
Total Time 2 days 14 minutes
Servings: 4 servings
Course: Side Dish
Cuisine: American, Southern

Ingredients
  

  • 4 medium cucumbers, thinly sliced
  • 1 Vidalia onion, thinly sliced
  • 2 cups white vinegar
  • 1 cup granulated sugar
  • 1 Tbsp kosher salt
  • 1 tsp mustard seeds
  • 1 tsp celery seeds
  • ½ tsp black pepercorns
  • ½ tsp crushed red pepper flakes
  • ½ clove of garlic per jar, peeled

Equipment

  • Clean mason jars or Weck jars
  • Sharp knife
  • Cutting board
  • Measuring cups and spoons

Method
 

  1. In a large bowl or measuring cup, whisk together the vinegar, sugar, salt, mustard seeds, celery seeds, black peppercorns, and red pepper flakes until the sugar and salt dissolve.
  2. Add the sliced cucumbers and onion to the brine, stirring to coat evenly.
  3. Place ½ garlic clove into each clean jar.
  4. Transfer the cucumber mixture into the jars, pressing gently to remove air bubbles and ensure the vegetables are fully submerged.
  5. Seal the jars tightly to refrigerate for at least 24 hours; for best flavor, allow 48 hours before serving.
  6. Shake the jars gently every few hours during the first day to distribute the seasonings evenly.

Notes

This is a small batch recipe and will typically fill 2-3 jars. If you have additional cucumbers or jars, simply prepare more brine to fully cover the vegetables. 

How to Customize Your Pickles

There is no end to the flavor combinations that you can create. Today I used radishes and cool-jalapenos (Yep, they’re a thing) to some of the jars for a few different flavor combinations. If you have a lot of extra okra, then you could pickle okra instead of cucumbers. Don’t have a Vidalia onion on hand? Use a red onion, or even swap out the white vinegar for apple cider vinegar. This recipe is very flexible!

Storage Tips

Wait about 48 hours for these pickles to achieve their peak flavor, but don’t wait too long to enjoy eating them. Since they don’t have preservatives or an airtight seal, they need to be enjoyed within a month. Keep them stored in the refrigerator, and always use a clean utensil when serving them to avoid contamination.

Whether you’re overrun with cucumbers or just looking for a way to savor summer, these easy pickles are a delicious and practical solution. If you give this recipe a try, tag me on Instagram or pin this post to save it for later! (Looking for the exact tools and products that I used? Find them HERE.)

Explore More from Old-Fashioned Summer Saturdays

This article is part of my Old-Fashioned Summer Saturdays series, where I share timeless inspiration for warm-weather living. Be sure to check out these reader favorites:

– Timeless Red, White, and Blue Decor Ideas for the Porch
– Heirloom Tomato Dreams
– Classic Summer Whites: Timeless Linen Dresses and Southern Style Staples
– Simple Garden Joys
– Creating a Cozy Summer Reading Spot
– Old-Fashioned Strawberry Shortcake Cake
– Blue and White China for Summer Entertaining

You can subscribe here to receive new articles, seasonal inspiration, and vintage-style favorites delivered right to your inbox.

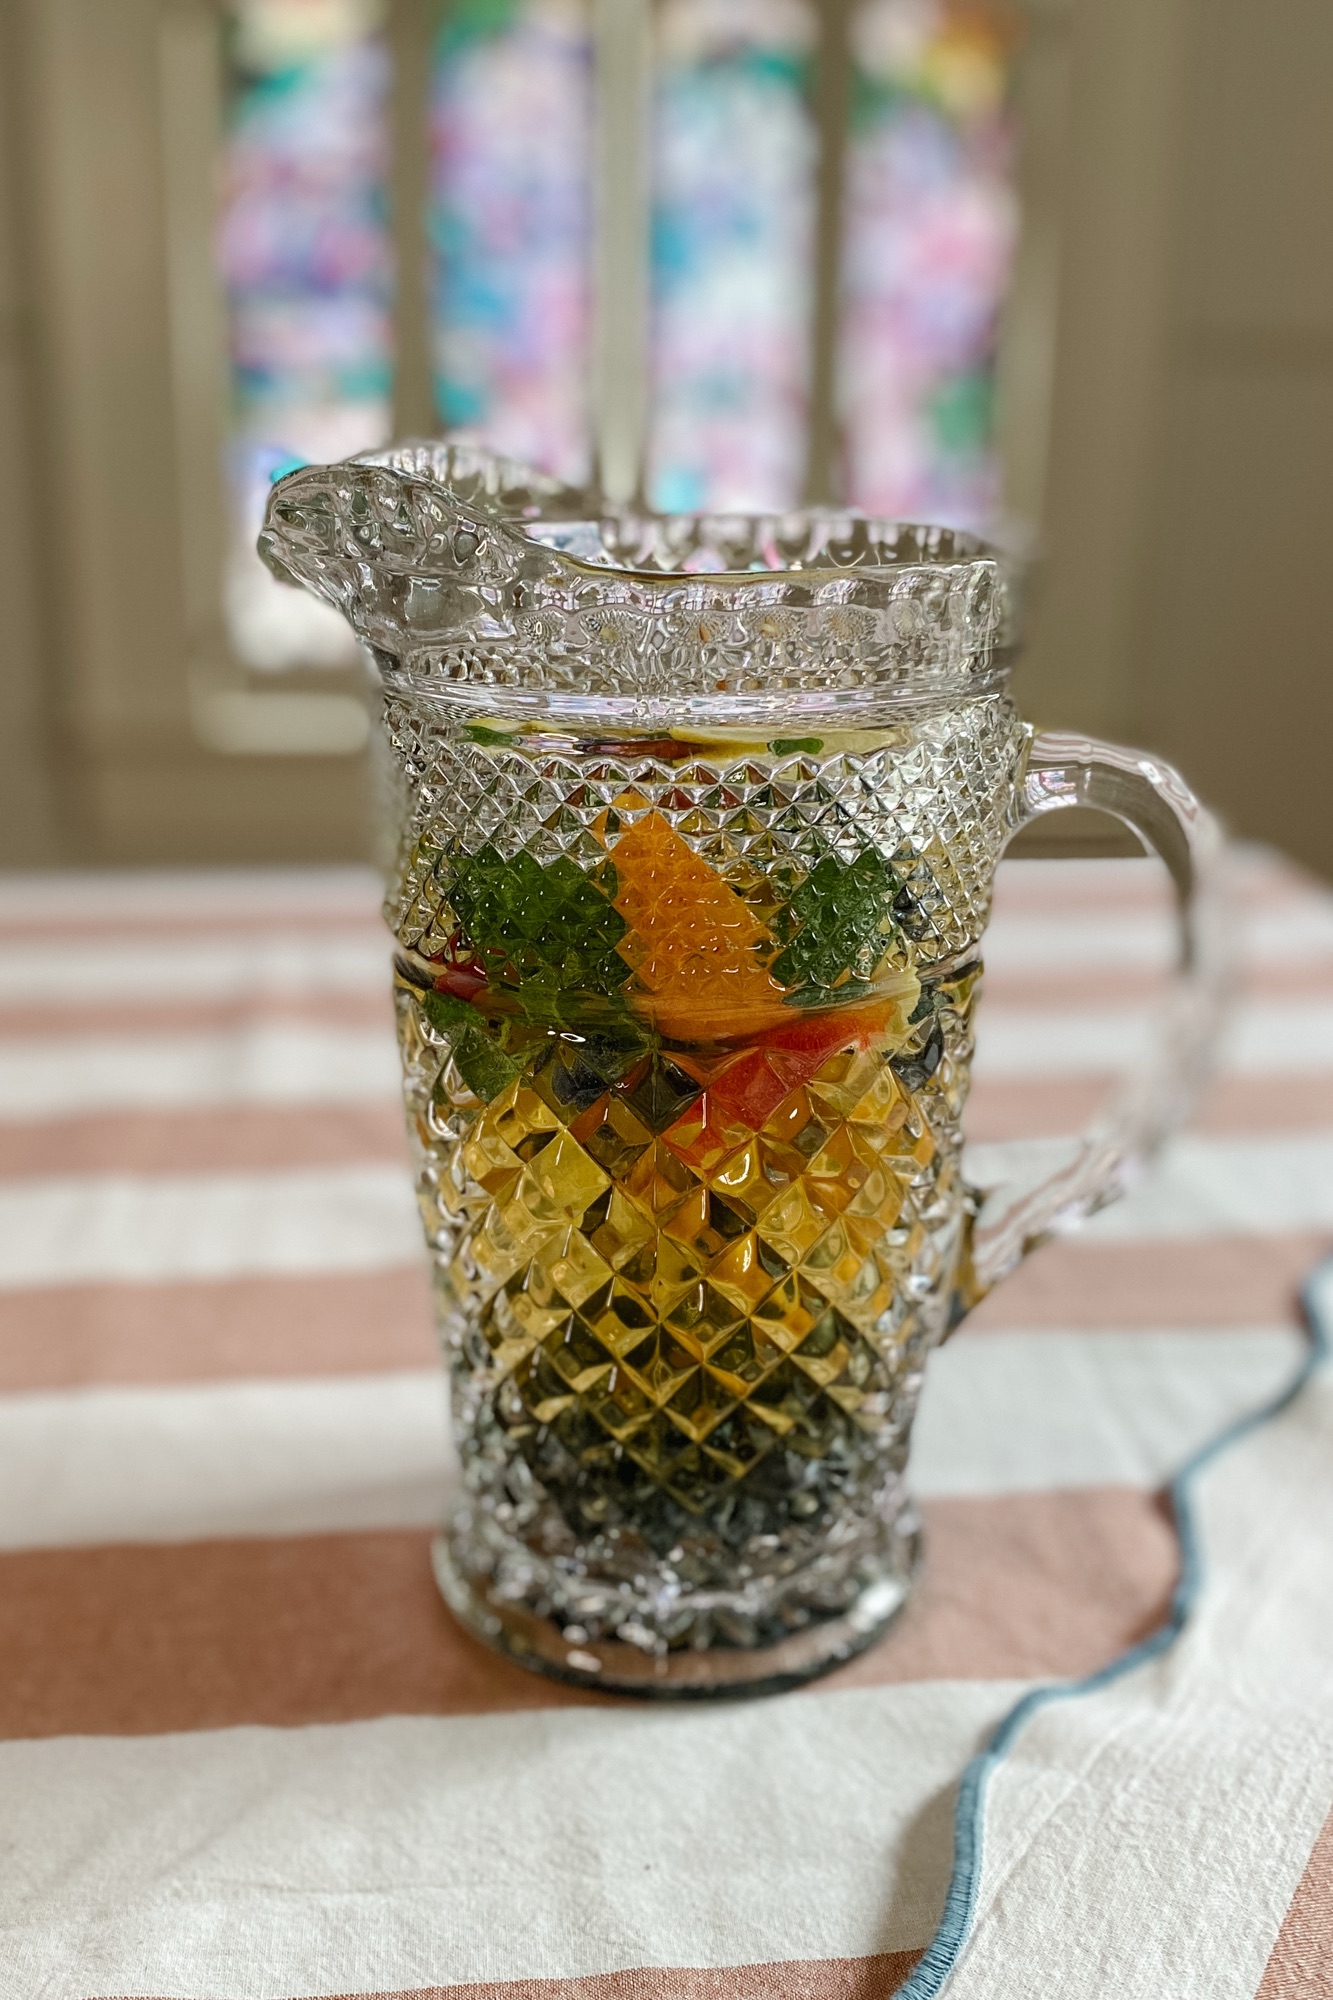
vintage glass pitcher with a beautiful southern sangria

Southern Garden Sangria: A Vintage-Inspired Summer Sip

Southern summers invite slow afternoons, porch swings, and a glass of something cold in hand. This Southern Sangria is my take on a warm weather classic, inspired by vintage garden parties, worn recipe cards, and the kind of fruit-filled drinks inspired by old-fashioned fruit punches and garden-party entertaining.

This article may contain affiliate links. If you purchase through these links, Belle Antiquarian may earn a small commission at no additional cost to you.

Why This Southern Sangria Feels Special

This isn’t the overly sweet sangria you may have had at a chain restaurant. This version is subtle, fragrant, and anchored by summer’s best fruits.

The addition of peach schnapps adds a soft floral note that pairs beautifully with ripe peaches, blueberries, and a handful of mint that I grow out on my sleeping porch.

And while you can absolutely serve it in a mason jar, I love to pour it into these vintage inspired glasses. It turns even a weeknight sip into something memorable.

Fresh summer fruit perfect for a southern garden sangria

Southern Garden Sangria Recipe

This is a simple sangria to prepare, with just a bit of time needed for the flavors to come together. Once it’s chilled, it’s ready to pour and serve.

Fresh summer fruit perfect for a southern garden sangria
Abby Smolarsky, Belle Antiquarian

Southern Garden Sangria

A vintage-inspired Southern garden sangria made with dry white wine, peach schnapps, bourbon, fresh peaches, blueberries, lemon, and mint. Light, fragrant, and perfect for summer entertaining.
Prep Time 15 minutes
Chill 2 hours
Total Time 2 hours 15 minutes
Servings: 6 servings
Course: Drinks
Cuisine: Southern

Ingredients
  

  • 1 bottle dry white wine, such as dry Riesling
  • ½ cup peach schnapps
  • ¼ cup bourbon
  • 1 ripe peach, sliced
  • ½ cup fresh blueberries
  • ½ lemon, thinly sliced
  • 1 handful fresh mint
  • Sparking water or club soda, to top
  • Ice, for serving
  • Additional mint or edible blooms, for garnish, optional

Method
 

  1. In a large pitcher, combine the white wine, peach schnapps, and bourbon.
  2. Add the sliced peach, blueberries, lemon slices, and fresh mint. Stir gently.
  3. Refrigerate for at least 2 hours, or overnight for more developed flavor.
  4. Just before serving, top with sparkling water or club soda.
  5. Serve over ice in glasses. Garnish with additional mint or edible blooms, if desired.

Notes

For a lighter version, add more sparkling water just before serving. Use seasonal fruit such as strawberries, plums, or blackberries depending on what is fresh.
Alcohol note: This recipe contains alcohol and is intended for adults 21 and older.

Entertaining Tip: Serve It in Something Beautiful

Once everything is chilled and ready, this is where I like to slow down a bit and think about how it will be served.

The glass truly matters. Pull out the vintage stemware, even if it’s only for yourself. Here are a few favorites you can find online:

vintage glass pitcher with a beautiful southern garden sangria

Make It Your Own

This sangria is forgiving. Use what’s in season or growing near you. Swap the peaches for plums, or the blueberries for strawberries. Add a splash of rose instead of white wine. The beauty is in the mix.

More Summer Recipes and Garden-Inspired Ideas

If you find yourself lingering a little longer over summer meals and simple gatherings, there are a few more ideas you may enjoy.

From fresh herbs clipped just before dinner to desserts meant for warm evenings on the porch, these are the kinds of recipes and traditions that make the season feel full.

ingredients for a southern sangria using many items fresh from the garden

Thanksgiving Breakfast Ideas: Easy and Delicious

This article contains affiliate links and commissionable ads.

In just a few days, friends and families will gather around tables to eat Thanksgiving dinner together. We prepare the traditional recipes, and sometimes venture to try new ones. With all of the focus on the main event, breakfast on Thanksgiving Day can feel like a burdensome afterthought. There’s far too much hustle and bustle to make sure dinner is perfect to wake up and stress about breakfast as well.

Click the photo to shop these items.

Today I am sharing our Thanksgiving breakfast table. One thing that I love about our historic home is that each space has a dedicated purpose. Our breakfast room is where we eat most of our meals, play games, and work on puzzles. The trend in modern houses has been to do away with formal dining spaces, but our family has always enjoyed both formal and casual dining spaces in every home we’ve had. I set the dining room table for Thanksgiving dinner a week ahead of time, and we still had a space to eat in the breakfast room.

For Thanksgiving breakfast we’ll have pumpkin muffins (recipe below) and egg strata (found in a cook book HERE). We’ll all eat as we wake up and feel hungry for breakfast. Some of us will be getting up early to cook, and some will be enjoying the well-deserved opportunity to sleep in.

Click the photo to shop these items.

I’ve set the breakfast table with a mixture of new and collected items. I’ve been enjoying this cotton tablecloth throughout the fall, and it’s a vibrant and warm backdrop to my vintage Thanksgiving plates. I’ve linked sources to everything in my LTK shop.

Click the photo to shop these items.

I’d love to know what you serve your family for breakfast on Thanksgiving. Please leave a comment and let me know.

Happy Thanksgiving!

Abby | Belle Antiquarian

The Best Pumpkin Muffins

Moist muffins filled with all of the same flavors as your favorite pumpkin pie.
Prep Time 10 minutes
Cook Time 24 minutes
Servings: 12 muffins
Course: Breakfast
Cuisine: American

Ingredients
  

  • 1 ¾ cups all purpose flour
  • 1 cup sugar
  • ½ cup dark brown sugar
  • 1 tsp salt
  • 2 tsp cinnamon
  • ¼ tsp ground cloves
  • ¼ tsp ground nutmeg
  • 2 eggs, room temperature
  • 1 15-oz can pumpkin puree, or 1 ¾ cups lightly packed fresh pureed pumpkin
  • ½ cup coconut oil, melted and cooled
  • 1 tsp vanilla extract
  • 1 Tbsp molasses, optional

Equipment

  • 1 Muffin tin
  • Muffin liners
  • 1 Large Bowl for the dry ingredients
  • 1 Medium Bowl for the wet ingredients
  • 1 Whisk or spatula
  • 1 Ice Cream Scoop to make diving batter easier
  • Toothpicks to test if done

Method
 

  1. Preheat the oven to 375* and line a muffin pan with 12 liners.
  2. Combine the dry ingredients in a bowl, whisk, and set aside.
  3. In a separate bowl, whisk the remaining ingredients until well combined and smooth.
  4. Pour the wet ingredients into the dry ingredients. Stir together until well incorporated, but do not over mix.
  5. Using an ice cream scoop, divide the batter among the 12 muffin cups. They will almost be full.
  6. Bake for 22-24 minutes, or until a toothpick inserted in the center comes out clean. (Cooking times can vary. Check at 20 minutes.)

Notes

  • Equipment: Use a standard 12-cup muffin tin lined with paper liners for easy cleanup. A large mixing bowl and medium bowl make the process simple, and an ice cream scoop helps divide the batter evenly for perfectly sized muffins every time.
  • Storage: Keep muffins covered at room temperature for up to 3 days, or refrigerate for up to a week. Reheat briefly in the microwave or toaster oven to bring back their just-baked flavor.
  • Freezer Friendly: Once cooled, freeze muffins in a single layer on a tray, then transfer to a freezer-safe bag or container. Thaw at room temperature or warm gently before serving.
  • Add-Ins: Fold in ½ cup of chopped pecans, chocolate chips, or dried cranberries for extra flavor and texture.
  • Serving Tip: These muffins pair beautifully with coffee, tea, or a touch of cinnamon butter.
  • Pro Tip: A sturdy muffin pan, vintage-inspired mixing bowls, and a quality ice cream scoop make this recipe both simple and stylish to prepare.
Lemon Ginger Honey Tea

Lemon Ginger Honey Tea

Hi! I’m just popping in with a quick post to share an easy tea recipe.

This tea is made using fresh ingredients. All of these ingredients are known to boost immunity, and what better time to enjoy a warm drink than during the cold and flu months of winter?

Lemon ginger honey tea recipe

For this receipt you will need organic ginger, organic lemon, local honey, a small jar, and some kind of utensil to use to get the honey from one container to the other. I used a small rubber spatula and a wooden stirrer. I’ll explain below why you want to use organic, instead of regular lemons and ginger.

Lemon ginger honey tea recipe

First, you will need to wash and thinly slice the lemon. Next you need to peel and thinly slice a finger length of ginger. The easiest way to peel ginger is to use the edge of a metal spoon and scraped the peel off. After everything is washed, peeled, and sliced, start layering your ingredients in your jar. You can either add honey in between layers as you go, or you can fill of your jar at the very end. (I layer the honey as I go.) Did you know that honey is the only food that will never spoil, as long as it is kept sanitary? If you don’t know where to get local honey, some Costco locations sell local honey.

Lemon ginger honey tea recipe

At this point your “tea” is done. You can keep it in the refrigerator for two weeks. Each time you want to make tea, simply scoop a spoonful of the mixture, including some lemons and ginger, into a mug and fill it with warm to hot water. You don’t want to use boiling water because it will remove some of the healthy benefits of the mixture.

Lemon ginger honey tea recipe

A few tips before we get to the printable recipe: The lemons and ginger need to be organic. Otherwise, a) the lemon will be coated in a preservative that you don’t really want to be brewing and ingesting, and b) the ginger won’t contain the healthy yeast it is known to have if it is organic. An alternative to putting your jar in the refrigerator is to allow it to ferment on the counter for 2-4 weeks before putting it into the fridge. Fermenting requires other steps, like burping the jar daily. I do not have experience with fermenting the mixture, so if you want to do that, you should do a quick Google search to find some directions.

Lemon Ginger Honey Tea

A soothing tea made with fresh lemon and warming ginger.

Credit: BelleAntiquarian.com

Ingredients

  • 1 small organic lemon, thinly sliced
  • 1 finger of organic ginger, peeled and thinly sliced
  • local honey to cover and fill your container
  • a clean small jar

Directions

  1. Wash, peel, and slice the ginger thinly.
  2. Wash and slice the lemon thinly.
  3. Layer the honey, lemon, and ginger in a small jar.
  4. Refrigerate your mixture until you’re ready to use it.
  5. When you want to make a cup of tea, scoop out some of the honey mixture, including some lemon and ginger, and place it into a cup. Fill your cup with warm or hot water and mix together. Don’t use boiling water or it will eliminate some of the health benefits of the ingredients.

Never miss a post, subscribe below! (You can unsubscribe at any time.)

Thanksgiving tablescape inspiration

Thanksgiving Table Inspiration

We’re just over two weeks away from Thanksgiving, and I would like to share some Thanksgiving table ideas with you.

Setting a Thanksgiving table doesn’t have to be expensive. As always, you can click any of the photos in this post to find the exact items pictured in my LTK shop. However, if you’re on a budget, you can use these photos to get inspiration for a color scheme. Try finding pieces to use in basic colors that can be used in multiple ways throughout the year.

First, this tablescape with rich colors and decadent textures creates a warm ambiance for your Thanksgiving feast.

Next, basic elements are pulled together to create a warm, casual feeling.

Finally, a timeless blue and white color scheme makes for an elegant, fun holiday tablescape.

Above all, I hope your Thanksgiving is filled with love and peace with the people you hold dear.

Until next time, Abby

Thanksgiving tablescape inspiration

Pink Deviled Easter Eggs

Happy Easter, friends!

Today I am sharing a bit from our Easter menu. I realize it’s too late for you to serve these pink deviled eggs on your Easter table this year, since today is actually Easter. But I’m posting in case it is something you’d want to try in the future. In addition to these eggs, today we had homemade chicken salad on brioche buns (recipe here), roasted asparagus (recipe here), and ambrosia fruit salad (recipe here).

For these eggs you are going to prepare your deviled eggs using whatever your normal deviled egg recipe is. I’m just showing you a tip for a little twist. For our deviled egg filling I use Miracle Whip salad dressing, ground mustard, salt, and Everything But The Bagel seasoning. The measurements depend on your taste and how many eggs you’re using.

I’ve found that my eggs peel easier if I keep them at a full boil for 10 minutes, followed by a bath in ice water. I leave them in the water until the ice is nearly all melted. It doesn’t matter for this recipe how you prepare your eggs – steamed, instant pot, or traditional boil. Anything works.

After your eggs are cooked and cooled, you will need to peel them, rinse them, and add them to a ziplock freezer bag.

Drain the liquid from a jar beets into the ziplock bag filled with your peeled eggs. You can save the beets for another meal or add them on top of a fresh green salad.

The eggs are immediately dyed. You should leave them in for at least an hour. I left mine in the beet juice overnight because I didn’t have time to finish preparing them until the next day.

The eggs will look like this once they’ve been dyed by the beet juice. After mine were dyed, I continued to prepare them like I would normal deviled eggs.

I made some regular, white deviled eggs as well. I have some very picky eaters at my house, and they all say that the beet-dyed eggs taste the same as the white ones.

This is a fun way to make deviled eggs look festive for Easter. Have you had them this way before? Let me know what you think!

From our family to yours, Happy Easter!