This article contains commissionable links and ads.
The first antique I ever bought was a book. As a young teenager my family stopped into an old bookshop that used to be in historic Stone Mountain Village in Georgia. The shelves were absolutely crammed with books, and although I was an avid book lover from a very young age, I was a little overwhelmed with where to start browsing. I noticed there was a shelf marked “antique,” and for some reason, that’s where I started. I decided to look for the oldest book that I could afford. I walked out of the bookshop that day with my very first antique, a book called, “Reveries of a Bachelor.”
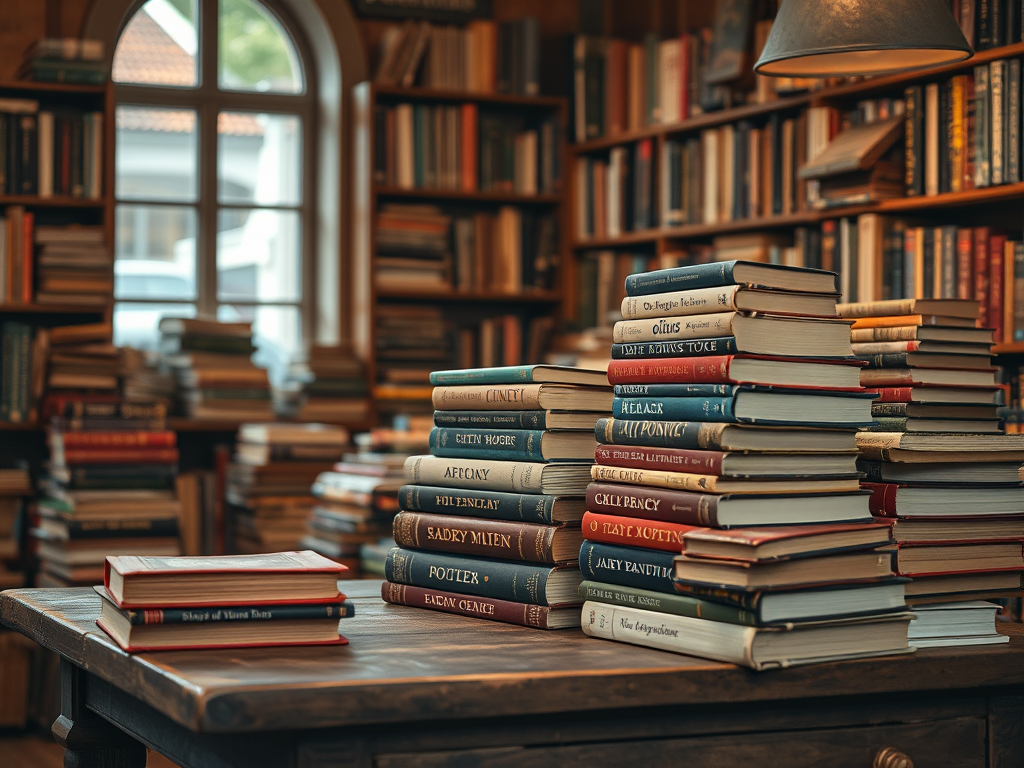
People often overlook buying vintage and antique books on their thrifting and antiquing adventures. Today I am sharing six things to consider when shopping for antique books: theme, genre, use, author, personalized gifts, and color/pattern.
Theme
Books can be a wonderful conversation starter, and grouped together they can become decorative accessories of interest. For example, one of our guest bedrooms has evolved into a red, white, and blue theme. On a nightstand in that room I stacked a group of books that evoke the feeling of “American government.” I currently have books in this stack with subjects like government, democracy, and America. If I want to grow this themed collection, while I am antiquing, I will look for both fiction and non-fiction books that fit with this theme. An example would be a book about American presidents, or maybe a murder mystery book with Washington, D.C. in the title.
Other themes that would be easy to search for are things like art, wild west (cowboys, western expansion), the region you live in (Southern U.S., the beach), cooking/food, gardening, or travel. Just remember not to limit yourself to either fiction or non-fiction; they can be mixed! (Check out these old gardening books HERE!)

Genre
I have wonderful memories of consuming books as a child. The characters from these books are often remembered fondly. I’ve put together a group of sentimental titles that would fit into a genre that an adolescent girl would enjoy. Books like The Secret Garden, Anne of Green Gables, and Pollyanna all make sense when grouped together in a display, because they’re all from the same genre. I’ve grouped my set on a shelf in our bedroom.
Other genres that would be fun to collect are early textbooks, British classics, poetry, music books, and hymnals. (Check out these antique poetry books HERE!)

Use
One of the best reasons to collect old books is because you’re actually going to use them. Years ago churches started throwing away all of the hymnals that used to be in stored the back of the pews. They moved to showing lyrics on screens instead of reading them from hymnals. However, many people prefer to use a hymnal to sing or play hymns on a piano. When I see a stack of old books for sale, I go through them to see if there are any old gardening books. I like to use them as references for plant problems or inspiration for things that I’d like to add to my garden.
Other books to look for if you want to actually use them are books on woodworking, cookbooks, or other types of how-to books. (Check out these old song hymnals HERE!)
Author
When people collect old books, they often choose them because of the author. One of the authors whose books I collect are those written by Edward Bulwer-Lytton. My family name is Lytton, and some relatives speculate that we are distantly related to the Lord Lytton. Another, more modern, author whose books I specifically search for is Martha Stewart. I find Martha Stewart’s books to be helpful resources for many topics that I’m interested in. Martha published her first book 43 years ago in 1982, so many of her books definitely fall into the vintage category.
Other authors that interest people are Hemingway, F. Scott Fitzgerald, Dickens, and Laura Ingalls Wilder, just to name a few. (Check out these vintage Martha Stewart books HERE!)

Personalized Gift
Another reason to consider buying vintage and antique books is for personalized gifts. Around the holidays I like to give a little something extra to people like our hair dressers and our dentist. If I was giving them a gift card or a tin of cookies, it would be fun to package their main gift with an antique dentistry book or a book on old hair styles. If you have someone in your life that is interested in wild life or travel, finding an antique book to give them on their topic of interest shows that you took a little extra effort in the thought that went into it. Be sure to look for these types of gifts all year long and set them aside for when you need them. (Check out these vintage hairstyles books HERE!)
Color and Pattern
Finally, another thing to consider when shopping for vintage and antique books is the cover. People have started using old books as decorative objects in their home. They can make an impact as decor when grouped by color. One side of my husband’s ancestry is largely found in Scotland. I have recently started collecting Scottish themed books for our bookshelf that have beautiful tartan patterned covers. These tartan decorated books are also beautiful in Christmas displays.
The next time you are thrifting and antiquing, don’t forget to look for books. Decide on a theme, a color, or even someone to buy a gift for. Recycling old objects in these ways puts them to use and keeps them out of a landfill. Happy Hunting! (Check out these vintage books with tartan covers HERE!)