Fun Holiday Activities for Young Adults and Families

This article contains commissionable links and ads.

I’m always looking for ways to keep the magic of Christmas alive now that our kids are young adults. Our youngest is in college, and our oldest lives about 3 hours away, so I try to make the most of our time when we’re all together as a family. I heard a quote a few years ago, and since then it has become something that I have become intentional about. The quote is, “Relationships are built on shared experiences.” I think this quote applies to many types of relationships, but isn’t it beautiful to think of in the context of families?

Relationships are built on shared experiences.

Where can we go together? What foods can we taste together? What games can we play together? How can we have FUN together? ‘Shared experiences’ have one thing in common, time spent together. Even when the quantity of time isn’t great, like when we are separated by distance, we can be intentional about the quality of the time spent together.

This brings me to my point of intentionally planning experiences this holiday season with our 20-something year olds and their significant others. My husband, Ken, and I are planning several things, but the one I want to share today is the white elephant advent calendar exchange we are planning for Thanksgiving. I use the term ‘white elephant’ loosely because we are really only using the rules of the game in this situation. We’re going to buy and wrap advent calendars to play a gift exchange with. Since our kids are in their young 20s, and therefore on a budget, Ken and I are going to buy all of the advent calendars. If we continue this game in years to come, we’ll up the fun-factor by asking everyone to contribute a wrapped one of their own.

Thanksgiving is the perfect time to play this game, because the advent calendars are needed before December 1st. We’re going to choose calendars that anyone would enjoy, regardless of who ends up with it. It will really be fun to see which ones are the favorites.

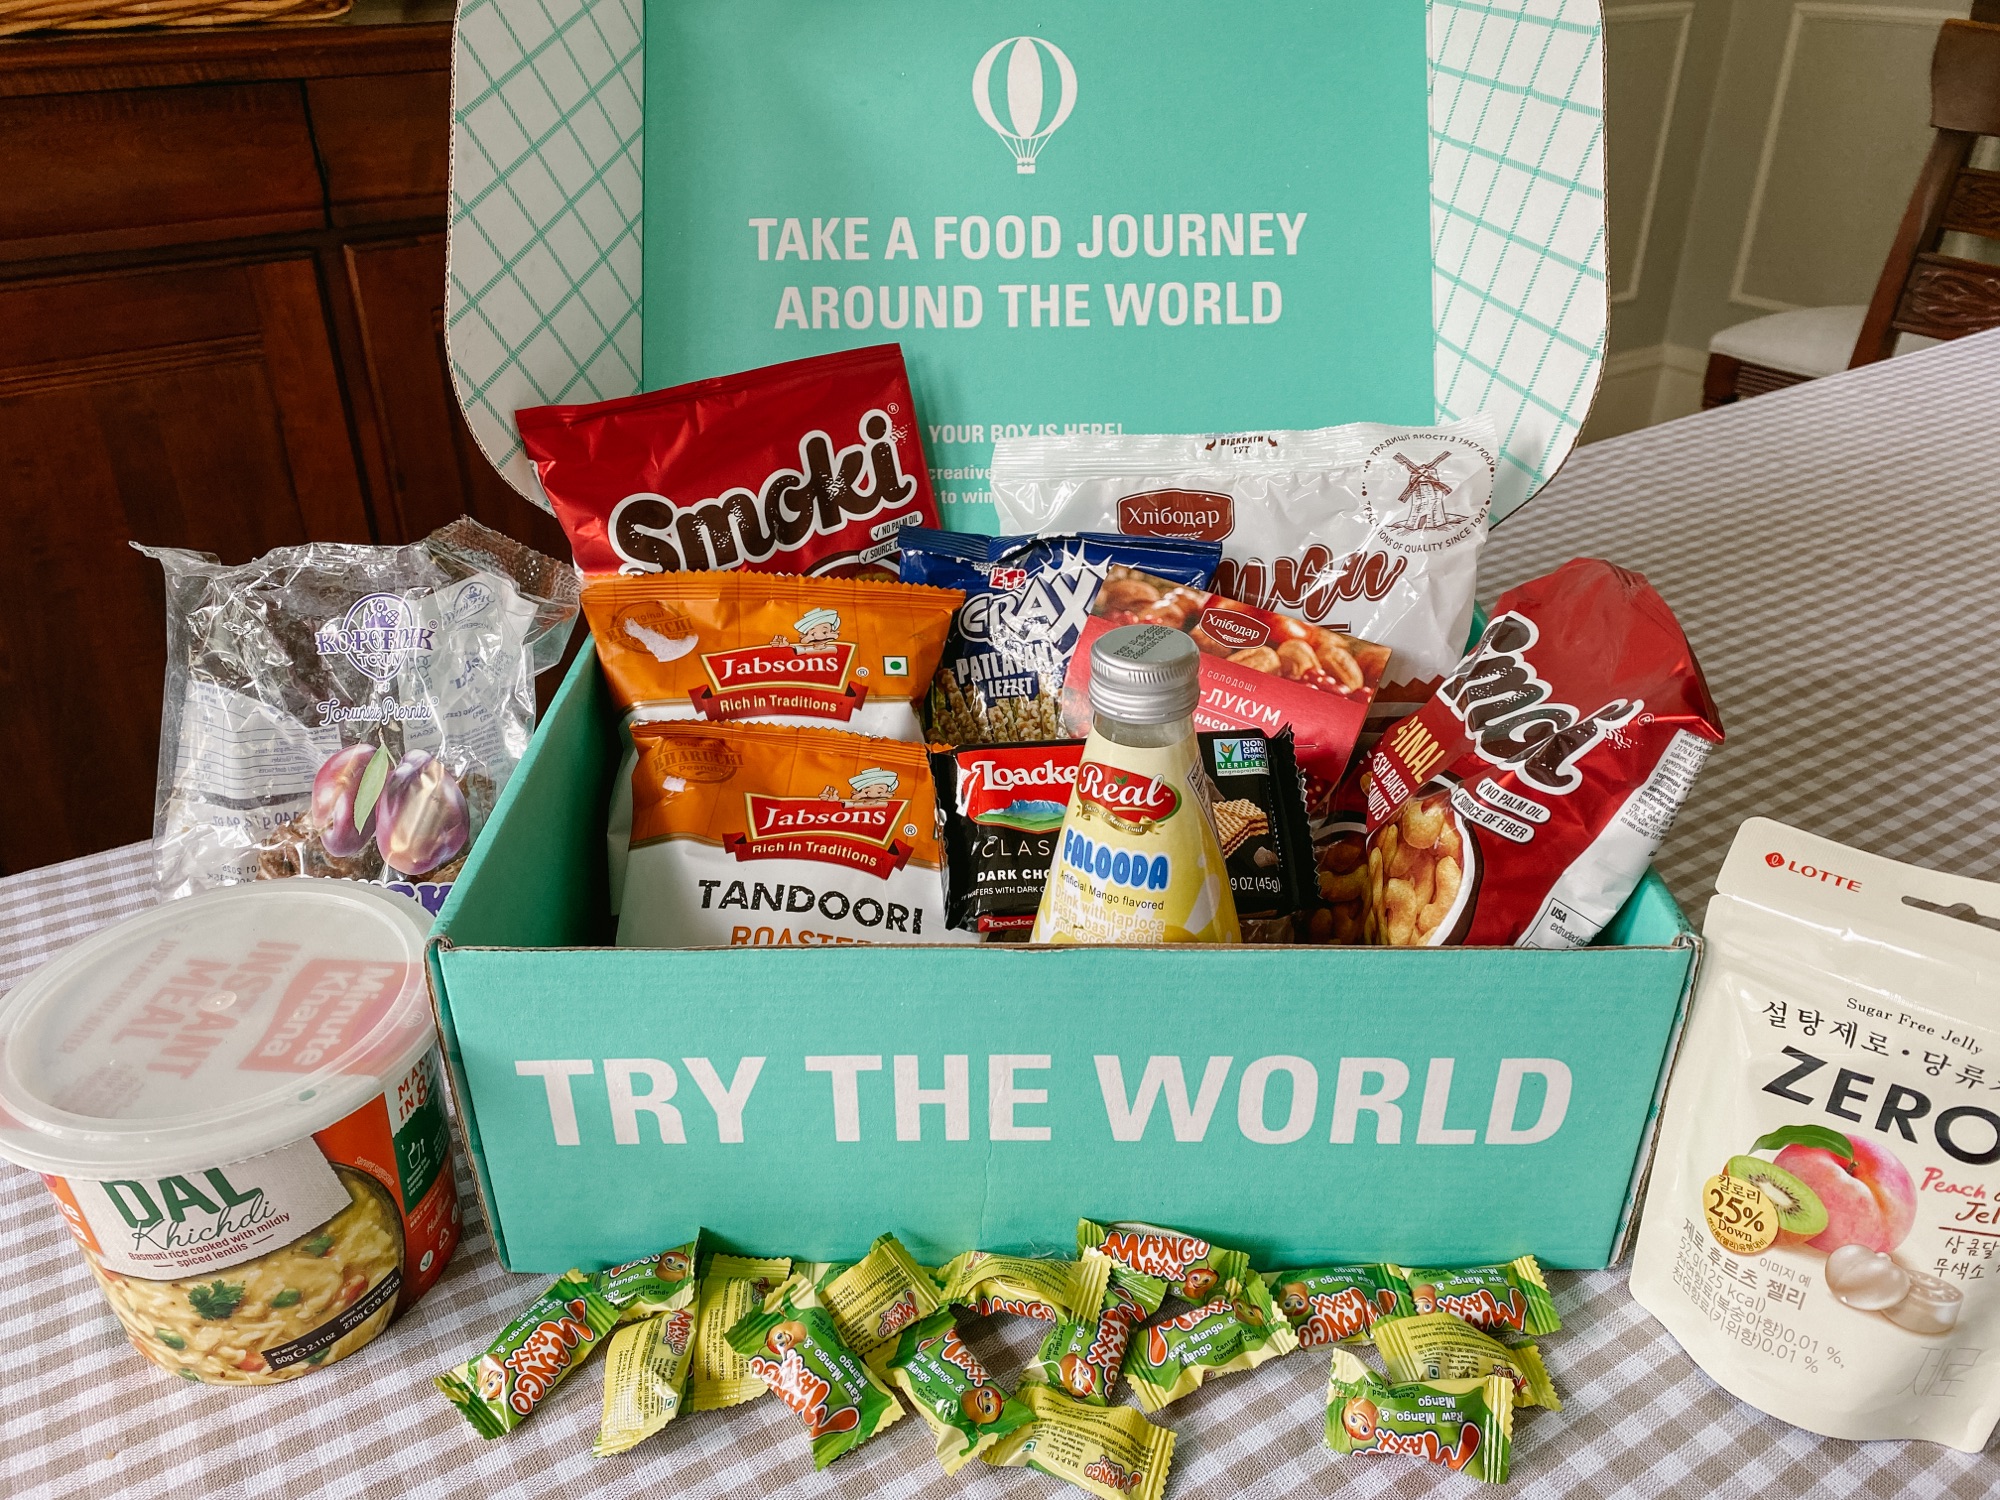
For now, I have rounded up sixteen of this year’s advent calendars that I think are the best. This list includes picks for young children, teens, women, and men. There are a couple of splurges, but most of them are priced $20-$25. Many of them have coupons to click before checkout, and several of them are reusable. I’m not going to share which ones off of this list that I’m buying in case one of our kids happens to read this article (unlikely), but please do come back and leave a comment if there’s one from the list that your family particularly enjoys.

You can click the photo above to find all 16 of these advent calendars in my LTK shop, or you can click the name below to go directly to the advent calendar’s website.

Bedroom Interior Design Plan: Collected Woodland Retreat

I’ve decided to start releasing some designed spaces once a month. Each month I will share at least one room design with sources that everyone has access to. This month I am going to share a bedroom and a bathroom design.

This article contains affiliate links and ads. You can find the products I recommend by clicking on the links throughout and at the bottom of this page.

I’ll be sharing paint colors, products, and tips that will be helpful if you want to implement this bedroom design in your own home. These are designs that you can pick and choose which elements to bring into your own spaces. They’ll be saved here on my website, or you can save them on Pinterest. You can come back and add pieces to your spaces as time and budgets allow.

I created this bedroom to be an enchanting woodland retreat with a mixture of textures, soft colors, and natural elements. The combination of natural wood tones and painted pieces gives the impression of a space that has been collected over time.

This solid wood spindle bed is a classic design that will truly become a family heirloom. As mentioned above, mixing natural wood tones and painted pieces creates a collected feeling. These end tables make excellent nightstands. They have a slightly aged patina. Be sure to note the design on the top before adding to your cart.

The art in this bedroom space is in keeping with the collected and found mood we are creating. The rabbit print, faux antlers, and book collection are 3 different ways to bring art into the design in a demure, unassuming way.

It’s easy to create a luxurious bedding ensemble and avoid the “bed in a bag” look by layering complementary linens. I recommend using the quilt as a base. Fold the gorgeous blue duvet and leave it at the end of the bed during the day. These throw pillows bring in another layer of soft texture.

The lighting I selected for the room is an example of how the juxtaposition of metal and natural fibers can work together to create a pleasing aesthetic. The chandelier and lamp work like a dream in this bedroom design. I encourage you to layer the lighting in each of your spaces using ambient, task, and accent fixtures.

Finally, we come to the walls and the floor. In this space I have featured a two-tone wallpaper with a nature inspired design. Wallpaper is not for everyone, so you can certainly use paint instead. I like Benjamin Moore “White Sand” 964 with these pieces, but you should select a color that’s right for your spaces using the light in your particular room. On the floor in this design I have chosen a floral rug. This particular rug is essential to the design because it pulls all of the colors from the room together.

You can find the sources for each of the items that I recommend below. Never miss a design release in the future by subscribing using the box at the bottom of this article.

You can find many of these items in my LTK Storefront HERE.

Create Your Dream Bathroom: Tips & Sources

I’ve decided to start releasing some designed spaces once a month. Each month I will share at least one room design with sources that everyone has access to. This month I am going to share a bedroom and a bathroom design.

This article contains affiliate links and ads. You can find the products I recommend by clicking on the links throughout and at the bottom of this page.

I’ll be sharing paint colors, products, and tips that will be helpful if you want to implement this bathroom design in your own home. These are designs that you can pick and choose which elements to bring into your own spaces. They’ll be saved here on my website, or you can save them on Pinterest. You can come back and add pieces to your spaces as time and budgets allow.

I created this bathroom with the idea that it can blend with multiple design styles, while also being timeless. I want to help you select finishes and furnishings that can stand the test of time. Let’s move away from “fast fashion” in home decor and move towards selecting heirloom choices that will be loved for decades.

This design features two different tiles. The first tile is a basket weave pattern with natural marble stone. This tile can be used on both walls and floors. It’s a classic in both pattern and material. The second tile is a matte gray slate. This slate tile is approved for both wall and floor application, but I only recommend it for floors in this case. We want to avoid using the slate tile on walls and showers because it will create a trendy aesthetic.

Next, I selected a versatile and transitional bathroom vanity. The vanity is available in two colors, gray and white, and either color would be appropriate for this design. The vanity is available with one or two sinks, and it features a real, natural marble counter top. The holes are pre-drilled on the vanity, so I selected a faucet that will fit and complements the hardware on the vanity cabinet.

As I move on to lighting, I want to encourage you to consider laying lighting, even in your bathroom. I selected an overhead light for ambient light, as well as sconces for next to the mirrors. The sconces will give better lighting for makeup application and using the mirror, so those are our task lights. In addition to these, you could also add a little counter top lamp.

The apothecary storage cabinet, the art, stool, and plant are beautiful pieces that pull the entire design together. These are also the pieces that you could switch in and out if you want to change your decor up without a costly renovation. (I am obsessed with this black swan print and trying to work it into my own decor somehow.)

For this space, I recommend to paint with Benjamin Moore “Wish” AF-680. Remember, this is a suggested paint color for the space. You should choose a paint color that is best for your bathroom.

You can find the sources for each of the items that I recommend below. Never miss a design release in the future by subscribing using the box at the bottom of this article.

You can find many of these items in my Lowe’s Storefront HERE or my LTK Storefront HERE.

Creating the Perfect Flower Garden Plan

This article contains commissionable links and ads.

Today I am sharing my plans for a flower garden, how I chose the flowers that I’m planting, and when I will be planting them. I will be sharing the whole list of plant and seed varieties that I am using, in case you would like to use them as well.

Save on Seeds

There are many factors to consider when starting a flower garden. The main ones that I focused on for my garden were growing zone, sun exposure, color scheme, and height of plants. My growing zone is 8a. It’s important to know what your growing zone is because it will determine the earliest and latest dates that you can successfully plant and get the best results. It will also indicate if you need to put your plants in during the fall or the spring. If you don’t know what your growing zone is, you can check the Farmer’s Almanac website or the USDA website.

Next you will need to know what type of sun exposure your garden bed will have. My garden bed is “full sun.” You can figure out what type of sun exposure your garden bed gets by simply seeing how much shade it gets throughout the day. Most flowering plants like to be in the sun.

After finding your growing zone and sun exposure, it’s time to decide what type of flowers you want to plant. One suggestion that I have for creating a beautiful garden is to decide on a color scheme. Just like interior rooms look more cohesive with a set color scheme, garden beds do as well. I decided to use a color scheme of purple, yellow, and white. This is a complementary color scheme because purple and yellow are directly across from each other on a color wheel. In gardening, green and white are considered neutral colors, so white flowers in my bed will be “neutral.”

Just a note about red: For those that love red flowers, if you want a complementary color scheme, your garden colors will be red and white flowers with green foliage, since green is the complementary color to red. Another color scheme that looks nice is red, white, and blue. A monochromatic color scheme with reds, oranges, and pinks is also one to consider, although it’s not my personal favorite.

Okay, after I chose my color scheme of purple, yellow, and white, I then looked at height of plants. I wanted the tallest plants to be in the back and the shortest plants to be in the front. This way none of the flowers are hidden, and taller or “leggier” plants have their stems hidden by the shorter row of flowers in front of them. Something else I looked at was when each plant would be blooming during the season. If everything turns out like I planned, I should have at least one type of flower blooming from early spring through late summer.

This is one of the spaces I am using for a flower garden. This space gets full sun. Everything that I’m planting in the fall will be planted here. I’ve added 6 bags of manure and completely turned the soil over to prepare it for seeds and tubers.

What I’m planting this fall, so that it will be ready to flower in the spring:

  • Allium Gladiator, purple, 40″ tall, perennial
  • Peony, Festiva Maxima, white, 39″, perennial
  • Itoh Peony, Bartzella, yellow, 24-36″, perennial
  • Canterbury Bells, Campana Lilac, purple, 30-34″, biennial
  • Allium Mount Everest, white, 30″ tall, perennial
  • Stock Seeds, Miracle Blue Mid, purple, 24-30″, annual
  • Allium Purple Sensation, purple, 28″, perennial
  • Yarrow, The Pearl, white, 16″, perennial
  • Alyssum, Basket of Gold, yellow, 8-12″, perennial

As you can see, most of these plants are perennials, so they come back each year.

In the spring, I will be planting the rest of my seeds, which are all annuals. These are going to be in a separate, but adjacent, flower bed.

  • Cosmos, Double Click, purple, 36-42″
  • Zinnia, Benary Giant White, white, 36-40″
  • Zinnia, Isabellina, yellow, 36″
  • Snapdragon, Snowflake, white, 36″
  • Love in a Mist, Orientalis Transformer, yellow, 28″
  • Snapdragon, Madame Butterfly, yellow, 24-30″
  • Cosmos, Xanthos, yellow and white, 20-24″
  • Love in a Mist, Blue, blue, 18-24″

I purchased all of my flowers from Eden Brothers. The Eden Brothers website is very use friendly. You can filter by all of the things I mentioned in this article – color, growing zones, perennial, and so on. When your seeds arrive they will have a QR code to get specific instructions. I also received a link via email with helpful information for most of the flowers that I ordered.

Save on Seeds

I’ll update this article with photos of my blooms in a few months. In the meantime, please let me know below if you have any questions!

Unique Gift Ideas: Try the World Subscription Box

This article contains affiliate links and ads. You can find the subscription I’m featuring by clicking on the links and/or graphics throughout the article.

Every year around this time I publish articles with gift ideas. I like to share gift ideas for people who are hard to shop for, people who have everything, and for gifts that won’t end up at the bottom of the toy bin. I absolutely love giving consumable gifts. So when Try the World reached out to me, I was genuinely excited. Try the World is a gourmet tour around the world. Recipients get gourmet products from different countries like France, Japan, or Argentina every month. There are a dozen of the best gourmet and cultural finds in each box. I know first hand how memorable a gift like this is, because back when I was a kid one of my dad’s clients gave him a year-long subscription box that came once a month. Us four kids would crowd around and get really excited to see what came in his box each month. I remember the boxes that came and the sorts of things that were inside of them, but I can’t tell you what I got in my stocking that year for Christmas. These boxes make a big impression.

A subscription to Try the World is customizable to fit your needs. You choose the box size, the frequency, and select from 50 countries that you would prefer to send or receive snacks from. It’s really that easy.

Who would this type of gift be perfect for?

  • A couple’s gift (each box can be a date night activity to open and try the treats and snacks)
  • Foodies
  • Travel Lovers
  • Kids (My elementary aged niece and nephew would love this and remember it forever, just like I did.)
  • Grandparents who don’t really need anything specific
  • College age kids love snacks (My two told me they would love to get a box each month!)
  • A gift to yourself (Treat yoself!)
Snackbox 5 Snacks Subscription (Billed Sem…

A delicious selection of mouth-watering snacks from around the world—delivered to your … [More]

Price: $96.00

.

Try the World has generously given me a 20% off promo code for me to share with you. You can click HERE and use code HAPPYFALL for 20% off. Now is the perfect time to mark a person (or two) off of your holiday shopping list. I know a couple of kids who are going to be excited in a few months when their first box from Auntie Abby arrives. I hope you love it as much as I do!

(Want more gift ideas for the people who are hard to shop for or the person who already has everything? Use the search box to the right and search “gifts”!)

Take a Food Journey Around the World!

Transform Your Dining Room on a Budget

This article contains affiliate links and ads. You can find many of the pieces I feature by clicking on the links at the bottom of this article.

I’m happy to finally share the details on our dining room refresh. Months before our kitchen renovation began, we started on our dining room. This was a low cost project that we completed over a long weekend. With some paint, new draperies, an estate sale find, and collected antiques from the storage bins, I created a dining room that we look forward to hosting holiday dinners in.

The homeowner that did all of the major renovations on our home in the early 2000s painted it a sherbet green with a lighter shade of green on the ceiling. The seller we purchased it from didn’t make any changes to the dining room at all. Every room was kept exactly the way it was when they bought the house, right down to where the nails in the wall were. It was important to me to make this OUR home, and painting is an easy way to do that without changing the style and architecture of a historic home.

One of the changes we made with the biggest impact was to paint the ceiling. If you’re considering painting your ceilings a lighter shade of the wall colors, pause and think twice. Not necessarily because of resale value, but think of how you want people to feel while they’re in your home. If you’re wanting a dramatic effect and an artistic environment, then go for it! But if you want people to feel relaxed and settled, it’s not for you. It’s distracting and chaotic if it’s not done properly.

We painted our walls with Benjamin Moore “Revere Pewter,” and the ceiling is “White Dove.” The trim is Behr “China White.” The trim was already painted for us, and I like how it works with the Revere Pewter. China White reminds me of the color of antique ironstone dishes.

When we sold our last house three years ago, we sold most of our furniture, including the dining room table, chairs, and china cabinet. The rental house we were moving to didn’t have a dining room, and the dining set was looking a little dated, so we sold it on Facebook Marketplace. After we bought this house, I found an estate sale that was selling an Ethan Allen dining set for less than 1/10th of the retail cost. It’s currently on the Ethan Allen website, and the total cost for the table, 8 chairs, and buffet would’ve been over $11,000. We paid around $1,000. It’s worth it to check out estate sales!

I featured the drapery and hardware on an Instagram post several months ago. The drapery and hardware ended up being a source of frustration. The bay windows in our house do not match the measurements of modern bay windows. Modern bay windows have a larger center window with a smaller functional window on each side. Our original historic bay windows have a smaller center (functional) window, with a larger stationary window on each side. The drapery and hardware for our bay windows were custom made to fit them. And unfortunately, they were removed by the seller. I ended up finding hardware and drapery that I preferred, but it was time and money that we weren’t expecting to spend.

The other items in the room, like plates, pitchers, and artwork, are things that I’ve collected over the years. It was a little like Christmas opening all of my boxes that had been in storage for three years, and we’ve only had one broken crystal glass so far!

I’m lucky to have two pieces of artwork by my twin brother, Tyrus Lytton, displayed in our dining room. He painted a portrait of our daughter when she was two or three, and I found a frame online that complemented the antique mirror on the other side of the doorway. He also painted a small watercolor of our house. (Side note: my brother normally does large scale art installations all over the world. I’m very proud of him and thankful to have some of his artwork on a smaller scale.)

Below you can find a list of sources for the items that I used in our dining room. Some of the pieces are antiques, but I have linked similar ones that I found online. Click on the word to be taken to the source where you can find them.

P.S. There are also a few side-by-side- before and after photos below.

As you can see, a little paint and some new draperies can make a big impact. I’m curious if you’ve ever purchased a house and had items removed that were supposed to stay. Let me know in the comments if you’ve experienced that, too!

Until next time,

Abby

Hot Beverage Station/Coffee Bar

This post includes affiliate links and ads. You can find all of the exact pieces that I feature by clicking the links.

One of the reasons I wanted a really neutral kitchen color scheme is because I absolutely adore color. That sounds contradictory, but by having a neutral background I can decorate with all of my lively, colorful accessories and change them out seasonally. In today’s article I am featuring my new hot beverage station/coffee bar, which I have accessorized with colorful antique plates and a red antique rug.

One side of our kitchen had a blank space that I needed to make functional. We considered adding a base cabinet there during our renovation, but there were a few issues. There are a door, window, and HVAC vent all along that wall. I knew I would find the perfect piece to use as a coffee bar and hot beverage station. And I did!

THIS gorgeous oak sideboard allows the HVAC vent to flow, while also giving me “counter” space to use for my *stunning* electric tea kettle and coffee maker. Ken and I were a little unsure about ordering a piece of furniture online. The reviews were really good, but we live in the country, and we weren’t sure about it making it here in one piece. Still, it arrived quickly and packaged extremely well to protect all of the wood. The legs did need to be attached, but we did that together in about ten minutes. The shelf underneath provides extra storage that would be good for cookbooks or a basket like this one. The plate rate that I’m using above the sideboard is an antique piece that I found, but I found a couple of other options HERE and HERE.

Not only do I have more counter space to use as a coffee bar, but the 4 drawers and 2 doors are very deep. I have room to store my tea bag organizers, coffee grounds, filters, and mugs and glasses. I’m protecting the sideboard surface under the coffee maker with a silicone mat. This keeps me from worrying about spills on the beautiful wood.

The only one who loves my red antique rug more than me is Annie. I found a really similar rug that I know you’ll love, too.

Want to find almost everything that I’ve pictured and featured? You can do so in 3 different ways: click the links above in the article, click HERE for my LTK shop, or click HERE for my Lowe’s Storefront.

Our 1939 Kitchen Remodel

I’m excited to be working directly with Lowe’s Home Improvement to share many of the kitchen selections I used during my recent kitchen remodel. As a Lowe’s affiliate, I get a commission on the links I share in this article.

We lived in our 1930s home for several months before beginning the remodel, and we were surprised to discover how much we enjoyed it not being an open floor plan. It’s really nice having spaces with dedicated purposes and doors we can close off when we want to. I had originally considered knocking down the wall in between the kitchen and the breakfast room, but decided to use the existing work triangle that a former homeowner had established. (We’ll update the breakfast room in a few months with built-in seating and storage.)

In photos the kitchen is deceptively small. It’s actually quite functional at about 20 feet by 10 feet. After deciding to keep the existing work triangle, my focus shifted to adding countertop work surfaces, removing and updating the tile countertops and backsplash, and removing and replacing a very early version of laminate flooring. The oven and dishwasher were completely broken, so we needed to update those as well.

After selecting and purchasing all of the materials myself, I hired a general contractor to coordinate all of the demo and installation, as well as to build us another lower countertop. We had a thorough inspection before buying our home, but we still held our breath during the demo process. There’s never a guarantee that we wouldn’t uncover problems when we started the remodel. Thankfully, we didn’t have any surprises!

I chose to shop with Lowe’s for most of our materials because they offer a 10% discount to military veterans. Since Ken is an army vet, we qualified for their savings. The floor tile I selected has a marble look with both warm and cool tones. It’s waterproof, chemical and stain resistant, pet-friendly, and has a limited lifetime warranty. (Spoiler alert: I used this same tile in the sleeping porch remodel that I’ll feature in a future article.) It’s just an overall great product for high traffic areas. Coincidentally, I had originally picked out a tile from a specialty tile store. On my way to pay for the tile, I happened to stop at Lowe’s to look at grout colors, and I found this floor tile. It was an almost *exact* match. That stop into Lowe’s saved me over $1,000. (I chose Mapei grout in alabaster for both the floor tile and backsplash.)

The countertops and backsplash were both the same, outdated, early 2000s tile. The fruit basket design over the range was not the type of history that I’m trying to preserve. yikes. I understand how budgets are limited, so I encourage everyone to wait and save for solid surface countertops than to install something impractical or trendy. At one time, these tile countertops were in fashion. The backsplash is another amazing Lowe’s find of travertine subway tiles. Due to it being a natural product, color can definitely vary, but I was pleased to find that each of the boxes I purchased had both warm and cool tones in it. For my countertops I selected leathered granite in “Arctic White” for my countertops. The slab I picked, again, has warm and cool tones in it.

So those are all of the pretty, fun things to pick out, but we definitely had some functionality issues with the kitchen. I don’t know how the sellers were eating, cooking, or cleaning. The dishwasher leaked; the oven didn’t work; and the faucet wouldn’t stay on for more than 60 seconds. I ended up picking out an induction range that I have fallen in love with. Water boils faster than the gas stove that I used for years. The dishwasher is a silent dream of a work horse. The sink and faucet fit in perfectly with the size and style of our kitchen.

The transformation is pretty remarkable. I kept costs down by keeping the existing layout and not moving electrical and plumbing. The most expensive part of my remodel was adding a lower cabinet for pots and pans. (The former homeowners used furniture there.)

Buying my materials from Lowe’s saved us thousands of dollars. You can find all of the Lowe’s products that I mentioned in this article in my Lowe’s storefront. Finally, how’s this for a before and after?

Since the remodel has been finished, I’ve added an antique rug and a hot beverage station that I’ll be sharing in a future article. In the meantime, I share real-time progress every day on my Instagram stories. Please come over and follow me there – I’d love to meet you.

See you soon,

Abby

Welcome to Our New Home

original artwork by Tyrus Lytton

This year we moved to a new home in a small town about an hour away from where Ken and I were born and raised. While this may not seem like a big move, it’s quite an adjustment only having one grocery store to choose from. After three years of searching for the perfect historic home for us, we found one to settle in and make our own. A former homeowner completely updated the wiring, plumbing, and basement during an early 2000s remodel. (That was good news for us!) But, the most recent homeowner neglected to keep up with basic historic home maintenance, so we have a lot of things to do, like re-glazing all of the original (working) windows, refinishing the original iron railings (there are a lot of them), and taming the overgrown property full of invasive plants.

This is the original brick color. It has not been painted or lime washed.

In the coming months, I’ll be sharing how we are updating and caring for our almost 85 year old home. Since the major mechanical systems have been updated, many of the updates I’m making are considered cosmetic. I’ll be sharing the planning process and the exact materials I’ve used. The process I’m using and selections that I’m making are timeless, which means they will look wonderful in my home and yours, too.

This is the original brick color. It has not been painted or lime washed.

As you follow along, keep in mind that I am working to create a backdrop that can stay in place for decades to come long after I’m gone. Tile, flooring, and countertop selections are not exact copies of what a homeowner would use in a 1930s home, but they are reminiscent of colors and materials that could have been selected. My home is in a town that would have been very rural and agricultural, so “modern” art deco themes wouldn’t have been used. As I showcase rugs, furniture, and accessories, please remember that I am not aiming to create a museum-like atmosphere. While my style is certainly traditional, I am not actively seeking period pieces to fill my home.

Tomorrow I will be sharing our kitchen remodel, which includes countertops, backsplash, flooring, appliances, and adding an extra lower cabinet. In the meantime, I share quite a bit more on Instagram if you’d like to see more real-time progress. See you then!

Abby

Lemon Ginger Honey Tea

Lemon Ginger Honey Tea

Hi! I’m just popping in with a quick post to share an easy tea recipe.

This tea is made using fresh ingredients. All of these ingredients are known to boost immunity, and what better time to enjoy a warm drink than during the cold and flu months of winter?

Lemon ginger honey tea recipe

For this receipt you will need organic ginger, organic lemon, local honey, a small jar, and some kind of utensil to use to get the honey from one container to the other. I used a small rubber spatula and a wooden stirrer. I’ll explain below why you want to use organic, instead of regular lemons and ginger.

Lemon ginger honey tea recipe

First, you will need to wash and thinly slice the lemon. Next you need to peel and thinly slice a finger length of ginger. The easiest way to peel ginger is to use the edge of a metal spoon and scraped the peel off. After everything is washed, peeled, and sliced, start layering your ingredients in your jar. You can either add honey in between layers as you go, or you can fill of your jar at the very end. (I layer the honey as I go.) Did you know that honey is the only food that will never spoil, as long as it is kept sanitary? If you don’t know where to get local honey, some Costco locations sell local honey.

Lemon ginger honey tea recipe

At this point your “tea” is done. You can keep it in the refrigerator for two weeks. Each time you want to make tea, simply scoop a spoonful of the mixture, including some lemons and ginger, into a mug and fill it with warm to hot water. You don’t want to use boiling water because it will remove some of the healthy benefits of the mixture.

Lemon ginger honey tea recipe

A few tips before we get to the printable recipe: The lemons and ginger need to be organic. Otherwise, a) the lemon will be coated in a preservative that you don’t really want to be brewing and ingesting, and b) the ginger won’t contain the healthy yeast it is known to have if it is organic. An alternative to putting your jar in the refrigerator is to allow it to ferment on the counter for 2-4 weeks before putting it into the fridge. Fermenting requires other steps, like burping the jar daily. I do not have experience with fermenting the mixture, so if you want to do that, you should do a quick Google search to find some directions.

Lemon Ginger Honey Tea

A soothing tea made with fresh lemon and warming ginger.

Credit: BelleAntiquarian.com

Ingredients

  • 1 small organic lemon, thinly sliced
  • 1 finger of organic ginger, peeled and thinly sliced
  • local honey to cover and fill your container
  • a clean small jar

Directions

  1. Wash, peel, and slice the ginger thinly.
  2. Wash and slice the lemon thinly.
  3. Layer the honey, lemon, and ginger in a small jar.
  4. Refrigerate your mixture until you’re ready to use it.
  5. When you want to make a cup of tea, scoop out some of the honey mixture, including some lemon and ginger, and place it into a cup. Fill your cup with warm or hot water and mix together. Don’t use boiling water or it will eliminate some of the health benefits of the ingredients.

Never miss a post, subscribe below! (You can unsubscribe at any time.)