Hot Beverage Station/Coffee Bar

This post includes affiliate links and ads. You can find all of the exact pieces that I feature by clicking the links.

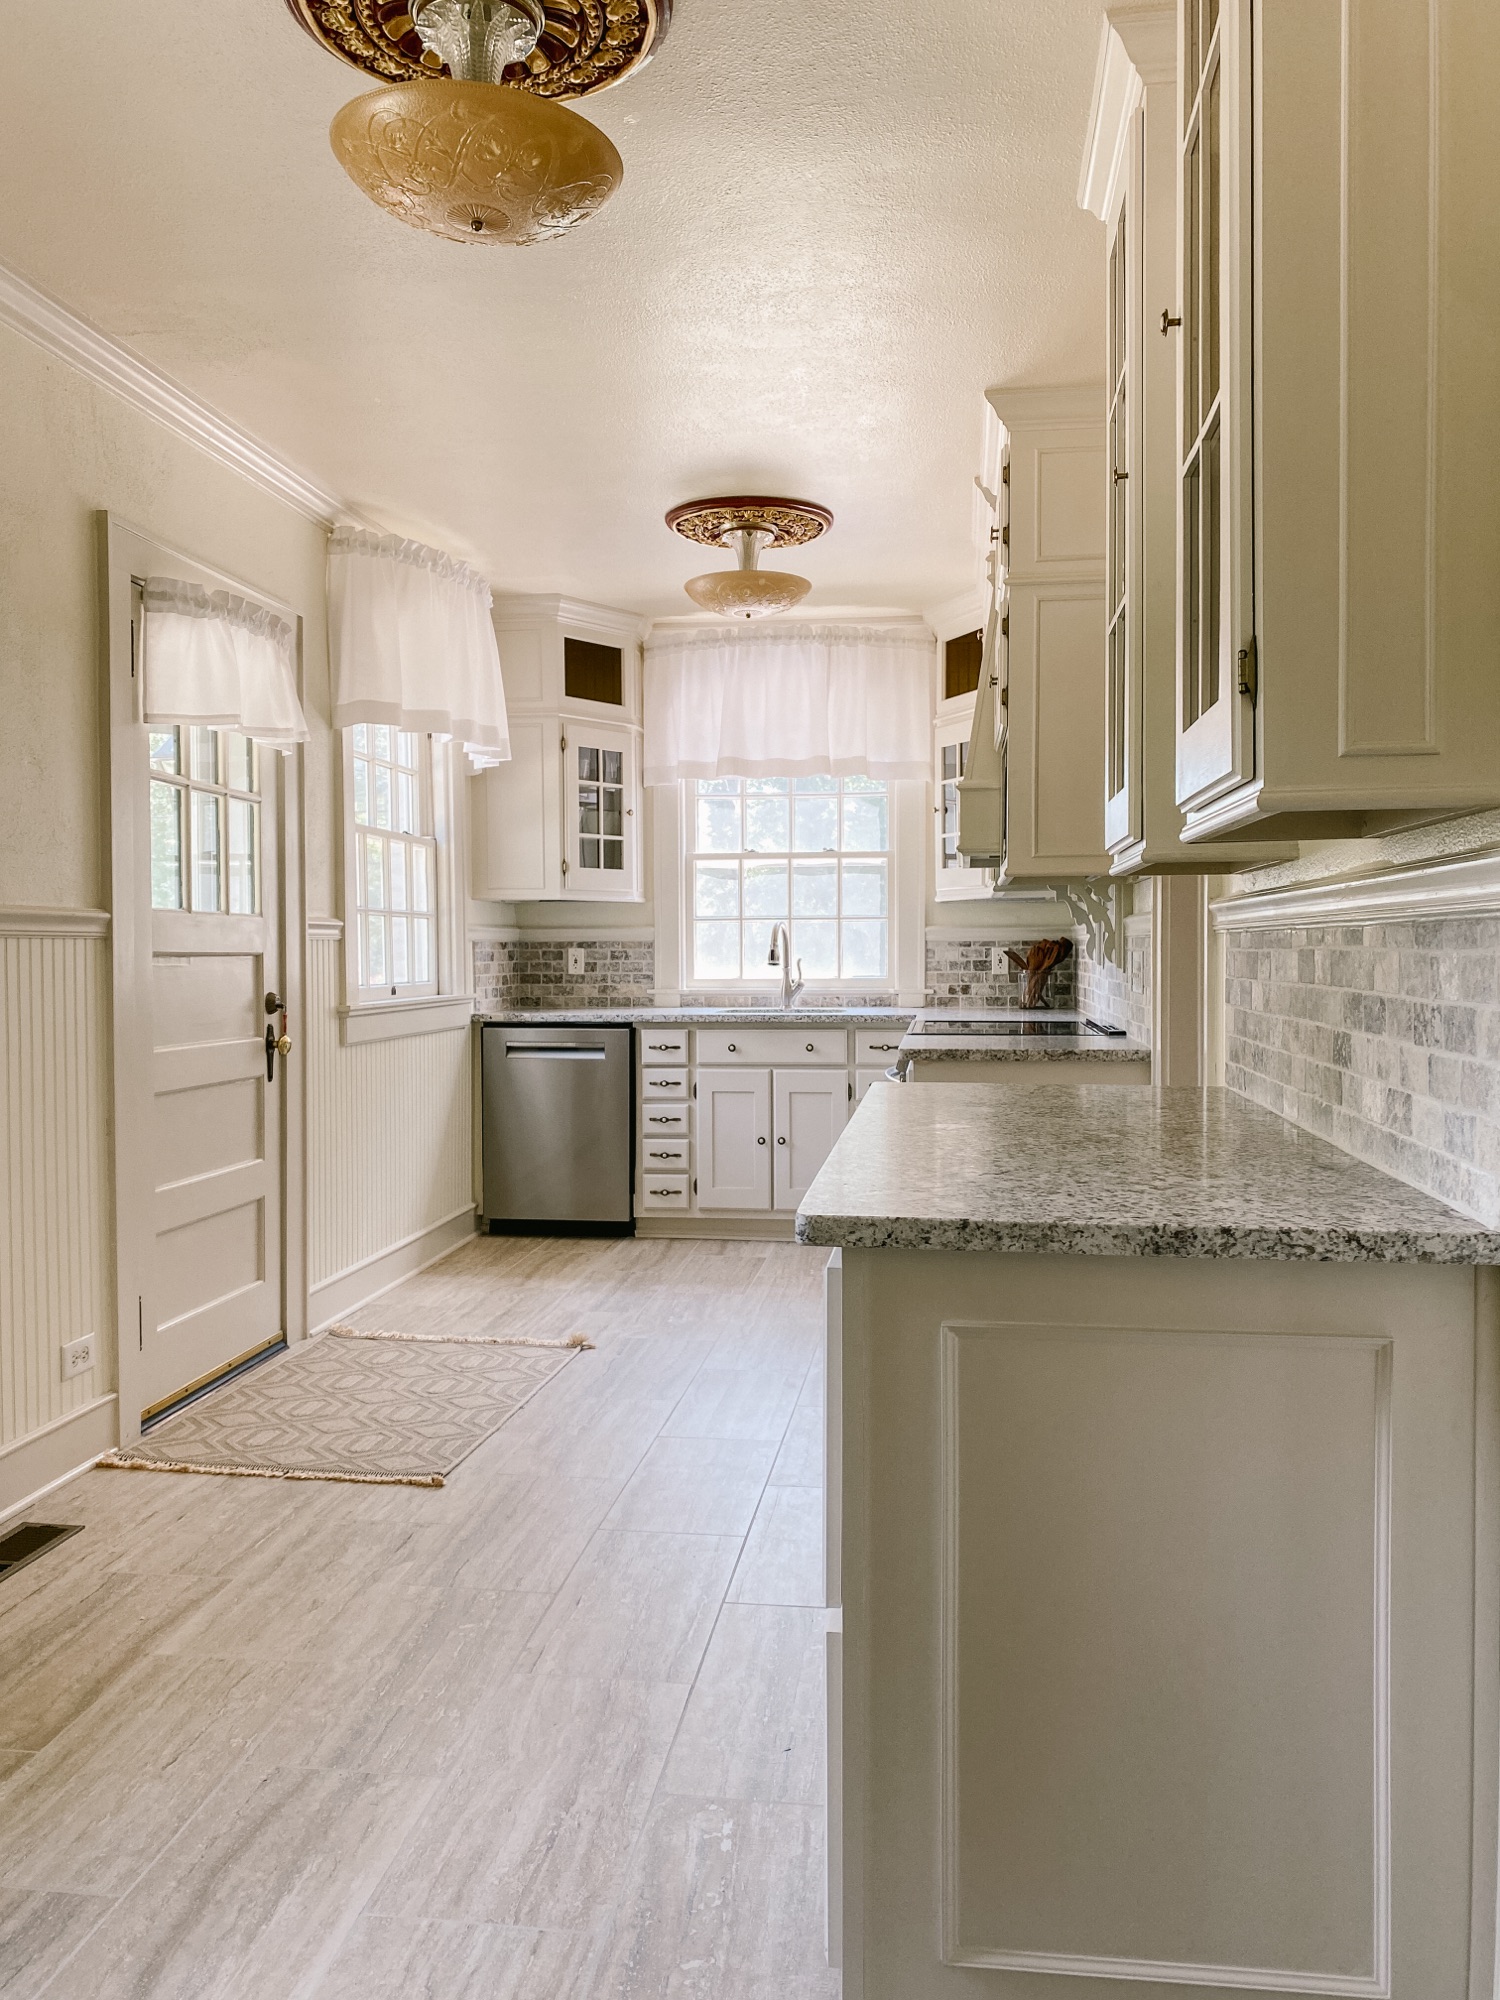
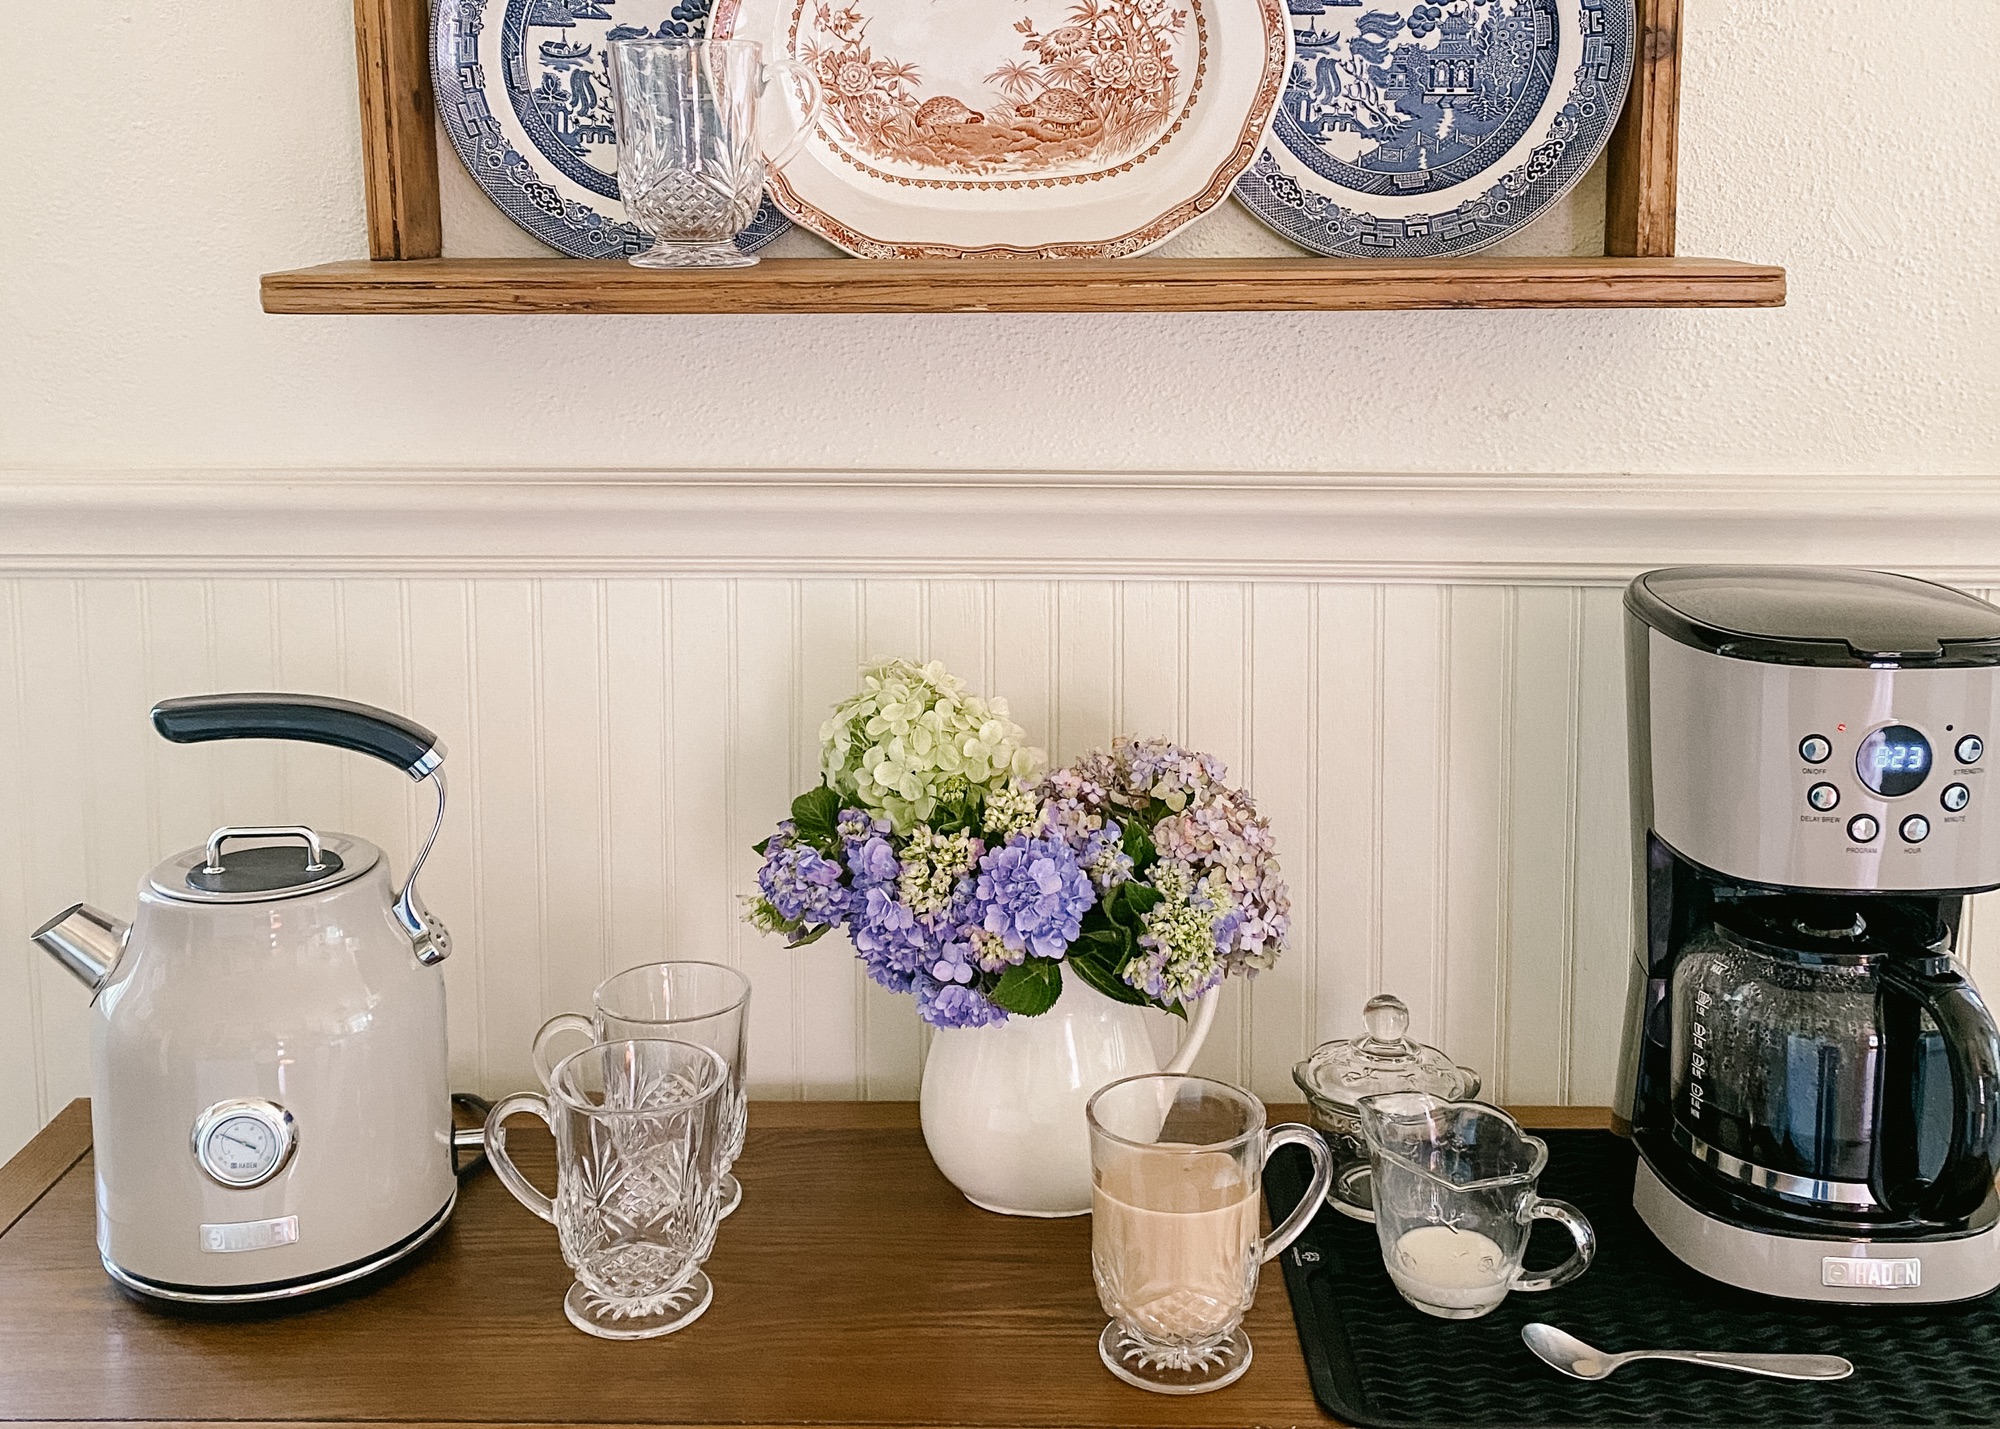
One of the reasons I wanted a really neutral kitchen color scheme is because I absolutely adore color. That sounds contradictory, but by having a neutral background I can decorate with all of my lively, colorful accessories and change them out seasonally. In today’s article I am featuring my new hot beverage station/coffee bar, which I have accessorized with colorful antique plates and a red antique rug.

One side of our kitchen had a blank space that I needed to make functional. We considered adding a base cabinet there during our renovation, but there were a few issues. There are a door, window, and HVAC vent all along that wall. I knew I would find the perfect piece to use as a coffee bar and hot beverage station. And I did!

THIS gorgeous oak sideboard allows the HVAC vent to flow, while also giving me “counter” space to use for my *stunning* electric tea kettle and coffee maker. Ken and I were a little unsure about ordering a piece of furniture online. The reviews were really good, but we live in the country, and we weren’t sure about it making it here in one piece. Still, it arrived quickly and packaged extremely well to protect all of the wood. The legs did need to be attached, but we did that together in about ten minutes. The shelf underneath provides extra storage that would be good for cookbooks or a basket like this one. The plate rate that I’m using above the sideboard is an antique piece that I found, but I found a couple of other options HERE and HERE.

Not only do I have more counter space to use as a coffee bar, but the 4 drawers and 2 doors are very deep. I have room to store my tea bag organizers, coffee grounds, filters, and mugs and glasses. I’m protecting the sideboard surface under the coffee maker with a silicone mat. This keeps me from worrying about spills on the beautiful wood.

The only one who loves my red antique rug more than me is Annie. I found a really similar rug that I know you’ll love, too.

Want to find almost everything that I’ve pictured and featured? You can do so in 3 different ways: click the links above in the article, click HERE for my LTK shop, or click HERE for my Lowe’s Storefront.

Our 1939 Kitchen Remodel

I’m excited to be working directly with Lowe’s Home Improvement to share many of the kitchen selections I used during my recent kitchen remodel. As a Lowe’s affiliate, I get a commission on the links I share in this article.

We lived in our 1930s home for several months before beginning the remodel, and we were surprised to discover how much we enjoyed it not being an open floor plan. It’s really nice having spaces with dedicated purposes and doors we can close off when we want to. I had originally considered knocking down the wall in between the kitchen and the breakfast room, but decided to use the existing work triangle that a former homeowner had established. (We’ll update the breakfast room in a few months with built-in seating and storage.)

In photos the kitchen is deceptively small. It’s actually quite functional at about 20 feet by 10 feet. After deciding to keep the existing work triangle, my focus shifted to adding countertop work surfaces, removing and updating the tile countertops and backsplash, and removing and replacing a very early version of laminate flooring. The oven and dishwasher were completely broken, so we needed to update those as well.

After selecting and purchasing all of the materials myself, I hired a general contractor to coordinate all of the demo and installation, as well as to build us another lower countertop. We had a thorough inspection before buying our home, but we still held our breath during the demo process. There’s never a guarantee that we wouldn’t uncover problems when we started the remodel. Thankfully, we didn’t have any surprises!

I chose to shop with Lowe’s for most of our materials because they offer a 10% discount to military veterans. Since Ken is an army vet, we qualified for their savings. The floor tile I selected has a marble look with both warm and cool tones. It’s waterproof, chemical and stain resistant, pet-friendly, and has a limited lifetime warranty. (Spoiler alert: I used this same tile in the sleeping porch remodel that I’ll feature in a future article.) It’s just an overall great product for high traffic areas. Coincidentally, I had originally picked out a tile from a specialty tile store. On my way to pay for the tile, I happened to stop at Lowe’s to look at grout colors, and I found this floor tile. It was an almost *exact* match. That stop into Lowe’s saved me over $1,000. (I chose Mapei grout in alabaster for both the floor tile and backsplash.)

The countertops and backsplash were both the same, outdated, early 2000s tile. The fruit basket design over the range was not the type of history that I’m trying to preserve. yikes. I understand how budgets are limited, so I encourage everyone to wait and save for solid surface countertops than to install something impractical or trendy. At one time, these tile countertops were in fashion. The backsplash is another amazing Lowe’s find of travertine subway tiles. Due to it being a natural product, color can definitely vary, but I was pleased to find that each of the boxes I purchased had both warm and cool tones in it. For my countertops I selected leathered granite in “Arctic White” for my countertops. The slab I picked, again, has warm and cool tones in it.

So those are all of the pretty, fun things to pick out, but we definitely had some functionality issues with the kitchen. I don’t know how the sellers were eating, cooking, or cleaning. The dishwasher leaked; the oven didn’t work; and the faucet wouldn’t stay on for more than 60 seconds. I ended up picking out an induction range that I have fallen in love with. Water boils faster than the gas stove that I used for years. The dishwasher is a silent dream of a work horse. The sink and faucet fit in perfectly with the size and style of our kitchen.

The transformation is pretty remarkable. I kept costs down by keeping the existing layout and not moving electrical and plumbing. The most expensive part of my remodel was adding a lower cabinet for pots and pans. (The former homeowners used furniture there.)

Buying my materials from Lowe’s saved us thousands of dollars. You can find all of the Lowe’s products that I mentioned in this article in my Lowe’s storefront. Finally, how’s this for a before and after?

Since the remodel has been finished, I’ve added an antique rug and a hot beverage station that I’ll be sharing in a future article. In the meantime, I share real-time progress every day on my Instagram stories. Please come over and follow me there – I’d love to meet you.

See you soon,

Abby