Welcome back to the sixth installment of our weekly Friday series called Falling for Home: A Weekly Autumn Journal. Each week we explore ways to embrace the softness of the autumn season, create a welcoming environment to restore your spirit, and fall in love with our own homes again. If you’re just joining me here from Google, Pinterest, or Instagram, I invite you to read the other segments in this series, which can be found linked at the bottom of this article.
As the season progresses, we begin to lose daylight hours and the temperatures cool. The sun is setting earlier each day, and we begin to retreat indoors.
Today we’ll start a conversation on the importance of intentionally curating a personal haven in your home and creating a place to restore yourself… not just a place to crash at the end of the day to get some sleep.

Step One: Clear the Space for Peaceful Rest
Many of my readers are the family’s nurturers, often putting everyone else’s needs before their own. In the home, this translates into prioritizing the shared family spaces and even the children’s bedrooms. Our bedrooms become the catch all and dumping grounds for all the miscellaneous items that don’t have a designated spot. The clean laundry is often brought into our bedrooms until it can be folded and put away later.
Not only does this create physical clutter; it creates mental clutter and unrest in the very space that we retreat to get rest.
Create Processes
We need processes for dealing with items that make their way into our bedrooms. I like to use a method called “Touch it once.” For example, if I’m taking laundry out of the dryer, then dumping it on my bed, then moving it to a chair to fold it later, I’ve touched it 3 or 4 times before it gets put away. By folding each item as I take it out of the dryer, I will touch it only once before it gets put away. Doing it this way might not feel like it in the beginning, but it becomes a lot less work.
Look around your bedroom to assess miscellaneous piles of clutter. Those are the items that you’ll need to create a new process for. When we move piles of clutter from one spot to another to clean, we’re just moving the mess around and not actually taking care of the mess.
Essential Items
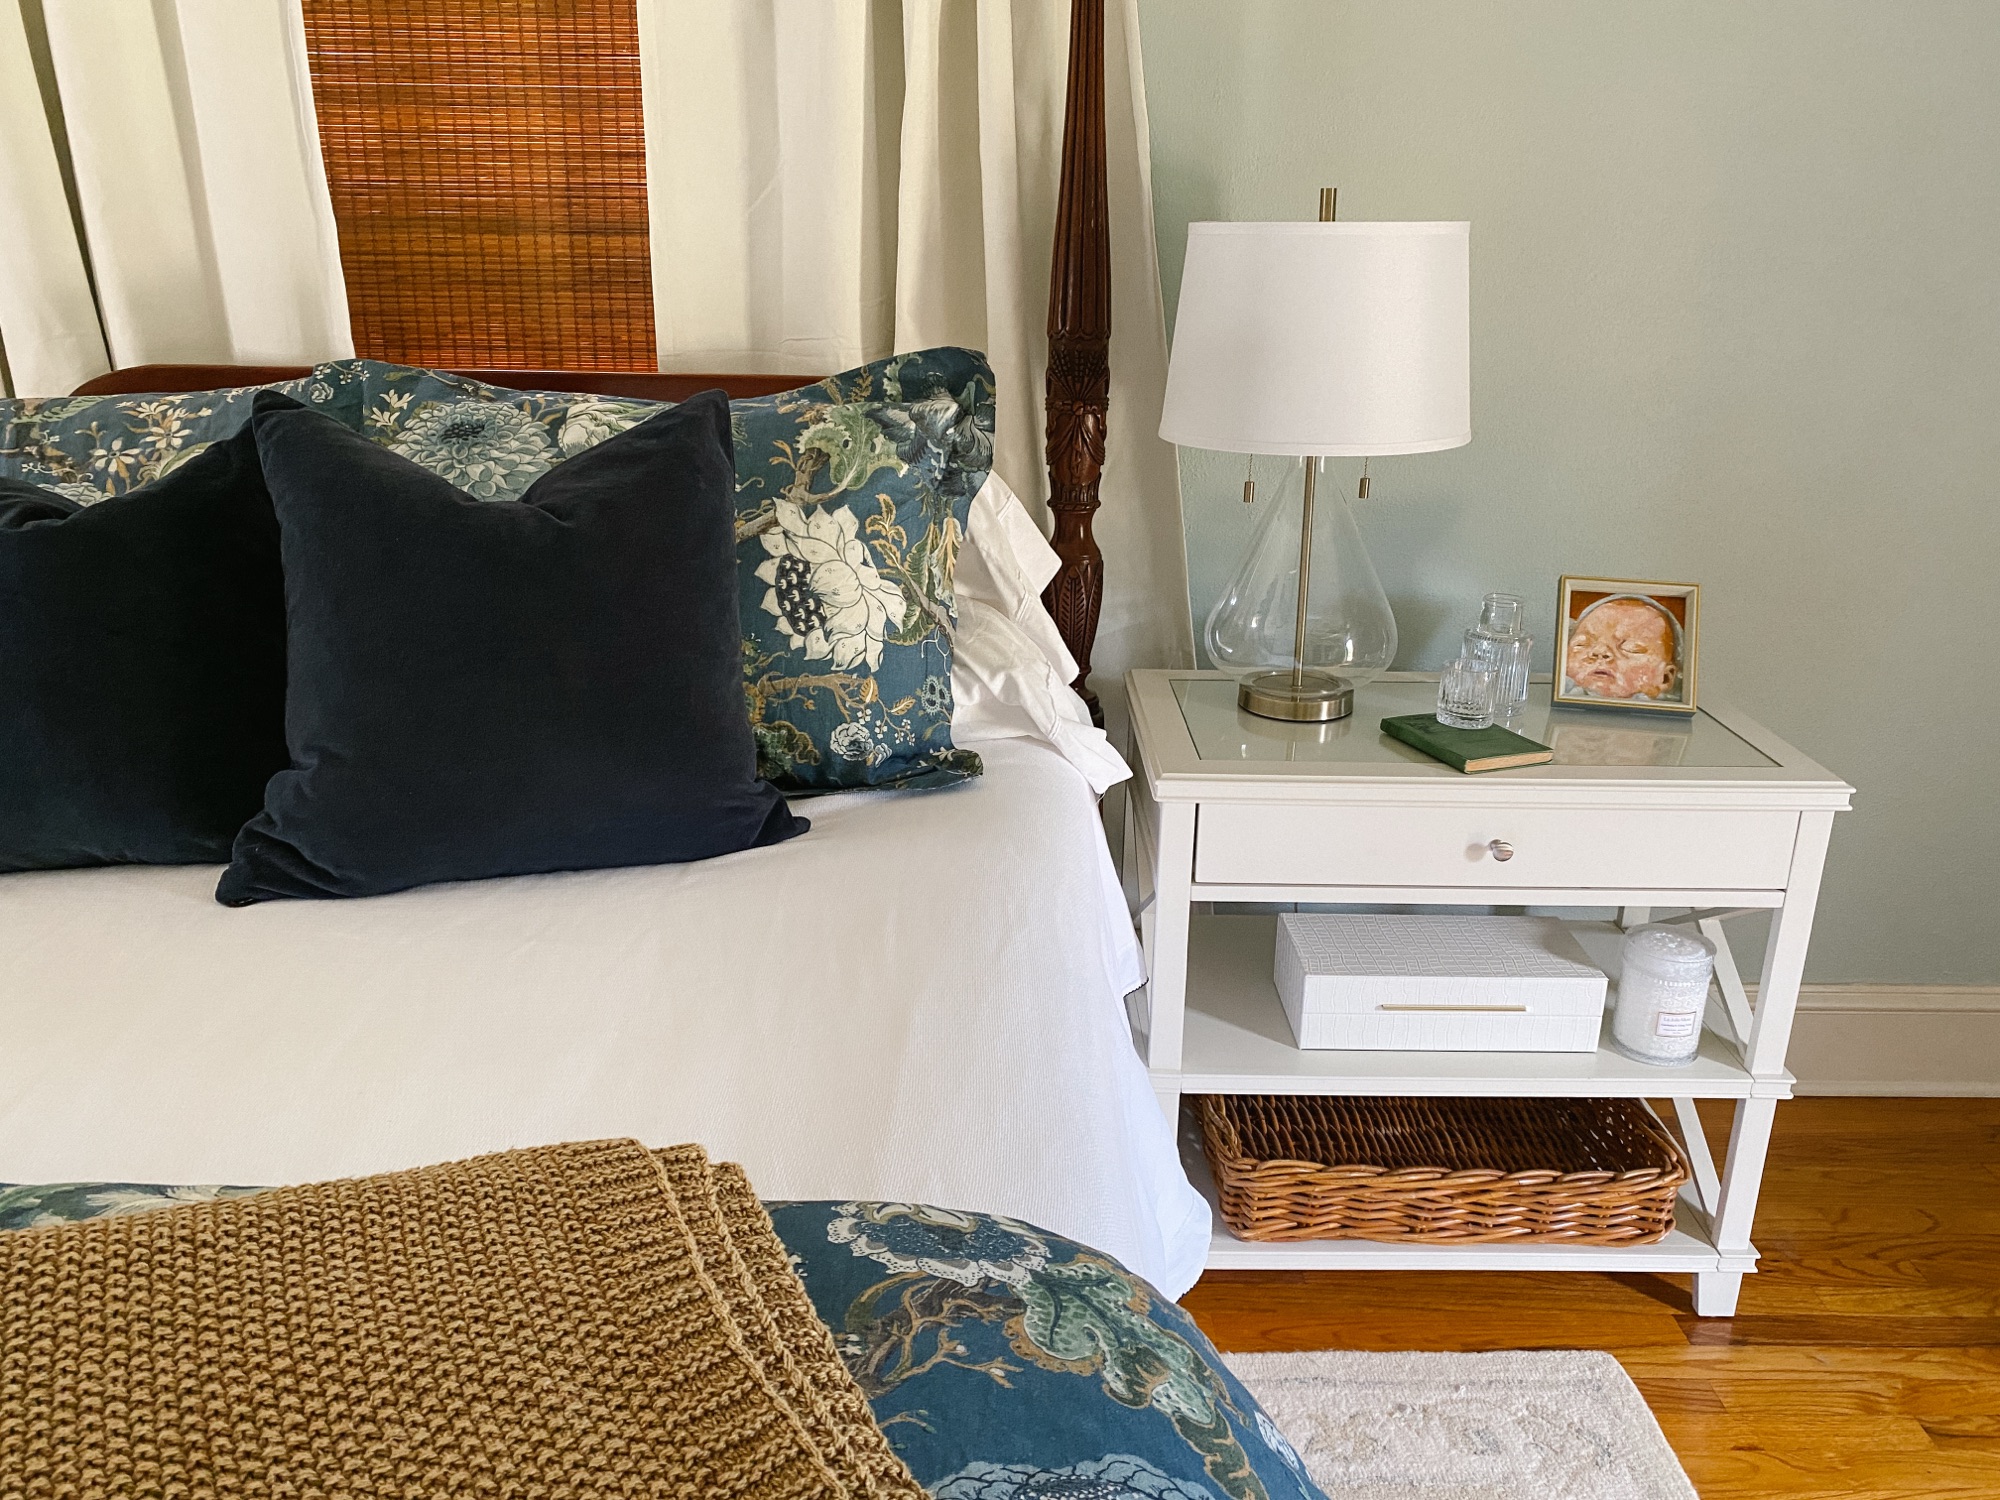
Next, I recommend that you only keep the essential items within sight. These would be things that support the rest, comfort, or function of your bedroom. For example, you’ll need a bedside table of some sort, a lamp within reach of your bed, and a hamper to hold your dirty laundry. Other examples are a throw blanket that gets used on chilly nights or a fan that cools you in warm weather. Essential items are ones that directly help you rest, prepare for the day, or feel comforted. If it distracts you, nags at you, or simply takes up space without providing function, it doesn’t belong in your bedroom.
Daily Items
In addition to essential items, we all have daily items, which I recommend organizing into closed storage containers. These items are practical, not decorative, and by placing them into closed storage containers we are able to keep surfaces peaceful without disrupting our routine. Examples of daily items would be chargers, medications, skincare, books, and pajamas. When each item has a designated space in a closed storage system, we easily prevent clutter from snowballing into piles. Items are still convenient and within reach; they’re just not visually tiresome or nagging.
Implementing these habits can take a little practice. However, you’ll find that if you consistently maintain these methods, it will be well worth the effort when you have a peaceful, relaxing space at the end of the day.

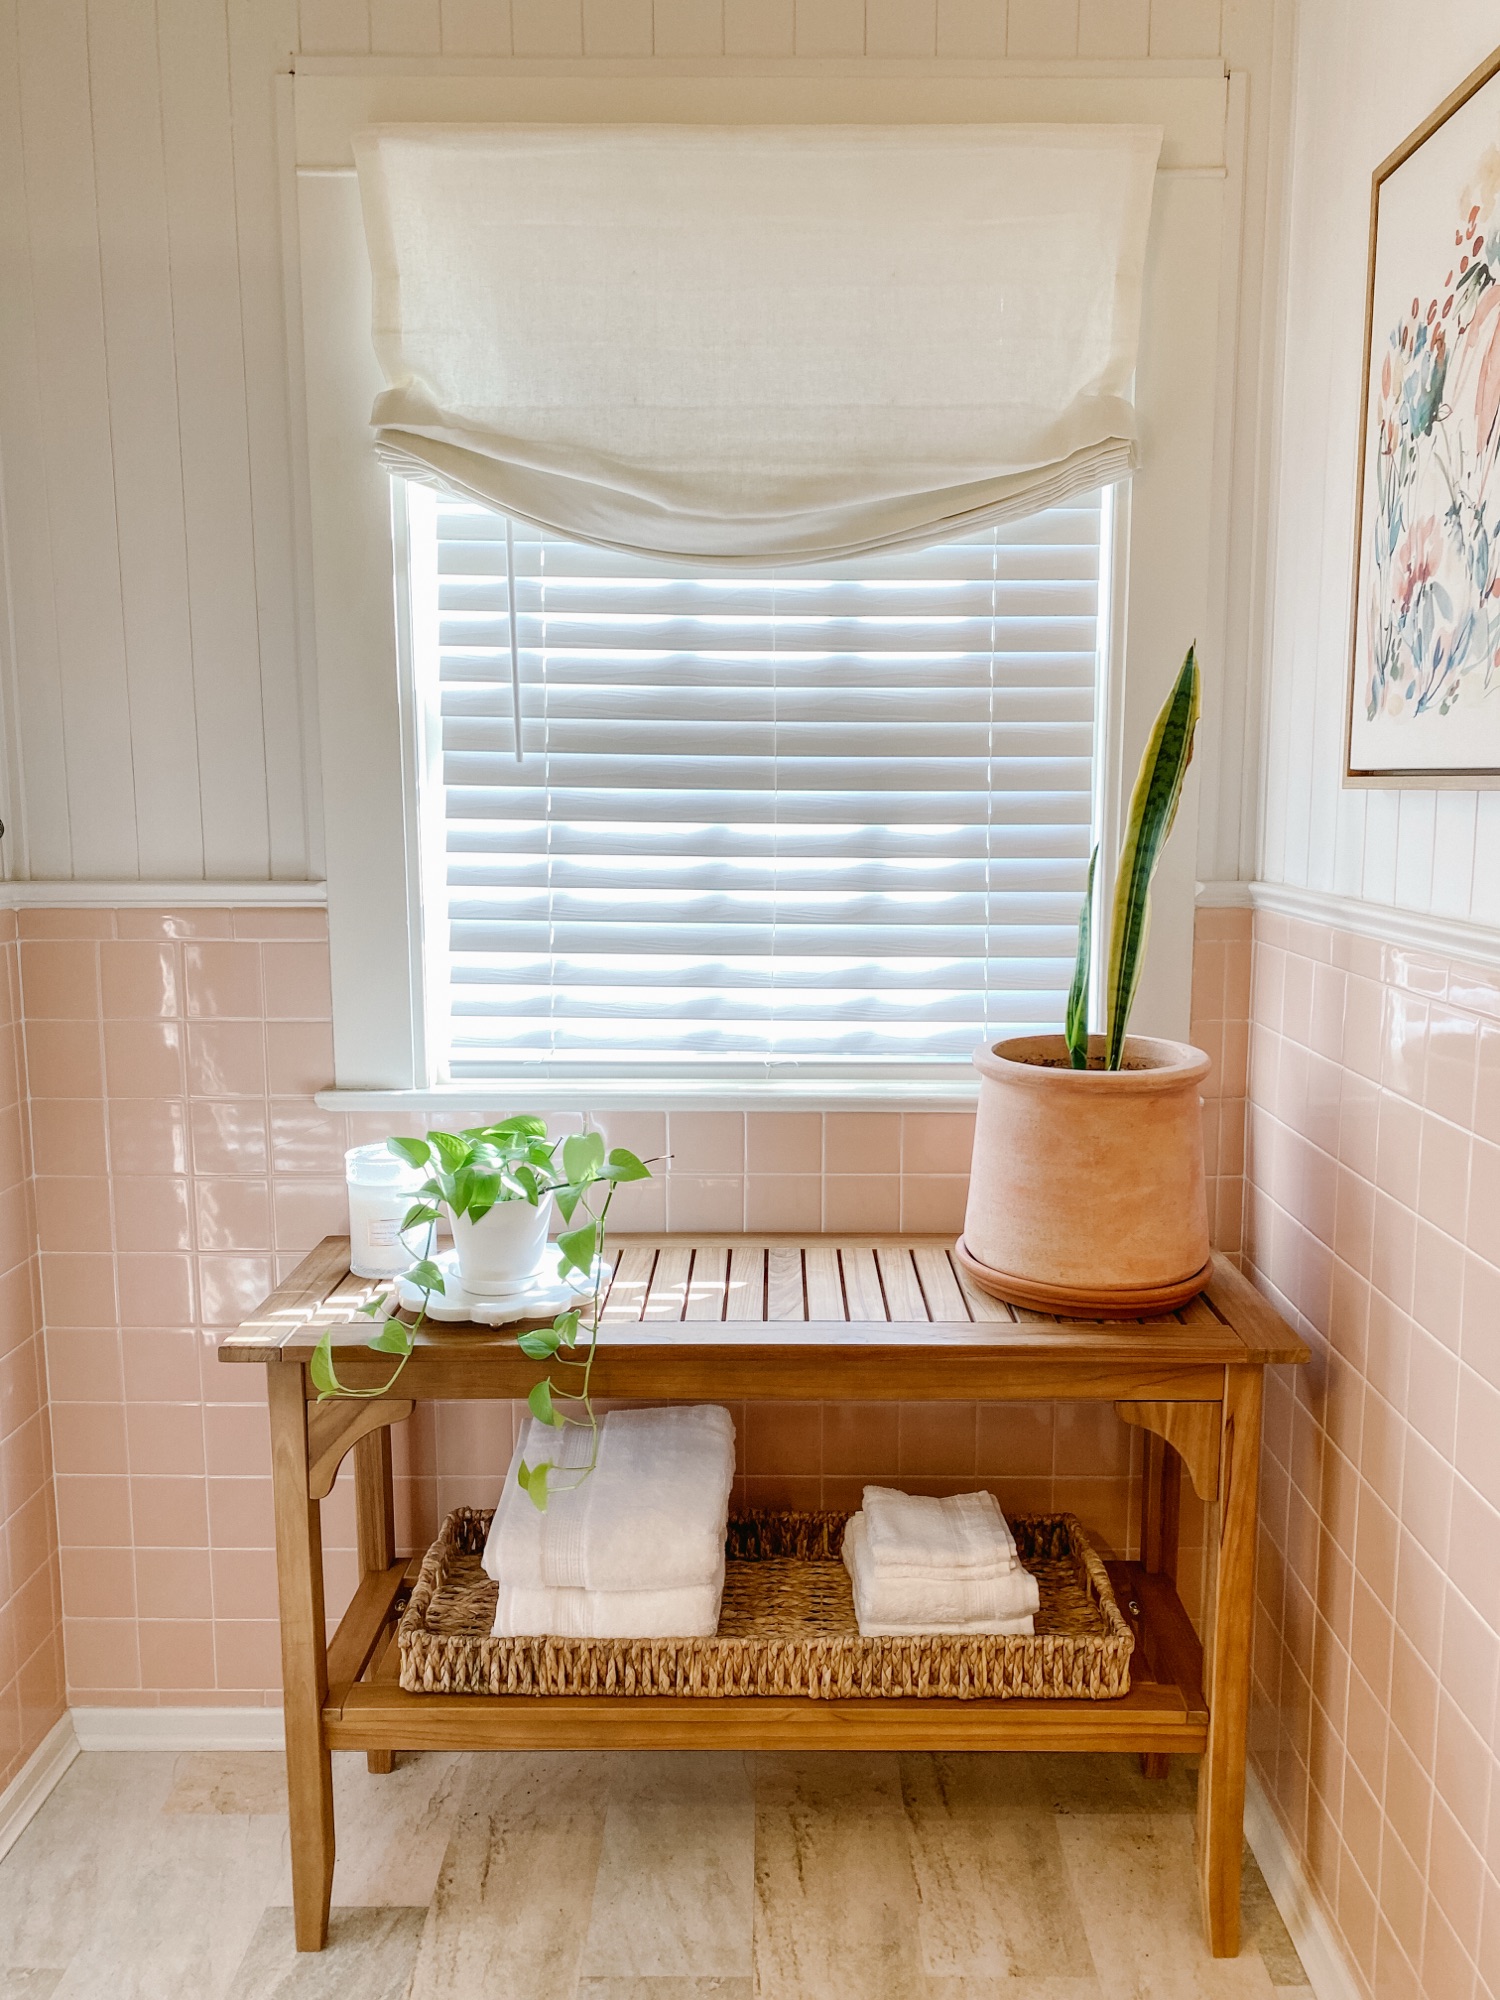
Step Two: Add Meaningful & Personal Touches
Your bedroom is probably a place that most guests won’t see. And if you’re a parent, it may be the one space in your home that’s truly yours. Your bedroom is an opportunity to create a room with décor that reflects your personality and sentimentality. By carefully selecting your furnishings and accessories, you can build an area for yourself that makes you feel at home.
Adding personal touches to your bedroom should be done with simplicity, restraint, and sentimentality. For example, a gallery wall of art or family photos creates too much stimulation and interest in a space that is intended for relaxation. Instead, try adding a small family photo in a frame on your nightstand or dresser.
You can easily personalize your bedroom by adding one small vase for flowers, a small antique dish as a catchall, or an heirloom quilt at the end of your bed. Instead of surrounding your room with your entire collections, pick one favorite that you can use in a functional way. By doing so, you’ll keep your space peaceful and uncluttered.

Step Three: Layer Comfort & Care

Gen Z is known for not using “the big light.” They’re referring to the overhead light, which we call “ambient lighting” in the interior design world. In an area like a bedroom, I tend to agree with them.
Strategically adding lamps to a bedroom for accent and task lighting creates a much more relaxing environment than using “the big light.” I recommend lamps for your nightstands that are easy to reach and turn on/off without getting out of bed. You should be able to easily fit your hand under the shade to operate the switch or use a lamp that has a switch on the cord. If you have a reading chair in your bedroom, a floor lamp can be a well-thought-out addition.
Another way to create a relaxing environment for yourself is to consider your comfort and senses. Stay away from scratchy or uncomfortable fabrics that will be next to your skin. Consider whether candles, fragrance plug-ins, and even laundry detergents are overpowering your senses. No smell is better than a strong smell.
Lastly, consider your needs while you are in your room. If you frequently find yourself getting up for water, a carafe of water and drinking glass will be helpful to you.

Step Four: Invest in Quality Where It Counts
If you follow me on Instagram, you know that I love a good bargain and buying things second-hand. However, there are some things in the bedroom that I won’t compromise on. A good rule of thumb is, the closer it is to your skin, the higher quality you need to invest in. A good example of this is choosing bargain window coverings, but higher quality bedding. You won’t be laying down at night on your curtains, but you will be on the sheets.
When purchasing bedding, I recommend looking at thread count and fabric materials. If there isn’t a thread count listed, it’s most likely very low. High thread count sheets will last decades, so while the upfront cost may be marginally more, they will last incredibly longer than cheaper options… saving you money in the long run.
It’s also important to consider fabric materials. Fabric materials with descriptions like “knit, jersey, cooling” are less breathable than materials with long-staple natural fibers like Egyptian cotton. They are inferior materials that usually weave some sort of synthetic material made of plastic into the fibers. Synthetic materials don’t last very long and will need to be replaced in a short amount of time.
Most of us are on a budget, and it’s simply not realistic to invest in the highest quality of furnishings and accessories all at once for our spaces. I encourage you to make a point of switching things over one at a time until you have created a well-curated space that you deserve. Swap furniture made of composite materials for solid wood pieces, synthetic bedding for high-quality bedding made from renewable materials, mass-produced art for original art that reflects your unique personality. In this way, we create a collected space that truly becomes a haven in our home.

Step Five: Introduce Seasonal Color & Mood
I would be remiss if I didn’t point out the impact that color has on your bedroom haven. The psychology of color tells us that our emotions are subconsciously affected by the colors in our spaces. Restaurant owners, marketing professionals, and health care facilities understand that color goes beyond preference.
When choosing wall color, linens, and accessories in a bedroom, it’s important to understand the effects of your choices. I recommend tones with less saturation if you are trying to create a palette to anchor your room’s mood. Too much visual interest will hinder relaxation in a bedroom.
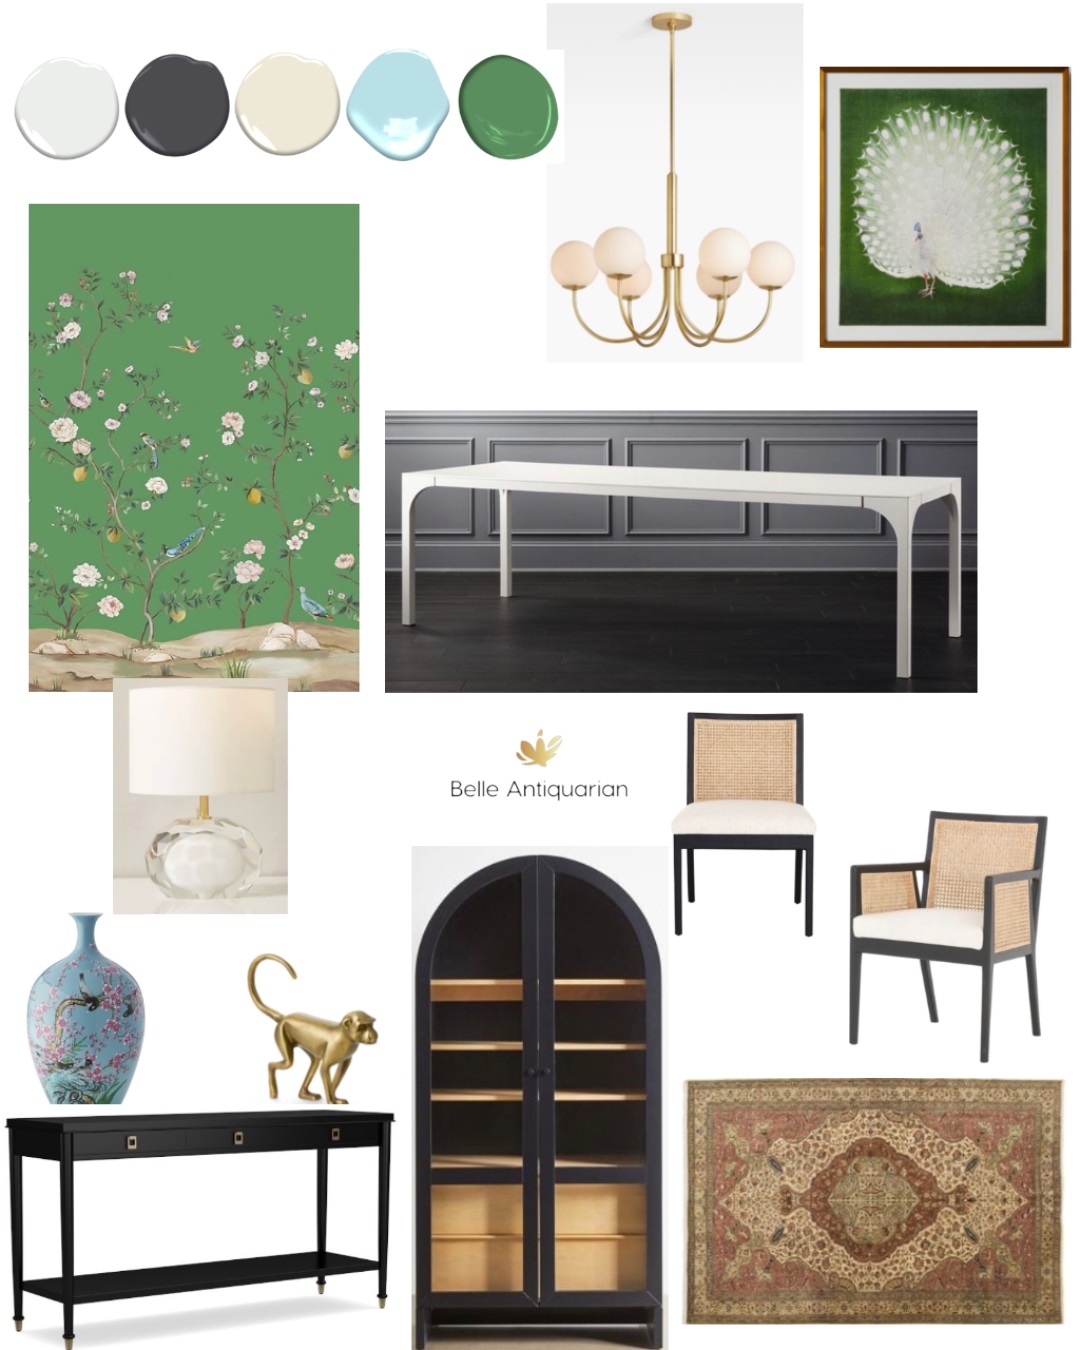
Today I am recommending a set of three colors, which can also be seen on the image below. Pale Oak, Cloud White, and Hale Navy are choices that you can bring into your space in a variety of ways such as furniture, bedding, lampshades, throw blankets, and artwork. They also provide a relatively neutral backdrop for you to add your personal touches that were mentioned above. If you can’t repaint your bedroom at this time, these three colors also tend to work well with a myriad of other colors.

Throughout this article I have mentioned things that I find to be useful in a bedroom space. You will find examples of these items in this curated list, which can be found by clicking HERE or clicking on the image below. You’ll find many more choices in this list than the ones pictured.

Explore More from Falling for Home: A Weekly Autumn Journal
This article is part of my series called Falling for Home: A Weekly Autumn Journal. Be sure to check out these reader favorites:
- Gathering Baskets & Dried Blooms
- The Velvet Season
- Chicken Mull
- When Summer Lingers
- The Collected Kitchen
- Patterns & Patina: How to Layer Like a Southerner
- Front Doors & First Impressions
You can subscribe here to receive new articles, seasonal inspiration, and vintage-style favorites delivered right to your inbox.