Customize a Costco Christmas Wreath
There’s a day I look forward to every holiday season – the day that the fresh Costco Christmas wreaths arrive in the store. We’ve used artificial Christmas trees in our home for years, but I’ve held onto the tradition of buying fresh Christmas wreaths.
The smell of fresh evergreen branches instantly transports me back to my childhood. My family enjoys the charm of fresh greenery at Christmas as well, and the Costco Christmas wreath is an easy way to bring a bit of holiday joy into our home.
The only thing I don’t love about the Costco Christmas wreath is that because they’re so popular, every house on the street has an identical wreath on the door. Years ago, I decided to “hack” the wreaths and customize them. I wanted a unique wreath that reflected my style. Since the wreaths are so affordable (just $19.99), I began to create a unique wreath unlike anyone else’s.
I have shared a version of this idea in past years, but I wanted to create a more detailed guide for those of you who love simple holiday projects. If you would like to look back at my earlier wreath tutorial, you can find it HERE.
This article contains affiliate links. As an affiliate, I may earn a small commission if you purchase items through my links, at no cost to you. Thank you for supporting Belle Antiquarian.

Tools and Supplies
There are a few basic tools and supplies that you’ll need to transform your Costco Christmas wreath. When you have the right tools for the job, it will make it easier and more enjoyable.
When I go out onto our property to gather magnolia and holly stems, I always use a pair of strong pruners to make a clean cut. These stems are thick, and using a quality pair of pruners or snips ensures that the plant isn’t damaged when you make the cut.
In order to attach items to your wreath, you’ll need some floral wire, floral tape, and pine wired stems. Along with those things, you’ll need some scissors and wire cutters.
The last items you’ll need are whatever embellishments you decide to include. These can be things like ribbon, premade bows or sashes, bells, or artificial floral picks.
You can find my favorites linked HERE or by clicking on the image below.
Pro tip: Avoid using hot glue to attach items to your wreath. Hot glue doesn’t adhere well over time to fresh greenery. If your wreath will be outdoors, temperature fluctuations make the glue unstable. In addition, hot glue can be more visible than other methods like floral wire and floral tape.

Fresh Greenery for Added Texture and Fullness
Sometimes more is more, and that’s my philosophy when customizing my Costco Christmas wreath. The first thing I do whenever I customize a fresh wreath is to see what’s available outdoors. Using natural elements gathered from your yard is not only affordable, but it adds a touch of natural elegance.
During the holiday season, I can find magnolia and holly branches, as well as camellia stems growing on our property. If you don’t have those available to you, chances are that you have pine, spruce, or even Leyland cypress growing nearby. Using different types of greenery to customize a fresh Christmas wreath will layer a variety of textures and shades of green, which creates a luxurious quality.
When choosing which greenery to add to your Costco wreath, consider things like fragrance and longevity. For example, using olive branches and rosemary adds a layer of scent to the fragrant evergreens already included in the Costco Christmas wreath. In addition to that, be sure to consider selections that won’t wilt in a few days. You’ll want your wreath to appear fresh for weeks throughout the holiday season.
When taking clippings from your yard, be sure to prune small amounts from different areas. You don’t want to misshape the plant or make the yard look untidy. Cutting too much from one area could damage the plant.

Natural Accents That Bring Warmth and Southern Charm
The next step to consider when you customize a fresh wreath are natural wreath decorations. These might be things that you forage from your yard, or they could also be purchased.
If you’ve seen other Costco Christmas wreaths that I’ve customized in the past, you might’ve noticed that each wreath includes pheasant feathers. Here’s a little secret: those are the same pheasant feathers in every one of the wreaths. I purchased a bag of pheasant feathers about fifteen years ago, and I carefully remove them each year to use them again and again.
This year I have included some Magnolia seed pods in my natural wreath decorations. I pruned the seed pods from my Magnolia trees and allowed them to dry. I used them in multiple ways this fall, and now I have wired them into my wreath.
In the past, I used dried orange slices in my wreaths. If you would like to dry your own orange slices at home, I have a simple step-by-step tutorial you can follow. It adds the loveliest touch of old-fashioned charm to your wreath. CLICK HERE for the dried orange tutorial.

Other items that would look beautiful added to your wreath include:
- Sweetgum pods
- Eucalyptus pods
- Acorns
- Cedar berries
- Cotton bolls
Pro tips: Elevate your foraged items with some gold or glitter spray paint. Dried oranges sprayed with glitter or acorns painted gold create festive accents for your wreath. Create a cluster of pheasant feathers by using floral tape around the ends before wiring them into your wreath.

Affordable Add-Ins From the Craft Store or Online
When I customize a fresh wreath, I tend to use what I can find and forage from the outdoors. But don’t miss out on your chance to get creative with embellishments you can find at your local craft store or online. Using quality artificial embellishments can create a designer look that fits your personality.
If you don’t have natural elements in your outdoor space that can be added to your wreath, you can purchase faux greenery and stems. Look for faux magnolia, berries, and even eucalyptus with realistic qualities.
In addition to natural looking items, you can customize your Costco Christmas wreath with a variety of holiday picks and decorative accents. Using your floral wire, attach things like mini ornaments or floral picks with gift boxes on them to create a holiday look. Faux pomegranates and pears are also lovely holiday-themed items to include.
Other items to consider are metallic stems, small bells, velvet poinsettias.
Finishing Touches That Define Your Style

The last thing you’ll need before you start to customize a fresh wreath is your finishing touch. It’s important to know whether you’ll be hanging your wreath outdoors or indoors. If your wreath is outdoors, you’ll want to know if it’s covered or uncovered.
Once you know where your wreath will be hanging, it’s time to select your finishing touch. Your finishing touch can be a premade bow or a bow that you make yourself. It could be a bow made of velvet, plaid, or even burlap ribbon.
If a bow isn’t the look you’re going for, you may want to consider a simple ribbon tied with long tails trailing. I also love the look of a wreath sash, which can be customized with your monogram and used year after year.
When considering your bow, ribbon, or sash there are a few things to consider. Select something that is in the same scale as your wreath. You don’t want a tiny bow or sash on a big wreath, because it won’t look right. If you’re making your own bow, select a ribbon width that matches the proportions of your wreath.
If your wreath is going to be outdoors, especially if it’s uncovered, choose a bow or ribbon that can withstand the elements. Wired ribbon tends to be better in this case, as it will hold its shape against the weather.
Simple Steps to Transform Your Costco Wreath
Watch the wreath come to life in this short video.
Now that you’ve gathered all the materials that you’ll need to customize your Costco Christmas wreath, it’s time to get started!
- Inspect your wreath. If you notice any broken or loose branches, use your floral wire to reattach or tighten them to the wreath frame.
- Lay out your materials. Group the items you’ll be adding to your wreath by natural and artificial materials. Lay all your tools in one area. Precut wire so that you have it ready to use.
- Start with the largest greenery. Always insert items into your wreath in the same direction. Look at your original wreath and notice if the greenery has been created going clockwise or counterclockwise. Add your stems (and everything else) in the same direction that the original wreath is going. Wire stems like magnolia and cedar into the wreath. This may require longer pieces of wire that can reach to the back of the wreath frame for stability.
- Add medium-sized greenery. Look for spaces in your wreath that you can fill with things like holly, camellia, and rosemary. These stems can often be wired to existing stems in the wreath instead of the wreath frame on the back. Layer these under existing greenery and wire them in a way that hides the wire and the ends.
- Insert your character pieces. Always add items in odd numbers. It’s more pleasing to the eye when we see things in groups of 3 or 5. Since these items are closer to the surface of the wreath, I like to use alternate between regular floral wire and pine wired garland ties, depending on whether the wire can be seen or not.
- Step back and evaluate your wreath. Make sure that items are evenly distributed around the wreath. One side shouldn’t have more added than the other side. If you need to add or remove things, do so now. You’ll also want to check for any visible floral wire. Either reposition branches to hide wires or use your wire cutters to trim it down.
- Add your finishing touch. Once your wreath meets your satisfaction, it’s time to attach your bow, ribbon, or sash. Ribbons and sashes can be tied directly around your wreath. A bow can be attached using your floral wire. The most common placements are top-center and bottom-center, but slightly-off center can be charming as well.
Ideas for Styling Your Customized Costco Wreath
If you’re interested in customizing a Costco Christmas wreath, but you’re overwhelmed with the options, try starting with a theme. Here are a few themes to get you started:
- Southern Traditional – A Southern Traditional wreath will use elements easily gathered from the Southern outdoors, like Magnolia and cedar. Other elements that would be integrated into this theme include pheasant feathers and velvet ribbon.
- Classic Christmas – This wreath uses traditional Christmas elements used in many Christmas decorations. Holly, berries, pinecones, and plaid bows will create a wreath that fits this theme.
- Natural Woodland – For this theme, integrate a mixture of forest gatherings like pine, juniper, and acorns with rustic elements like tiny bells and twine.
- Minimalist – If you want to customize your wreath but still keep it simple, try using a mixture of olive branches, bay leaves, and linen ribbon.
- Festive and Bright – This wreath will be colorful and cheerful. Customize your Costco Christmas wreath with faux berries, a satin bow, and glittery ornaments.
Care Tips for a Fresh Christmas Wreath
You’ve taken a lot of care to create a beautiful Christmas wreath, so you’ll want it to last all season long. Wreaths that are outdoors will last longer in a covered area where they’ll be out of direct sun and strong weather conditions.
Give your wreath a light misting every few days to refresh the greenery and prevent it from drying out too quickly. Check for loose pieces after wind or rain and re-secure them using floral wire.
After the season is over, use wire cutters to remove elements like pheasant feathers and artificial stems that can be reused. Once you’re sure they’re dry and free from debris, store them in a bin for next year’s wreath.
In Closing
Costco Christmas wreaths are beautiful just as they come. But there’s something charming about taking a cookie-cutter decoration and making it personal. This is one of the most affordable Christmas crafts that you can find. I’ve researched prices online and in-person, and you won’t find another lush wreath like Costco’s this affordably.
I encourage you to explore nature or even your craft bin with spare bits. Use what you have on hand and express your creativity to customize a Christmas wreath that’s one-of-a-kind. I hope you feel inspired to create our own customized Costco Christmas wreath and enjoy the beauty it brings all season long.
Explore More from This Series
If you enjoyed this article on holiday traditions, we invite you to explore more from the series. Each article in this series celebrates the beauty of Southern living through the seasons. You can find the full collection on the homepage under Home for the Holidays: A Southern Season of Charm.
- Natural Fall Decor: Simple Ways to Bring the Outdoors In
- How to Roast a Fresh Pie Pumpkin (Plus a Cozy Pumpkin Muffin Recipe)
- A Sweet Potato Pie Recipe from a Vintage Southern Cookbook
- Fall Garden Prep: Essential Tasks for a Beautiful Start to Spring
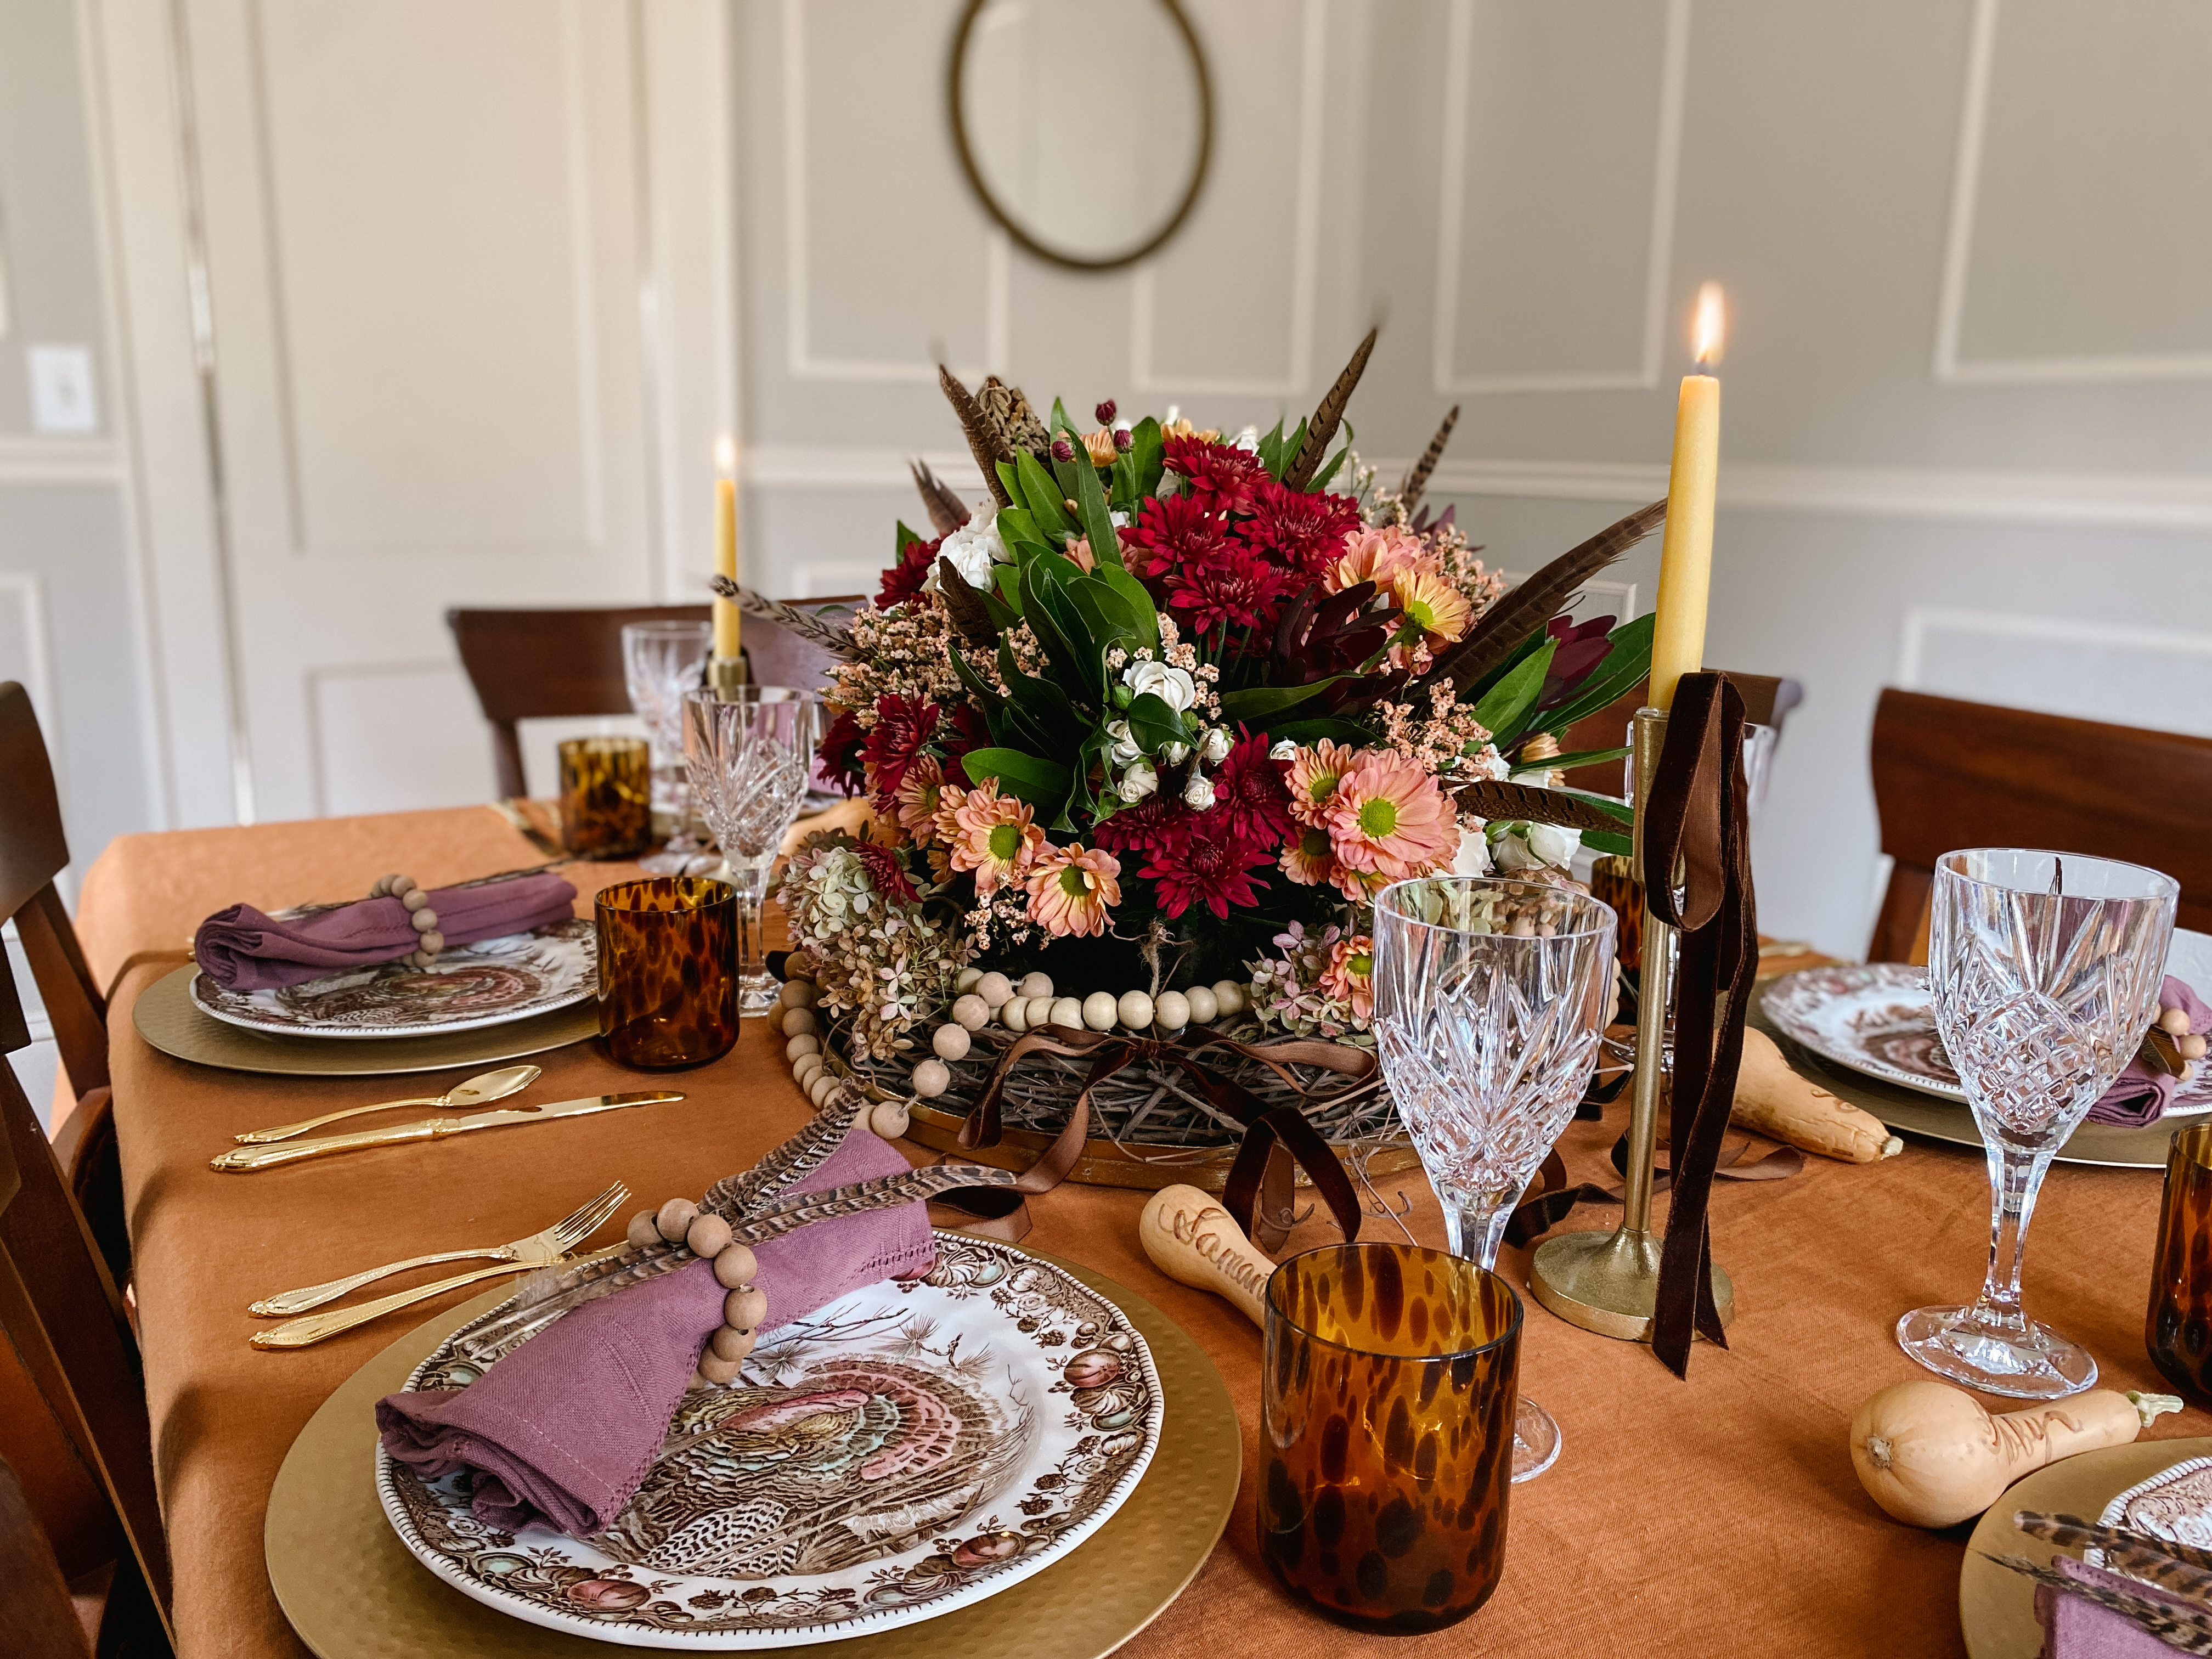
- How to Create a Thanksgiving Floral Arrangement
- Set a Beautiful Thanksgiving Table with Vintage Turkey Dishes
- Keep the Holiday Magic Alive: Traditions for Every Age
Pin this for Later